Reflective Journal 

by Chu-Tai LU

Moving Fabric Film

17.Jul.2014

These are the film I mentioned in last journal. When I was filming this video, I kept looking for different express for presenting different textures and qualities, even to film it from different angles, and also change the strength and time to stretch and release the fabric.

As a result, it enrich the quality with a single movement, not only regarding to how it react, but also regarding to how it does different from a single move to present a different texture.

Time-Lapse Photo

16.Jul.2014

After I took the short film and had a tutorial with my supervisor, he suggest me that I can take a film and time-lapse photo as well. And I think it is really important that to present what’s the difference from each fabric, I use this long exposure method to record what I want to present in these fabrics with different moods and qualities. It also give a better explanation for it connecting to movement generated on the body.

53c9b35084bd3e181e7b770d__DSC0409.JPG
53c9b379b7620fa77c6b020b__DSC0437.JPG
53c9b39c84bd3e181e7b770f__DSC0464.JPG
53c9b78c84bd3e181e7b7723__DSC0485.JPG
53c9b7ef4c08c2a67c98251c__DSC0439.JPG

Garment 2 finished & film

14.Jul.2014

Garment2 is finished as well, the concept is totally different from garment 1. Comparing this two garments, the concept of this garment is more focus on how the entire garment react to movement, but garment 1 is more like partly react in more subtle way.

Here are some photos of garment 2, and a few films recording the interaction against the body. As you can observe, left side of the garment keep gives a different forms, and somehow the pattern extended and shrink followed by the movement. However, the other side almost always keep still, it provide a contrast when film them together, to see what is really happen between different qualities fabric reacting to a body move.

53c9b17cb7620fa77c6b01e0__DSC0106.JPG
53c9b1cf1163e0191e9cbe97__DSC0110.JPG
53c9b1f5b7620fa77c6b01e4__DSC0113.JPG
53c9b21b1163e0191e9cbe9a__DSC0178.JPG
53c9b2564c08c2a67c9824e6__DSC0236.JPG
53c9b27f4c08c2a67c9824e7__DSC0224.JPG

Garment 1 finished

13.Jul.2014

The garment is finished, here are some photos for fitting and testing the interaction. The interaction been designed happens slightly when the arms moves, as I mentioned in last article, the sleeve is a trigger for interaction, and it do cause the interaction. Besides, the back side of this half dress moves around on the body following by any movement happening on the body. Here you can see some detail when it react to different movement.

53c9aec5b7620fa77c6b01d4__DSC0075.JPG
53c9afb41163e0191e9cbe8a__DSC0055.JPG53c9b0244c08c2a67c9824db__DSC0013.JPG
53c9b096b7620fa77c6b01db__DSC0089.JPG
53c9b0d2b7620fa77c6b01de__DSC0020.JPG
53c9b0e34c08c2a67c9824e1__DSC0036.JPG

Garment 2 Prototyping 2 

11.Jul.2014

I keep moving on two separate garments. I replace the bodysuit with my knitted fabric which is knitted by elastic yarn and Grilon-like yarn to confirm essential outline and then join them together. 

53c268ebacdd14df3c4973fd_WP_20140713_09_33_00_Pro.jpg

Nevertheless, I met some problems with making sure the pattern of bodysuit side. Because this half is flexible and need to be tight, the pattern cutting is important for fitting the body correctly. While I was knitting back piece pattern, it went wrong entirely. Thus, I came out an idea that to put the bodysuit back to the mannequin and mark some outlines, then I will have the pattern which is not under any strength after I took it off.

53c26a69acdd14df3c497408_WP_20140713_11_31_11_Pro.jpg
53c26902acdd14df3c4973fe_WP_20140713_09_32_48_Pro.jpg

Besides, here are some sleeve design I made for this garment with basic pattern. I designed it considering attaching to the normal side, and where I joint them is right beneath the hidden pattern, so that when it is been pull the pressure will convey to that area directly.

53c26b899d0f2ae03ce548de_WP_20140713_09_13_08_Pro.jpg
53c26b9dacdd14df3c497410_WP_20140713_09_15_07_Pro.jpg
53c26bb59d0f2ae03ce548e1_WP_20140713_09_16_41_Pro.jpg

 Garment 1 Prototyping 2

09.Jul.2014

As a result of tutorial with my supervisor, I remade and rethought about my first garment based on manipulating same fabrics as considering the structure that will interact with human body, and also reconsidered the sculptural design with more subtle way in the detail of the garment. 

Besides, the sleeve will be totally different from previous one as considering it will be the trigger of generating the interaction, so it is supposed to be a stable structure attaching on the main piece, and the material will be the Grilon-like yarn that maintain the strength conveying to the mechanism on main piece. The other point is that the back side fabric will be slightly different as considering fitting on the body.

53c267ac22ca47a561fceccf_WP_20140713_09_34_02_Pro.jpg
53c2683f22ca47a561fcecd7_WP_20140712_008.jpg
53c2688b2c6057a46111b75c_WP_20140712_006.jpg

Garment 2 Prototyping 1

07.Jul.2014

Since the tutorial with my supervisor, I’ve been thinking that how I can present the qualities of my fabric with a simpler way, thus I came out a solution basing on combining bodysuit/ leotard. It will be design in two pieces with half normal fabric and half bodysuit-like fabric which will be attached together at the middle. So the garment will tight enough to present the movement directly generated by body motion.

In addition, I’m also considering that the structure I will design for sleeves will go back to simpler structure for not making the design being too complicated (this idea will also apply into my first garment that I will remake it.).  Secondly, the other half I am going to make with elastic yarn only, but with Grilon-like yarn for contrasting moving part and still part.

53c2670d22ca47a561fcecca_WP_20140708_001.jpg
53c2673222ca47a561fceccb_WP_20140708_003.jpg

Here is the first concept of this design, you can see that what I mentioned about. The bodysuit half will be my knitted fabric. And the normal part I will adjust the pattern to make it tighter against the body. 

Tutorial With Ian

05.Jul.2014

This tutorial was mainly discussing about what things I should keep on developing and what should be stopped.

The thing that I should stop developing is that what Kathrine was asked me to do for New Designer and Notion Nottingham which is developing sculptural design based on what I have researched during module 1 corresponding with the design from Iris Van Herpen, 3D printing design, and other 3 dimensional designs. Those designs became only one of my inspirations from various areas, but not what I really concerning at the moment.

However, what Ian asked me to develop is closer to what my project currently concern about which is that research into fabric interaction against to body movement. So I think I have to remake my first garment for looking into the interaction but base on the same design. To think about how to present the quality that those knitted fabric has and also by arranging the garment structure for responding to body movement. 

Besides, I will also develop my second garment with different method that haven’t been used in my first garment.

Garment 1 Photoshoot 

03.Jul.2014

I took several photoshoot by myself using very easy equipment for trying to present this garment. Here are the results I took, I tried to capture the movement while the model moving, and also take a close look focusing on the structure while it attached on the body, and look into is there anything will happen during the photoshoot.

53c265e922ca47a561fcecbf_WP_20140706_14_50_48_Pro.jpg
53c2662c22ca47a561fcecc0_WP_20140706_14_52_58_Pro.jpg
53c26686acdd14df3c4973e4_WP_20140706_14_56_54_Pro.jpg
53c266b49d0f2ae03ce548a6_WP_20140706_14_56_30_Pro.jpg

Nevertheless, I would this design is a failure, because I didn’t consider any interaction which can be created by real human while designing this dress, so that there was no any sign showing the quality about my project and my fabrics which are focusing about. I was focusing about shaping and making a sculptural design that Kathrine mentioned from last tutorial. 

I am not sure this design is worthy to develop further. I think is time to have a tutorial with my supervisor since one month ago to inquire him about the direction of my partial garment.

Garment 1 Prototyping 1 

01.Jul.2014

This prototype was been asked to design for Notion Nottingham by Kathrine who thought that I should present something else rather than only fabrics, and also give a imagination of how my design going to be used. As a result, I started this half dress prototype.

53c2654a9d0f2ae03ce5489f_WP_20140703_12_12_16_Pro.jpg
53c2655e22ca47a561fcecb9_WP_20140703_12_13_45_Pro.jpg53c265959d0f2ae03ce548a3_WP_20140706_12_29_09_Pro.jpg53c2657622ca47a561fcecbb_WP_20140703_12_13_28_Pro.jpg

I took one of my design which is combining with brain ripples and hidden pattern, so that I can arrange them according to different qualities it has. Because I didn’t make the panel for making a garment, the fabric is basically a rectangle shape, I have to manipulate them on the mannequin for foreseeing the outcome directly. I only took two of my samples for making this prototype, the other one I took was designed for sleeves, but I found out that it looks nice when I attached it on the back side of the mannequin, so I decided to join them together as a half dress.

But I don’t really consider that these two designs are matched while putting them into one design, at least in this design I don’t think it is suitable, especially the joint on the shoulder, or I can rethink about this part after Notion Nottingham.   

Fabric Integration (Grilon/Elastic)

30.Jun.2014

It’s been a while that I have not giving any try for Grilon, keep thinking that what other design that I can integrate with this yarn to create a sculptural and rigid surface fabric.

I came out several ideas, one of them is that making two Grilon yarn only fabric as a component, and attachment them together with a moveable joint, and at some point this joint is attached with other fabric. When the fabric is been move, it will turn out to affect the join as well, so that those tow Grilon component will move as a armor-like part of the garment. However I gave up this idea, because rather than to make a movement like this way, I want to present a movement in a more subtle way that observer need to watch it carefully in detail.

53bb1b8a6130d18107f1bc45_WP_20140703_14_17_34_Pro.jpg
53bb1bb2d67bff8f231b07f6_WP_20140703_14_17_22_Pro.jpg

As a result, I move on to this idea creating a panel that containing Grilon yarn and elastic yarn within, and the shape looks like a Z, so that it can be moved as a joint to present same effect but within a panel instead of combining lots of different fabrics. 

So I steamed it and then put on a mannequin to shape the form as soon as I could, or when it cool down, it’s hard to reform it. Here you can see that it can follow body shape and also create a sculptural part if I want it. As considering the elastic part, I choose to hide them behind first, so that as long as Grilon part is been pull, elastic part will show up. But there has a tricky part is that the texture Grilon created is different obviously, it has a dissimilar look apart from my other fabric. It is a nice texture thou, but I am afraid if it is match or not. Looking into that point.

Fabric Integration (Leaf HP) 

28.Jun.2014

53b9bc524addfaf07f18c0e2_WP_20140706_12_36_06_Pro.jpg

In terms of Brain X HP ripples, as I mentioned in that journal, I try to add elastic pattern in between every ripples, so that the direction of hidden pattern will be shown differently under stretching. 

However, this trying was not going well at the beginning cause of the elastic yarn that is relatively unstable to other yarn, and also the program is too complicated in details, so I almost give up for the first day. But I came out a solution for making it to knit easier, I enlarged the pattern, so that the elastic will be stabler comparing to a smaller pattern. 

53b9bc66eea5cdef7f260098_WP_20140630_18_35_15_Pro.jpg

Here is the result I got, rather than arranging elastic into a pattern, this is a new way that makes the stitch turning out to be a pattern itself, so the elastic pattern will follow the way the ripple goes. It stretches in two direction in this case, and you can see the different when it is under pressure. 

Fabric Integration(Collapsing Ripple/HP)

25.Jun.2014

I found out a problem that all the hidden pattern integration I did are all in a horizontal direction. Thus I was thinking that what experience I learnt from Bran X HP ripple that the inner pressure causing the pattern transformed, it can be used in other way. 

53b9bbe4eea5cdef7f26008e_WP_20140630_18_39_23_Pro.jpg
53b9bbf196f849911b68a3e8_WP_20140630_18_39_44_Pro.jpg

Therefore, I created a sloping ripple pattern and add hidden pattern in between, so that even the hidden pattern on the program is horizontal, when it combining with sloping pattern it will present with a collapsing way, as you can see in the picture.

53b9bc034addfaf07f18c0df_WP_20140630_18_32_07_Pro.jpg
53b9bc145a4e8d921bc176a6_WP_20140630_18_32_39_Pro.jpg

In addition, it also present an interesting thing that this pattern becomes a slightly 2.5 dimensional surface because of the ripple arrangement.  

Brain X HP Ripples 2

23.Jun.2014

53b9bba54addfaf07f18c0d9_WP_20140630_18_28_21_Pro.jpg

I deconstructed brain structure, and rearrange them together into a simpler design that I think is more practical for some design. So here you can still observe that it keeps the element I used in brain ripple which is piling up the ripple in a particular way.

It becomes simpler and doesn’t have too many irregular line disturbing eyesight. At the same time, I also added a raw of hidden pattern in between which is been hided well, thus even if I make a garment with this sample with others, it could be a cushion between basic and complicated design.

53b9bbb64addfaf07f18c0db_WP_20140630_18_31_31_Pro.jpg

Besides, I do like this pattern that gives me another idea of how if each ripple contain a hidden pattern, so that the pattern could stretch into different direction. I will make this idea becoming real.

Fabric Integration (Basic Pattern)

22.Jun.2014

53b9bb7096f849911b68a3e5_WP_20140630_18_27_21_Pro.jpg
53b9bb7d5a4e8d921bc1769d_WP_20140630_18_27_31_Pro.jpg

After I did all of the works, I found out that I didn’t have any really simple pattern besides ripples. So I looked into very simple structure basing on jersey but with elastic yarn knitted together which will make it stretchable as well that my project concerning about currently.

Brain X HP Ripples

20.Jun.2014

Then I tried to put brain and hidden pattern ripples together, I found something interesting.

Firstly, I departed two combing brain apart and added hidden pattern between, as you can see the first image, pattern present a balance condition, there were nothing special, and same when it is stretched, just hidden pattern part presented that quality we already know.

53b9bb0e5a4e8d921bc17683_WP_20140630_18_33_20_Pro.jpg

Then I picked up only one type of brain ripple adding hidden pattern in between, I didn’t expected any difference, just wanted to see which design is better. When I got this panel, an interesting thing happened, those hidden pattern I added between is been stretched under no outer pressure which is causing by the unbalancing brain ripple combining that part of the design is really narrow. As a result, it becomes an inner pressure to stretch hidden pattern that fortunately is flexible.

53b9bb295a4e8d921bc1769c_WP_20140630_18_42_49_Pro.jpg

So here is the result that I experimented with this two designs, I am wondering that those brain ripples pattern can be simplified into another design. I am going to explore it more which is my next step.

53b9bb4a96f849911b68a3e3_WP_20140630_18_43_47_Pro.jpg

Fabric Integration (Bubble/HP)

18.Jun.2014

I start to integrate different quality fabrics together to explore what other possibilities that could be presented within a fabric also against body movement.

First try is combining bubble ripples with hidden ripples together. There were several tests with this combination that I tried to give a better idea for integration. At the beginning, I put those program together directly, so between hidden pattern and bubbles there were several extra ripples blocking, it didn’t looked nice, it looked like an unnecessary design over all panel. As a result, I decided to remove those ripples and only left bubbles and hidden pattern, as the picture you seen.

However, in this case, I don’t consider that there were new quality showing up causing by this integration. Although when it been stretched, those pattern and bubbles will transform simultaneously, I don’t think it is an exciting discover. I will keep on looking into integrating different fabrics as this is a first try.

53b9baa85a4e8d921bc17680_WP_20140630_18_36_08_Pro.jpg
53b9bab7eea5cdef7f260088_WP_20140630_18_36_36_Pro.jpg

Fabric Combination 3

17.Jun.2014

53a57069e610c3bb1bbb5cf1_WP_20140621_11_27_35_Pro.jpg
53a57070e610c3bb1bbb5cf2_WP_20140621_11_28_21_Pro.jpg
53a5707be610c3bb1bbb5cf3_WP_20140621_11_28_55_Pro.jpg

I was thinking that how to combine ripples and elastic yarn for application, that I could develop on my partial garment, also that would interact with human body.

Thus, I started to think about arm piece because this part of human body give a straight way of showing movement. 

As a result, this is an example of one piece arm pattern that I programed. By designing the shrinkage of elastic yarn to create pattern shape, at the same time elastic part also respond to human movement. When bending our arms or swinging, elastic part will become semi-transparent that the skin color will show up.

Acorn Project 2 

13.Jun.2014

These are my final works for Acorn project dividing into two by two fabrics using different design language but same basic knitted stripe fabric. 

53a56ff959750cbd2bbeaa6e_WP_20140621_11_17_31_Pro.jpg
53a5700259750cbd2bbeaa70_WP_20140621_11_17_40_Pro.jpg
53a5700ce610c3bb1bbb5ced_WP_20140621_11_17_49_Pro.jpg
53a570132e8f04bc2b19038f_WP_20140621_11_18_00_Pro.jpg

New Designer Display Layout

10.Jun.2014

There comes several idea of how to present my works in New Designer exhibition which is a very urgent up-coming event, after I followed the way Moxham told us how she did in her MA. 

53a56fdf2e8f04bc2b19038e_WP_20140621_006.jpg
53a56fe8e610c3bb1bbb5cec_WP_20140621_007.jpg

As what I draw in my sketchbook, although they are still quite a rough thinking, at least it came out some idea that I can present it possibly. I am still looking for other layout that I could apply in this event. Maybe thinking about not to make a garment but make a 2.5D piece on mouldboard that I could control them better than making a real partial garment, and also stick my fabric on wall presenting a moving flowing effect.

Tutorial With Moxham

07.Jun.2014

This tutorial was supposed to discuss about portfolio thing, but it was actually a branding tutorial, but it is still useful.

Moxham gave lots of information that she made in her MA, how she branding her owe brand by collecting various aspects information, such as website design, Lookbook (dividing into indoor and outdoor two area), Photoshoot, display layout, and exhibition arrangement, etc. she collected this information and then made her own opinions own each one of the photo she collected. Later on, after this kind of analyzing others works, she got her own aspect of what I like and what I dislike, it gave a conclusion from others, but not from herself.

I think this way is really useful to me, because I am not that personality who really knows about branding thing, so that I could follow this method to analyze myself step by step instead of give it a very clear outline of what I want to brand.

As a result I, I start to collect lot of info from internet dividing into 3 individual aspects; lookbook, display layout, and photoshoot, and making my own branding folder.

Fabric Combination 2

03.jun.2014

I was thinking that to design a basic pattern ripple design rather than combining different stitches, and this is an outcome from another practice design, that I only extracted one small part of original design and developing into this sample.

53a56a92ce43d6ba1ba0f92f_WP_20140527_18_00_01_Pro.jpg

I piled the basic structure up and giving different arrangements, so that it turned out to be like this sample. I didn’t thinking about designing in this way, only thought about arranging ripple area by area but not row by row. As a result it create this fabulous effect, I called it “brain ripples”. It will be my one of my final fabrics in whole collection.

53a56abf2e8f04bc2b190375_WP_20140621_001.jpg
53a56ad72e8f04bc2b190377_WP_20140621_002.jpg

And also I can apply this method into other design by piling up different size of this structures and making into an area dividing a panel. 

Acorn Project 

31.May.2014

This piece is been created accidentally which is based on ripple design, but I simply extracted partial design to make it curling like a snake shape. But actually I didn’t like this outcome, although it is another way to present movement, it is too plain and too simple to give nothing interesting. 

53a56a3bce43d6ba1ba0f92b_WP_20140614_010.jpg

However, I presented this single piece to Kathrine, she told me that this could be manipulated with multiple same pieces to create lace-like effect depending on how I manipulate them together, and asking me take part in Acorn project.

53a56a012e8f04bc2b19034c_WP_20140604_21_27_51_Pro.jpg
53a56a0a2e8f04bc2b19034d_WP_20140604_21_30_41_Pro.jpg

Here are some example for Acorn that I designed with that single piece. When I played around these pieces, I found out that even a single boring piece could become interesting by redesigning them, also it could be converted into an interactive designed fabric through this method. This method inspired me powerfully in thinking designing fabric rather than remotely designing but also manipulating.

53a56a10ce43d6ba1ba0f929_WP_20140604_22_07_18_Pro.jpg
53a56a162e8f04bc2b19034e_WP_20140604_22_14_37_Pro.jpg

If this fabric it been accepted by Acorn, then I will create a different and better version of this design as one of my MA final knitted fabrics. 

Conceptual Partial Garment

27.May.2014

53a56f9b2e8f04bc2b19038b_WP_20140621_005.jpg
53a56faa2e8f04bc2b19038c_WP_20140621_004.jpg

For New Designer exhibition, I have to present at least one partial garment that shows the interaction with body, so I draw several partial garment designs focusing on upper chest to arm.

While I draw these design, I was thinking differently. When I designed those fabric, I only thought about each individual how they react to the movement that body create. However, when drawing these partial garment, I had to think about the direction of body movement, also each pieces of fabric how they responds to a single movement when I arrange them together. As a result, I was thinking about how those fabrics which is been designed together react to every single motion simultaneously when I depicted down my thinking within sketches.

Somehow, I have to leave some space for the design that is not interactive to reflect where other part is interactive relatively. Thus, I have develop some basic repetitive pattern based on ripples. It is one of my current works.

Fabric Combination 1

23.May.2014

I started to think about combining different material and stitches to create various variation for interactive partial garment design. 

53a568a5e610c3bb1bbb5cd0_WP_20140527_18_00_53_Pro.jpg

This is an example of combining ripples and adding extra jersey between each areas of ripples which created a movable piece that I can arrange them on the body attaching them to different part, thus this piece will interact with the movement that model create.

53a568d259750cbd2bbeaa31_WP_20140527_18_02_11_Pro.jpg
53a5690d2e8f04bc2b19031f_WP_20140527_18_01_32_Pro.jpg

So as I designed this one, it came up an another idea that if I alter the yarn of jersey part, so that those area will shrink when it is not under any outer strength, simply like hidden pattern one, then if it is been pull or draw, It will create another different movement, this two idea could be designed together to make it responding to body with different qualities. 

Tutorial With Katherine

20.May.2014

Kathrine mentioned about the New Designer thing, asked me what and how I will present my work followed with which area. She also mentioned maybe I could present it in different applications, like fashion, interior or even architecture area.

However, I still prefer present it as a more fashionable part garment design which is influenced more in my design work. Otherwise, if I present it within other areas, it will only defocus the pieces, and only show up the knowledge I lack of in those areas.

She also suggested me I could present with a film showing the interaction, and also arrange the design as a sculptural piece on a mannequin or simply large piece. I think part of the suggestion I agreed with. What I am thinking now, I will finished a part garment design before New Designer, and then present with several different fabric swatches following with a show film showing the property  of my fabric.

Module 2 feedback

15.May.2014

The feedback I got from after presentation and from my supervisor are different with two aspects.

Area to improve

  • Textile innovation is the focus of your project and the film shows the potential of contrasting stretch and non-stretch component.

  • Developing fabric ideas, which are contrasting in weight and performance.

  • Important to consider the exciting work developed in Module 1. Is there anyway you can recreate these full size on a body and combine the craft material and the knit, adhering components or trapping the harder fabric with knit. 

  • Perhaps part garments being make and the body being filmed wearing it. Consider replicating the same process you followed for the collaborative project and the knitting tube/sleeve. 

All above are the main points my supervisor suggested me. When I got feedback and read through it, I was confused, why the feedback is totally different from after presentation. Thus, I questioned myself, which is a better way for me to complete my project within this two month, capturing the movement and make a full garment, or pick up one of my concept which is fabric interaction, to explore the possibility and make several part garment.

What they think about my project was too big for me to finish within two month and I have to focus on a point and narrow down. I think they are right.

Next step

  • To focus on developing interaction between fabric and human body which is based on what I done in my Module 1.

  • To think about which part of the body is more suitable for me to present the quality of my fabric design. 

  • To consider how I exhibit in New Designer. :p>

experiment big Resume

24.apr.2014

As consider to let people know what I was doing and what I want to do in the near future, I rethought about how important this project to me, it’s a very stretch forward way to present to public.

Therefore, I simplified the process taking the video by mobile phone in MA studio to perform the quality between several qualities fabrics, and how they interact. The keywords is “struggling” and “surviving” performed by myself. The results is somehow satisfied, I played and checked back in slow motion observing that how those fabrics interacting with each other, and perceiving the shape transforming while their moving. 

535d0487b070fd8c580009cc_PB1.jpg
535d04babcf0378e58000b9d_PB2.jpg
535d04d1bcf0378e58000ba0_PB3.jpg
535d04e920e17f3a56000a39_PB4.jpg

However, the point that I don’t satisfied with is that the combination between fabrics is not random enough to present the possibilities of combining more than two fabrics. As a results, the interaction in this video only shows up between two fabrics but not three or four. As a note, this point will be highly considered in my final prototypes to notice that what the interaction I need or I don’t need in my prototypes and also the proportion of each fabrics which will influence the level of interaction.

Core of the Project

20.apr.2014

I kept thinking what the core of my project is for these two weeks, and I realized something. At the beginning, I was thinking that I could capture the dance movement and interpret into knitted garment. I kept doing the right things until the end of module 1 assignment. But there are some voices questioning: where is your movement of dance, so I thought the movement happens when the fabric interacts with human body. Therefore, my investigation turned out to explore the possibilities between human body and knitted fabric in most of this module.

However, now I realized that what I was doing is already deviated from my original concept which is capturing the movement, I try to re-think all of what my project is about. And eventually I had a conclusion.  

My final project will go like this way: 

  •  Ask dancer to dance with keywords I gave for twice. One for original thought, the other for thinking it carefully.
  • While dancing I will photograph it as a long exposure photo.
  • Take those photos develop sketch to form into different shapes.
  • Fill those shape with several selected knitted structure.
  • Develop a sketch for wearable garment based on those shape and fabric combination.
  • Knit it and make it as a garment.
  • Film the interaction of final prototype which will present a different qualities between fabric combinations.

What I try to do is to go back to my original concept and at the same time keep the interaction idea within my project. So the working title and the intent follows like this:

The ultimate knitted garment

The “conversation” both visual and physical between selected knitting structures and the human body. Investigation at four critical stages, the key attribute (positive outcomes) to inform the development and refinement of a wearable garment. This garment will project the key characters of the knitted structure and it’s interaction with the human form.

Methodology

Stage 1: sample of development
Stage 2: sample of basic shape in knit fabric types
Stage 3: basic shape in own knitted fabric
Stage 4: wearable garment
Photo & film:
- Capture the visual dance to be analyzed.
- Communicate and promote characteristics.

Female or Male model

10.apr.2014

I prefer female model to be my model of final prototype, but as speaking the reason I haven’t sorting it out why. This is the reason why I wrote this down for.

Comparing to male’s body, female’s body can present more cursive line which is relatively softer than male’s body figure. And I think the softness is essential to my project as the dance is a combination of continual movements, and no matter the shape or the line it created is always lasting from a point to another.

 On the other hand, female’s body is been considered more acceptable from wearing a wide range of garments instead of male’s body. And for some of human being they are subjective who will think a guy who wear in weird from garment is bizarre which will affect how those people judge the aesthetic perception of the garment. 

To concludes, I think female model is more suitable for my project, because I consider my final prototype will not be designed as a normal garment shape like fashion design. But more conceptual way. 

 experiment Big

07.apr.2014

This project goes like this way, I’ve decided a few keywords from my past experience that I will provide these words to the dancer I hired. And I will explain and ask them to wear my prototype and perform the keyword I gave immediately without thinking deeply. After the first round ends, I will ask them to perform the keywords again and think carefully how was the last that they didn’t perform well, or thinking another way to present that keywords. At the same time, I will keep filming the whole process of dancing and any interaction while they are playing.

5356e8ca4aa023792d000e9e_BE1.jpg

However, this project is been cancelled cause of some real problem considerations; first, I don’t have enough resources of everything including dancer, proper equipment such as camera and tripods, and suitable dance studio, and also the fabric combination couldn’t present the quality of my design well. Secondly, I was kept thinking what this experiment is for, there were still some points disturbing me, especially the part of capturing the interaction between dancer and fabric. What I should do is to catch the movement of dance rather than the interaction which is completely different from my original concept. But there were something need to be mentioned is that the keyword part, this can be instantly integrated into my project which makes my project livelier. It makes the project more relating to myself.

Review Maria Blaisse 

02.apr.2014

I was thinking what “interaction” is, so I reviewed the mesh project from Maria Blaisse. I came out something that I didn’t notice before. Before that, I always thought interaction is only happened between my prototype and body movement. Based on this point, I always considered that how to strengthen the interaction between body and fabric. However, after I reviewed the project from Maria Blaisse, I found something new.

There is a film that the director record down how her design moves, and also there are several branch designs that succeeded from same concept which shows a different potential of how it interacts. Therefore, I watched it carefully and thinking what something else I can get from it. I conclude the following points:

  •  When moving, what other things will be affected 
  • Play with other stuff, observing how them interact 
  • How it influence environment, like footprint or any wrinkles 
  • Key words for designs; from the original design, Maria created her prototype following 6 different key words which provide different qualities.

As a result, after I reviewed, this gives me a wider thinking of my project which makes me thinking more clearly about how my project would develop and how it could interact not only with body but also environment, surroundings. The last point also is very crucial to my project at the moment, I had been stuck for a month because I don’t know what shall I design my prototype. I was thinking that capture the dance movement, but the dance movement itself presents a meaningful emotion which is that I want to to get rid of from my project. Nevertheless, I am now thinking that to ask myself what is the key words to me, what is dance to me, there must have some special words of dance to me. That is what I am planning the next big thing.

definition

29.Mar.2014

Dance- is type of art includes movement of body, often with rhythmic and to music. It is performed as a form of emotional expression in terms of expressing an idea or telling a story as a nonverbal communication.

Play- to perform and manipulate not in a particular way, in order to explore the hidden quality beyond my knowledge. 

Interact- to act one upon another, shows possibilities that how the object will react. 

Capture- to represent or record in a lasting form. 

The reason why I wrote these down is because in order to make myself clearer about what’s the difference between play, interact and capture, and also realize how there three words relates to each other. For me, play is more like before interacting with my fabric, I need to know what qualities my fabric got. And once I know who they are, I start to think about how I use these qualities to interact with movement, so the interaction will happen. Then, in order to record down what happened during interaction, I need to capture it with no matter what way I apply. Thus, these 3 words became linking to each other rather than just 3 separate words.

Grilon with hidden pattern

26.Mar.2014

Inspired by last experiment of Grilon yarn, because it provides a totally different quality comparing to normal knitted fabric which is flexible and stretchable, I was thinking how to combine with my different designs, so I tried to put it between hidden patterns making it forming a contrast within moving and still.

534805f3699193ff3f00009c_GHD1.jpg

The result is better than I expected, when I pull the fabric the pattern shows up, but the Grilon yarn inside remains still like a rock. I think next time I could redesign it with a meaningful pattern rather than just put it between the elastic ripples, if I could arrange it accurately with different proportion within my prototype it will become more interesting.  And this design also could be applied with my different fabric as well. The combination with this fabric is been expecting.

Grilon yarn test

23.Mar.2014

As I reviewed my previous experiment I was thinking how to duplicate the outcome comes from foam experiments, so I kept searching that what kind of yarn could present a similar quality as same as foam which provide a heat forming quality. Therefore, I found Grilon yarn which could provide a similar texture if I heat it up, and I also could pinch it into different shape, but it would become very rigid fabric and also cannot be reshaped again. 

As you can observe, the fabric became wrinkled and loos like foam shape with a very rigid hand feeling. I was glad to see this result because that means if I could control how those ripple flow on within an area, it could present a very interesting effect comparing to other area.

5347d54c86d554bb3d000503_WP_20140320_09_48_23_Pro.jpg

After that, even I only got one piece of this fabric, I draped on the mannequin to simulate a chest shape by using Photoshop and exchange the colour into black one which I prefer my prototype would use black as a main tone. The outcome looks fantastic to me, it reminds me 3d printing design, even now I already quitted that part, but it still inspired me most. The chest looks hovering on the body with a very gentle way which is what I didn’t expected before. 

5347d570ff402db93d000544_GR2.jpg
5347d51eff402db93d000540_WP_20131205_17_14_08_Pro.jpg

After this, I could think more about how to use this yarn combining with other structures, because it gives a totally different quality comparing to normal knitted fabric which flexible and stretchable. I could think that it part of my design designed with this yarn, when other part of design moving, it will stand still as a very rigid part.

5347d5eba6ddaf020900058f_GD3.jpg

blanket fabric

20.Mar.2014

I knitted a giant fabric as an experiment to test how my prototype responds to the movement of dance. The fabric is been knitted based on partial knit ripple but with a looser stitch quality. The project runs as I wore it and then boogie with it to the music, at the same time someone will help me to film it down with different aspects.

The experiment failed, because I didn’t figured what I really want at the moment when I filmed it, the outcome is more like play around with my fabric but not to explore any possibility of how my fabric responds to the movement. Therefore, next time I will try with another way like with different qualities fabric which is inspired from my designs combing together, and to record down how it respond to movement between different fabrics. How those fabric will react to the movement. 

Besides, I also draped this giant fabric on mannequin to visualise how it looks with a larger scale fabric. Although this is a very shallow experiment, but I still find something interesting me which is when those ripples flow in different directions, how I arrange them becomes very important. Meanwhile, the ripples within different areas present a boring design to me, cause there is no any contrast between them, so if I could design with different material such as viscose, silk, or using chunkier gauge or different types of ripples which I tried before.

5347c3ca86d554bb3d000432_PoR3.jpg

hidden pattern tube

18.Mar.2014

After had a test with elastic yarn, I was thinking how this kind of fabric integrating with my project deeply can. So I, firstly, programmed it with a pattern which is from my sketches, and then tried if the pattern works well or not. It did work, even more than what I expected especially within colour black.

Black colour ripples work with white elastic yarn mainly covered the elastic structure about 70% to 80%, and also black one is relatively closer to my intuition. How about white one? Black elastic yarn is too strong to white acrylic yarn, it could be seen easily without pulling it.

In addition, I suppose my fabric as a tube shape because our body is basically compounded by 6 or 7 tube-like objects. Therefore, as I did in the video I asked someone wearing on arm moving randomly, the elastic pattern will shows up when it moved. 

What will I do next is to develop the pattern that maybe follow the real dancing movement covering the whole body, making the human body as a photo to present that pattern. Also I have to work out a better way to hide the pattern as much as possible before it is been pulled.

DADY

12/16.Mar.2014

Divided areas with different yarns 

I was thinking that if I can use different yarn within my ripple partial knitted fabric, it would present richer texture with my garment. As a result, I tried programing first and then thinking about what kind of yarns I got in my hand, I found nothing, so I just testing with storage yarn but with same color tone. However, what I found its all acrylic, I had no choice but to knit first. 

532a26ea8de01e6c35000179_DD.jpg

The fabric looks balanced because all of these acrylic yarns have a same strength and similar twisting degree. Or I was thinking that it would create a distortion because of the twisting degree. And also I am thinking that this experiment couldn’t reach the purpose which I want to see, the texture.

I was hoping that if I use different yarns, such as silk or viscose yarn, it would present an opposite bright and smooth effect comparing to acrylic yarns and also the hand feeling will be totally different. It could give a comparison. So next time I going to use yarn, like silk or any other yarn with different physical characteristics.

update 1, silk yarn integreted

I got my silk yarn working with it, although this fabric looks horrible because of the color isn’t right. It still had some things being worth thinking.

532eec984e738ab76d0002d1_DD1.jpg

As I mentioned in previous article, the comparison caused by the texture with different yarn did affect the fabric’s quality, that makes design more subtle and deeper, the luster from silk yarn reflects under light. That drives me thinking about how if I use fancy yarns working with silk, wool and others, it will give a richer quality of fabric.

 At the same time, silk couldn’t work well with acrylic, because the stretch intensity is different, and if I did not adjust the stitch quality for each yarns, it couldn’t work well within a swatch. As a result, if I will apply more than 3 different yarns in my prototype, the stitch quality control is crucial to my project including design, hand feeling and fabric weight etc.

mid-term feedback

09.Mar.2014

  • Film a person who wear in my garment testing possibility of the movement.
    I will do this at the end of module 2 so far I could have enough swatches to present different feeling of movement.

  • Think of creating a dance for my textile – consider different bodies doing the movement.
    That is exactly what I am thinking at the moment, I would create a short film that simply capture how my garment responding to the garment rather than a choreography.

  • Concept is more important than garment for male or female.
    Yes, no matter male or female, concept is more important than who I made for, performer could male or female.

  • Swatches is more about how the knits are affected by the body.
    On this point, I should reconsider how I design my fabric, to capture the movement is too ambiguous for the project. Again, the question for my project What is dance?

  • Reconsider the relationship of your swatches to dance and body.

  • Consider lighter (more fluid) swatches in addition to my stiff swatches.
    In this view, I will try to find the balance between sculptural design and fluid design.

  • More fashion sketches.
    Yes sir.

ripples +elastic structure

04.Mar.2014

5316550be37fea441e000125_RipE2.jpg53165524da4b95461e00010c_RipE1.jpg

ripples & Draping

01.Mar.2014

After I found out other design element from Iris Van Herpen, I review my ripple fabric and programing it in a new way. I was thinking that instead rising a minor part of the fabric how about basically create a large scale of shape by programing in computer first, and then draping on mannequin. The outcome is not good enough thou, I was still too cautious about programing, the new one only formed a mountain-shape hill but not an entirely fabric. Thus this signal pointing out that I am supposed to change the design method form the bottom of my programing process.

53137d41a72b60811900044b_R%26D1.jpg

One more thing I should mention here, after the tutorial with my supervisor Ian which is the second time after module 1, I showed him my current work of these fabrics, he gave me some suggestions:
1. Try as various yarns as possible with your current work.
2. Think about while the wearer moving how my garment will respond.
3. Use elastic yarn/ Lycra instead normal yarn fill between ripples, and between ripples it is not necessary to use ripple again.

Nevertheless, although the effect is not what I expected, I still keen to know how my fabric work with human body so far. First one I draped the pleats one, which I am considering to give up, apparently the fabric is too soft to support itself forming a fixed shape, and I need to do lots of adjustment for it. At the moment, I am thinking that my final prototype as a very clean outfit with a subtle detail one, so I couldn’t find it beneficial to my project.

53137d6591b9b98219000397_R%26D2.jpg

Following the next, I pinned my ripple fabric on, I really like the shape on stand which cause irregular ups and down and also the lines dividing ripples makes me thinking of the human muscle which present a natural figure of woman’s body. That looks so beautiful to me. But I noticed that no matter the white or black one, if I only use ripple for my garment, it will be very boring.  Thus, as a result, two layer become more crucial to my project, I might be using it crossly for two times two will have 4 results. 

Partial ripple &yarns

11/25.feb.2014

Afterward, if I consider pleats as a vertical stripes, relatively ripple would be the horizontal stripe in structure. On the other hand, I found one experiment from my previous work which I was creating some texture with my foam experiment, and that makes me think of this ripple structure via partial knit for distortion effect. Later, I modified a few program problems, the first non-flaw fabric turns out to be an exactly great piece to me, and it looks really like my sketch one. 

But considering the yarns I still have no idea what kind of yarn I suppose to use. Although I asked Jane who is now a PHD  student for some advises, and she did give me a few suggestion, such as using stiffer yarn for shaping the form to support the fabric, or adding some nylon blended with high proportion of Lycra to make it being shrinkage and also keep the shape as 3D as possible. Anyway, I will keep looking into finding proper yarns for my project, even yarn is not crucial to my project, but I still have to catch a suitable yarn. 

52acd48a88cce88d3600036d_TCF.jpg
52fab444ccf359c56600003f_RP1.jpg

Back to my ripple, after I done this fabric, I was thinking how to combine with the pleats one, or put them together playing around the shape it create. In addition, I will try to change how I program the ripple and the scale of ripple, and maybe also adding different structure mixing with ripple, and do some color selection while knitting different part of ripple. Also keep searching better structure for making a contrast to ripple, or by knitting with different yarns with different texture.

update 1

25.Feb.2014

After I tried the previous one, I started to think about how to make it become more 3 dimensional, except the ripples it already had, I put additional ripple between those original ripples. The outcome is impressive, fabric directly swelled up like a balloon which where I put those additional ripples. And next, I will rearrange and organize those ripple with different patterns which is inspired by previous research and Antwerp & Paris trip, and starting thinking about how to apply on to final prototype.

530e6c3e23f6618b0400029e_RP2.jpg

Paris research Trip 1 

23.feb.2014

Surrealism

At first step in the exhibition, I don’t know what the Surrealism is, it seems that it combine everything together, and to describe it as an art decoration. The exhibition was not a quite big one, but I almost spend two hours to finish it for I watched every pieces carefully. For me, surrealism art is not about design or aesthetics, it is more about the reason why he/she created this piece, under what kind of circumstance they were, and how they think of their pieces reflect to what they think at that moment. Although, it is about deconstruction and construction. It turns out to how I deconstruct dance movement and how I construct them together by and within my knowledge.

530a5131691af66156000676_PRT1.jpg

Decorative Art

In this exhibition it includes a wide range of decorative art from ancient china and modern jewelry to various different type of decoration.

530a5140691af66156000678_PRT2.jpg

One of the most impressive one is a china bowl stolen from China that the color is fabulous and unbelievable, it presents a mix color of green and blue forming a very nice luster around the bowl, and it’s difficult to get the balance being so elegant. And there are plenty of rest piece to mention. Although I had seen them before in my country by using similar technique, every time I saw them I still overwhelmed by its delicate work. It is hard to image how long time they spent on a piece engraving etc.

In addition, there also have a great bunch of jewelries were well designed in such a modern way, not only keep its previous impression but also breaking rule of old fashion jewelry-making way.

530a514dadc8485f5600068a_PRT3.jpg

Antwerp; Antwerp Six

17.feb.2014

While this trip to Antwerp, we had a chance to visit the exhibition of “Antwerp Six”.  To be honest, this was my first time to observe the master piece in such a short distance, and I could observe the every detail with my own eye. Every works were great enough to me to overwhelm my soul for whole day there.

I mentioned some of their works relating to my project, and also makes me think about the pattern, silhouette, and how to integrate them together. First, as you can see the picture, this one was a patch-patterned blazer by using jewelry. This piece makes me considered the softness of the garment, although it was patched by jewelry, it looks so stiff, the line between pattern and pattern soften the silhouette balancing the sense of stiffness created by jewelry.
To my project, I am now using ripple structure as one of my main techniques, the hand feeling of ripple is stiff, but if I could add some lines to balance off those stiffness, It would create a better hand feeling, and I also think of that the back of ripple a stiff and light yarns to deduce the weight of fabric.

530a2882691af661560004d8_ATS1.jpg

Secondly, in the picture, I really like the way how he deal with the side look of garment and how he piled the fabric up using different sizes, patterns and the direction of the fabric. Besides, an interesting part is that this piece is basically a two-layer piece, it could be easily found from its side look, it reminds me to think differently. Because it was always one piece in my mind while I think of my prototype, I didn’t think of it as two layers and so on. Except ripples, I also keep looking for second structure as my vice main structure to support my project, but I am stuck on the effect I want. Something plain, something transparent.

530a2964691af661560004f9_ATS2.jpg

The last one I have to mention is this one from Pierre Renaux, it reminds me the role of my 3D printing. It is hard to tell what kind of material it is without touching it, but the effect simply present a contrary against the background fabric on texture and also color. To my project, I want to use 3D printing secretly, almost being hideous part behind my knitted fabric. But that raised a question that why should I use 3D printing secret but not outstanding? These days I keep searching for the answer, except my first though for 3D printing is always the 2nd. Important thing but not 1st, I also didn’t come out of any idea to integrate them together, also the price is a problem. Small part of 3D printing to highlight the quality of my prototype is enough, I don’t have to do it like Iris Van Herpen.

530a29aa7b5bc4ca190005aa_ATS3.jpg

Partial Pleats

20.jan.2014

I was starting my knit structure exploration recently, but I had no idea at all at the beginning. I just knitted on brother machine and tried to recall my knowledge from my BA degree. After several testing, I started playing around partial knitting with very humble and informal way to make a slope.

After I done my first partial knitting swatch, I noticed that each courses were appeared sloping, and I only knitted it with single jersey. Subsequently, I was thinking that how if I add stripes or vertical/ horizontal structure, and then control the degree of slope, I could make a dance-like feeling with this method. Consequently, I did some program with Shimaseki power machine designing a pleats structure to make sure it would bend as the course goes.

52eebd7e672b98eb65000655_WP_20140202_20_49_19_Pro.jpg

The slope is too gentle to see the consequence, but it still appeared slightly bended as the course goes that proves my thought is correct. As a result, next time I will program a greater slope, and also with different structure.

52eebe78db9a854a4e000657_PK2.jpg

On the other hand, there is a difficulty came to my mind. Partial knitting, how could I control it well including the program skill and the adaptability of yarns? I still keen to knit with monofilament as part of my project which the support quality is needed.

Update 1 

02.Feb.2014

After that, I programed a more over shape for partial knit by using the same structure, simply pleats. The effect looks better and closer to what I expect, the slope is great and the pleats goes bended as the program, and even the fabric is not a flat surface anymore. 

It may have some ups and downs while draping on a mannequin, and this reminds me 3D printing to fit in those gaps between fabrics and body.

   And I suppose the next step is to design the different gaps inspiring by my previous works, like my draping or foam experiments, also play around with different scale of pleats and change the way it collapse making it become more sculptural and distortional.

52f7b11610ac3f4e6600094d_PK3.jpg

Update 2

10.Feb.2014

I did some experiments with the same structure (didn’t change the scale yet), but all in the same collapsing direction, It could be easily think of the fabric would be a circle shape, and that inspiring me a lot to create various shapes. Besides, I also bended the fabric making it forming an irregular hole on the fabric, this also drives me thinking of this fabric using with another way.

52faabf6893e2e2a5a00041c_PK4.jpg

Tutorial with anna piper

07.Feb.2014

Bloody Bullet Suggestions

Think about what type of yarns could create during sketching.

At this stage I am supposed to think about yarns during developing knitting structure. While I thinking what kind of yarns I want, there were several yarns came to my mind; yarns with luster and flexible (spun with elastic yarn or Lycra), and not need to use wool, cotton etc. to pursuit using natural fibers, but a rough surface quality to highlight the luster part.

Use different methods/structures to create same pattern from sketch. 

I think this point is suggesting me to think about my pattern transferring into knitting structure without the first impression to avoid the habit while designing. Things/articles put to Reflective journal needs to be explained.

Things/articles put to Reflective journal needs to be explained. 

After had a quick view of all of our reflective journal, she mentioned we have to figure what is important and what I put in Journal all of them is needed to be explained, how, why, and how it command my next step. Just a reminder that do not put everything into Journal. 

Review previous research and think about how to integrate into current experiment.

She suggested me that I should think more about how to integrate my previous case study and how to apply with my development, and don’t let the research becoming just an assignment for proving I done my research.

Monofilament and spacer fabric

14.jan.2014

After all the testing for exploring the possibility and silhouette of 3D printing, I began going back to focus on knitted fabric and structure. 

Before starting on designing knitted fabric, I conclude several qualities that my knitted fabrics should include. First, if I am keen for 3D shape, this means that I should consider the support ability of the fabric. Secondly, I should consider my fabric as an easy to shape structure. And the last thing, as the limit of 3D printing now, color black is the only color I could apply in my project.

As a result, the first material and structure came to my mind is the monofilament and spacer fabric, so I quickly programed and knitted on power machine by using the monofilament yarn borrowed from Phill which is 90D mono. And the outcome is depressed, this mono is too thin for working on 7G machine, all the qualities I mentioned is missing.

52ea33e0f410416a3d000141_WP_20140123_14_25_19_Pro.jpg

Later, Will saw the fabric and borrowed a monofilament form other for me, which almost like thick enough for fishing, to knit again on 7G machine. Consequently, the fabric is well-shaped look and has a strong support ability.

52ea340a119ce0a8620000fa_WP_20140123_15_21_11_Pro.jpg
52ea3469119ce0a8620000fc_WP_20140123_15_21_22_Pro.jpg

After this two simple experiments, I keeping myself continuing designing on this structure to exploring the possibility of combining different structures, and also considering using plating to correct the hand feeling of fabric. And keep looking for other structure provides such a similar quality, and maybe find different yarns to alter the qualities.

Conclusion of six samples

04.jan.2014

Overall all these six samples, no matter before do it or while doing it or after I did it, there were countless idea and inspiration comes to my mind, so I make myself a conclusion of how to combine knitting and 3D printing together: 

Depart pattern and create rhythm on it;

Create texture that knitting cannot easily apply, but also shows up the contrast;

Use printing to fill the space with printing and to create special effect;

Make the knitting looks alive; 

Transparent effect, and the interaction between both; 

Use printing to last the movement of knitwear; 

Printing as a pattern but not an attachment.

52c99fa97c384877390002e3_kp7.jpg

Jersey and Foam Experiment 4

03.jan.2014

52c99f187c7ebea16d00017c_kp62.jpg

While doing this draping, I started thinking about how if model wear it on would be like. The garment will be transformed freely by the movement of model, so I create lots of pleats and pieces imaging that those pleats will move around the body and “printing” part, pieces, will wind on the body.

52c99e47c77dd7783900023e_kp61.jpg

And in this sample, I had confirmed how I will arrange knitwear and printing before I started it. Besides I also think printing as one of a pattern but not an attachment. As a results, it, again, present another feeling while putting them together. There are bunch of potential need to be discovered and explore.

Jersey and Foam Experiment 3

02.jan.2014

After review my previous work, in these two draping I try to correct the question I mentioned earlier:
  Think draping and “printing” simultaneously;
  Make “printing” soft enough to fit the draping; 
  Define garment and wearable art of mine; 
  Connection between each “printing”; 
  Integrate draping and “printing”.
As a result, I was thinking those questions while I developed following two draping.

52c948537c3848773900009f_kp41.jpg

First one, I would say this one is a garment-like draping, but maybe not for publics but for celebrities. I designed lots of wrinkles at both side and back, although it looks quite plain at front side. I left two obvious area for 3D printing while I was doing draping I could imagine where I should add on printing and how it will present in my mind.

52c94862328c6da06d0000c5_kp42.jpg

Following the picture, you can easily tell the 3D printing part at the front side, two stripes and at the back side, two lacer-cut-like piece. At the front side, I cut an entire stripe into several piece, put it on the body fitting the figure, also bended a little leaving some qualities of printing, and those pieces merge together with the side wrinkles. At the back side, the lacer-cut-like piece, actually I want to do more with this piece such as adding another layer to create perspective, covered the plain part of the back. And with this transparent effect, I can also see what happened on the knitwear part, this point means the interaction can be designed if I can foresee the printing part. This is a good try for me to thinking about integrating further.

52c94871328c6da06d0000c6_kp51.jpg

Second one, it is entirely different. I want to change the way of how I draping which always balanced. In this design, It is difficult to tell the front or back, and I would call this is wearable art. No one would wear this on the street, it is like nothing but something curled on the body, and only the designer knows what this design is. In this draping, I want to create some free lines of how is the feeling of dance to me and presenting it differently. Those curves on the body looks randomly moving around the stand, but actually if you follow the direction of curves, you can see the track between each ups and downs.

52c9487e328c6da06d0000c8_kp52.jpg

And in this part of printing, I simply designed it to extend those curve in order to complete the movement of each hill. Besides, when these “printing” extending, they were designed under following the track. Although it looks very rough, it provide another method to design between knitting and 3D printing. 

To last the movement that knitting cannot express. 

Jersey and Foam Experiment 2

30.Dec.2013

inspire by Pina Bausch 1

I continued exploring the possibilities of these two materials, and to dig out more combinations of how 3D printing would work when it comes to knitwear. When I took my drawing inspired by Pina Bausch, those lines greatly evoked me developing another draping. I started from the front center of stand with a comfortable and balanced patterns, and extending out becoming wilder and wilder till the backside of stand. Besides, I also left some space between fabrics and layers for next step.

52c82e484653b1ec54000179_kp21.jpg

Next step, I began adding some foam on to this draping, and I cut some line to create texture while I bend it to shape the draping. And I mentioned the space, same, I used foam with texture to fill those space which create a special effect. I won’t said that in this design it is good, but it did expand how 3D print combine with knitwear. I will continue to expand this method further. 

52c82e594653b1ec5400017b_kp22.jpg

However, I don’t like the foam design on this draping, it was not soft enough to fit those turns and curls. And I also thinking that if I use a thinner foam to simulate 3D printing part or inter-use different thickness foam, and outcome must be totally different with much richer combination.

inspired by Pina Bausch 2

Same as previous one inspired by my sketch, but I simplified patterns. It looks more like a garment than a wearable art. Now, I am confused whether garment or wearable art is what I want to develop. Anyway, I will figure it out sooner or later. Back to design. Much simpler and purer, but still I could find some rhythm and interaction inside this draping.  Looking into a big hole between arm and body, and the wrinkle surrounding it, it looks great for me.

52c82e650cee26ee54000177_kp31.jpg

And this time, I added some foam to the body with texture but left the hole. The foam was bended into curve shape with iron in order trying to fix the problem I mention in first one. Those foam looks not so rigid on this draping, and the line looks like is alive. This is what I expected, knitwear it dead, and how to use 3D printing to make it being alive when model wear one it, no matter she or he is dancer or not. 

52c82e750cee26ee54000178_kp32.jpg

It still got some drawbacks that I don’t like, such as each foam is disconnected to others, and the “hole” don’t have any interaction with “printing”. It seems like what I am doing is just put “printing” on to knitwear, but not to integrate. Try to correct it next time!

Jersey and Foam Experiment 1

27.Dec.2013

By using Jersey fabric, knitted fabric, simulating knitwear structure and foam to create 3D-printing-like shape, and combine them together by draping. First, I didn’t think of how to combine them but I was thinking how to use jersey to express the feeling of dance, and repeat again this project is based on KNITWEAR. So I quickly draping on to semi-scale stand about how I feel about dance, creating some curves and holes. But it was horrible, the first prototype, I gave up this one.

52c6aac0dd604e610e0001cc_kp3.jpg

And the second one was better, balanced appearance and also not so exaggerating. So, after I captured a few photo from that, I started to think how to add foam on to it. Looking at the patterns and departing them into several individual pieces, I didn’t consider too much at this stage, but actually thinking adding foam to create the design that knitting is difficult to achieve. Layer with gap, those rhythm from pattern to pattern, jump off from fabric, these are my observation in this design.

52c6ab8d2b9943620e000210_kp1.jpg
52c6aba3dd604e610e0001d3_kp12.jpg

Reflect to my project, with this method I can create and develop more designs quickly, at the same time, these designs are supposed to be my resources in the future. But I don’t think this method is enough to present both knitting and printing can create, it must be applied with correct fabric and more suitable material for simulating 3D printing.   As a result, after a few experiment I will start to working on my knitted textile with Shima, especially in partial Knit.

Circle shape form 2

14.dec.2013

52acf1e0747a641369000376_CCF12.jpg

The interesting part I mentioned in Circle Shape Form in last paragraph is here, the red line part. The twist is distinctive obviously compare to others, it don’t have any twist like others, but it do form a curve, and these makes it stand out.

So I left this part on its original position and redesign the rest of foam and form. It makes the form look totally different from previous two design, it has more dynamic lines and gaps, its rhythm became stronger, and also some of those foam expanding and extending. It is AMAZING. Although they were same pack of pieces, if using different skills, it will present another feeling. So, done more experiments and gain more experiences. 

More observation with various different angles and details, more i can find.  

52aceb8e88cce88d36000405_CCF2.jpg

As a result of front part of design, I decided to add the other circle chopping into different pieces like previous one making it into a whole garment shape, and observing it with 360⁰ full angles. Watch it with slider.

52aced979b203712690004b7_CCF211.jpg
52acee0c9b203712690004ba_CCF212.jpg
52acee259b203712690004bb_CCF213.jpg

Reflect to my project, after these experiments, I considered that foam, regardless, can be easily shaped into as much possible as you want, there still has its limitation. In designing in detail, I have no choice but follow those piece of foam how it can be shape in each individual, not everyone is suitable in any degrees of angle or also I don’t know whether it is suitable for twist or bend. So in this condition, I must find some more flexible and more easy to shape than foam, and more similar when I design in 3D model.  

Circle shape form

13.dec.2013

It starts form a circle, because I want it to be more organized than free line series. So I cut a round shape from my foam, and chopped it into different size piece, you can see it in the picture. 

52acd91da7eaf38b36000347_WP_20131212_22_12_49_Pro.jpg

original order

With the first try, I pinned them followed by its original order as a circle on to stand. Because the stand is a 3D object, the outline distorted becoming an irregular shape forming ups and downs slightly. You can observe it in the picture. Thus, I also think that I can add some design, such as combining knitted fabric. 

52acc86c88cce88d36000305_CCF.jpg

twisted form

Next, with the same pack of pieces but arranging those randomly with curve making it looked like flowing on stand. This was a first try that I twist those pieces into different direction, and it was quite difficult to control, and the most difficult part is that I cannot imaging in my head with those random twist till I make it real on stand, that cause a problem that how can I do it with 3D modeling in computer.

52acc8e288cce88d36000308_CCF1.jpg

Back to work itself, it looks not bad with those twist slightly flowing on, and one interesting thing is that the interaction between those gaps and holes, it will be more interesting if someone wear it on with a fully developed garment and interacting with those gaps and holes.

Reflect to my project, the test was a successful one, I can feel some rhythm between lines and gaps, but I suppose to try a bolder one with more powerful imagination that completely let the dress not like a dress, and I found something worthy to give a try.

Free Line Shaping Form 2

12.dec.2013

After I developed those two free line form, I start thinking to do something that I didn’t try before. First thing is texture which I did it via Photoshop before but not actually on the foam itself,  second thing is thickness, because of the foam I bought are all from same retailor which are all same in thickness.

As a result of those two points, I sticked several layers of foam together and I got three times thickness than previous, then I used hot wire gun to create straight line on the foam forming a texture. Later, I found that although each piece is beautiful individually, but after I pined them on to stand I just thought that is awful. It looked like a heavy armed armor, and I don’t want to wear it at all.

52acd48a88cce88d3600036d_TCF.jpg

Reflect to my project, however, it also reminds me that a similar work with lacer cutting, the organic line and also looks like an armor, but lighter obviously. Something start happened within all of my experiments that my works begin merging and mixing. 

Nevertheless, I will continue to try different simple texture, or try thickness variously.

52acd5279b20371269000460_WP_20131214_21_55_23_Pro.jpg

free line shaping form

11.dec.2013

I drew some pictures after I found that two photographer and start to think how to transfer those dynamic line into my design. So, I used rest of my form, which is the easiest way to do that, chopping them into small pieces without specific shape, and sticking them onto quarter stand with 2 different approach which is also inspired by long exposure and time-lapsed photography.

52a8febf144cc5683d000fa4_CF33.jpg

One is randomly arranging them and pinned them onto the stand with some space between the stand which looks horrible when I pinned on all of my piece. But if I zoom out what I have done in quarter stand to a regular stand, the quality of whole piece 3D printing part would have a splendid texture on it if I adding more texture on it.

52a9032817e2387f05000da0_CF32.jpg

The other one is that I pinned them together followed silhouette of the chopped piece as close as possible, then I found that not only more elegant and in harmony but also present a flowing quality with the pattern. However, what I did with this method, I cannot find the potential of that only 3D printing can do, and this means that no matter knitting structure or fashion patterning can do that.

But  it also makes me thinking that what 3D printing can do that rest of those cannot do,
- Different thickness to each piece or within a piece/pattern.
- Texture inside of appearance.
- Irregular wrinkles
- Interlock structure

52a9024017e2387f05000d89_CF31.jpg

Long-exposure Dance photo

8.dec.2013

 Bill Wadman / motion

He was inspired by his friend showing him a series of slow shutter speed images his friend had taken of a boxer with the movement of punching his opponent. And later he was planning about capturing people who move as part of their job, such as athletes, construction, cooks, etc. But he began with dancer, he found that those photos were amazing, so he decide all the subjects should people whose use of motion is their living.

52a4ef55795057dc0a0007bf_Bill.jpg

Shinichi Maruyama/ Nude 

He tried to capture the beauty of both human body’s figure and its motion, and each of photo were combined with 10,000 photo of a dancer together. By putting them together uninterrupted, the outcome appears different compared to what actually exists.

52a4f08f4bf3c5434e0005a6_Sinchi.jpg

Reflect to my project, when I am wondering how to record the movement of dancer, I think of long-exposure photography and time-lapse photo. Then I found these two photographers who shoot the exactly photo that appears in my mind. But I want the photo to be more creative or dynamic, or even only part of the body is dancing, there are several ideas in my head. I will try to take some photos making all that to be real.

Full dress

6.Dec.2013

inspiration

I continued to develop my craft foam design today, I found that one of my photo has a similar texture compared to my previous work of craft foam2, it was a giant flower ball I took several years ago. So, I used the same chopped craft form pieces to create a similar shape and texture, just like the pic from left.

52a39ff3122fe58e08000020_FD1.jpg
52a3a03693f49f8f0800001c_FD2.jpg

developing

After that, I pinned it on to stand creating a half lower dress, and adjusted a little making it more elegant and balanced. Then, by re-designed in Photoshop, I found that it is really beautiful beyond my imagination. 

Moreover, I put the previous upper half body dress together, with the same design language, the full dress is amazing! But I realized that it still looks like designed under Iris Van Herpen, and also there is not any point relevant to performance or any movement from those performer or dancer.

Reflect to my project, now, I begin thinking about how can I put some elements into my design which is relevant to capturing movement from dancer/performer, and also get rid of Iris from my design. Starting to draw some sketch about dancing.

52a3a0aabdd058004c000004_FD3.jpg

Craft foam 2

5.Dec.2013

Mosaic/Pile

As I been using this material for a few days, I continued to explore digging into different possibilities. I first chopped it into 4 pieces, then kneaded it after ironed it, this make it forming into distinctive piece from each other, then I pinned them together with various direction. With the lighting, the texture on it shows potential that I could do more experiments with it. Meanwhile I test with a larger piece that shows more wrinkles on it that I can control it easily. 

52a1afa43c95e9781400019f_CF21.jpg

Mosaic

As a result, I chopped more pieces into square shape with the same finishing, but no one can be identified without named on it. So I borrowed a quarter scale stand to stitch on it and recorded it. 

After I had finished, I found it difficult to control the direction of each pieces, I could barely pinned them all together and formed a disagreeable shape. But it did predict how it will look if I enlarge them into a normal size with 3D printing attaching on a standard stand.

52a1bb008772f6761400026a_CF22.jpg

Pile

Then, I used another method with randomly arranging on to stand, this one may had a more 3D looks, but I prefer the previous one than this one. Because an over loud shape is not what I want to make. In another way, it offers a more possibilities for my project.

52a1ba783c95e978140001e0_CF23.jpg

Reflect to my project, I suppose to try more different method to construct my own-way 3D modeling, then applied into programming in another way witch I cannot tell now. Obviously, the easiest way is to hire someone to help me with 3D modeling, and I will cost a fortune to me. Anyway, to explore, to dig, to adventure is what I can do now.

peter Gentenaar

4.Dec.2013

Paper Objects

He is a paper work artist. He used paperwork to create 3-dimensional sculpture with bamboo-supported structure, and the shapes he captured, to me, it looks like an instant moment/picture of a dancing woman with a crazy move, and the structure were in a very organic line expanded from the woman with a dynamic looks. But he used to famous for his paper painting in a 2-dimensional way, and the reason began to create this project is because when his engravings had such deep relief, that commercial paper could not fill it.

Reflect to my project, when I first found his work I thought it was what I want to present in my final prototype. But after I did some research in his works, I considered that his work had a completely different concept from mine, but it definitely looked like what I imagined in my head. 

However, the bamboo-supported structure will never find in my project and the paper is not a proper material for my research, the 3D printing product has an enough power to support itself, and the knitwear in some way will not appears in a 3-dimensional looks in my project. 

Craft Foam

3.Dec.2013

heat forming

This type of foam can be heat forming by iron indirectly while is blocked by several layers of newspaper etc. Meanwhile, the foam after ironed can create not only organic shape but also solid line pinched by my hand easily, and it can maintain the shape lasting forever unless I iron it again.

Reflect to my project, craft foam became a cheaper and quicker approach to create 3-dimensional shape than to program in 3DMAX, CAD etc.. In my first try, the organic one, the It can be formed into what I expect easily, but the problem is that it only got one thickness that sometime I want to apply different thick fabrics in my prototype, so I must find another type of foam to achieve this needs.

529e6456d3a8837f07000037_heatfoam1.jpg
529e64a32b886ca948000046_heatfoam2.jpg

lacer-cut dress(paper sample)

28.Nov.2013

process

I drew a dress-like shape by using Illustrator with lots of inner organic lines to test if the texture and the effect of lacer cutting is suitable for me or not. And I found that lacer cutting can create a very delicate pattern with paper if I want, but talk about fabric, it is another story as Sue said. But that still a worthy try for me to try the effect on fabric as long as I decide what kind of based fabric I want to use, or I could apply lacer cutting with leather. 

Reflect to my project, lacer cutting was applied by Iris Vas Herpen during 2006 to 2009, she used this technique with leather to create 3-dimentional garments/collections, and of course the garment were great! So I also really want to try lacer cutting as well. But I am a bit disappointing with lacer cutting, most of it are good but the detail is not I wanted which means that besides the cut I like more details and textures on the fabric itself.

during lacer cutting

Ruth Asawa

21.Nov.2013

She is an immigrant from Japan to America, and she began her designs from 1950s. She used to think about how to use commonplace material in new and original ways was influenced by her teacher. Then she continued exploring diversity of materials during all of her art pieces within different aspects.

Crocheted wire sculpture 

These sculpture were made from iron, copper, brass and other types of wire. Rather than drawing line on the paper, she used line to draw in 3-dimenstional space to create more possibilities of line, and the sculptures were transparent which she mentioned audience was allowed to observe her works from different angle and might be printing different image in their minds.

Tied wire sculpture

Inspired by a desert plant, as long as she received the plant she, at first, wanted to draw it, but it was too difficult to depict it on paper rather than using wire sculpture. Then she began to see all the possibilities from various aspects, such as shapes, forms, colors and abstract forms using geometric center.

Reflect to my project, the part of the combining different materials to different designs is similar to my project, so that I could do some connections to my experiment with wire of different materials that i did not consider before. And there actually research in this area before. Besides, the organic lines and shapes are my drawbacks, in some points it is really interest that the transparent quality of the wire designs, the transparency is a unique point while designing that may give you more unpredictability and if I can control it properly, it will be really interesting.

5293c4752523531e32000004_RuthAsawa2.jpg

Fashion workshop 2

20.Nov.2013

In this class, we learnt how to rapidly develop our previous draping garment with different materials from magazine or any texture we like within two hours, the teacher said that if we were familiar with this method we can easily create more than 8 to 10 images in two hours. 

I choose two of my draping garment from previous workshop and create two different garments individually. I used the texture that most of them were from architecture and also a few with natural organic appearance to form a compare with lines and colors. I depicted the outline on the lay-out paper, then stated to explore the textures combining together. And finally I got four pieces. 

Moreover, the method I learnt from today is absolutely suitable for me to expand the possibility of my drawing or modeling in the future, I can easily find what texture I want to create, and having a quick image of that, decreasing the possibility of doing wrong. 

5290d22d289acd01640003d2_FashionWorkshop2.jpg

Samples from i.materialize

19.Nov.2013

A company based in Belgium called “Materialize”, they are the pioneer of 3-dimensional printing customer online service, and there is a website for consumer called “iMaterialize”.  Every one of us can upload our own 3d design model and they will help you step by step to produce your own design works and send it to you. They got 17 different materials for 3-dimensional printing, and two of them which are the most welcome materials in fashion area are polyamide and the other one is call TPU92A which is a rubber-like material and is fully flexible material which means you can print something you can wear it in your daily life.

And I asked them to send me the samples of these two materials, so that I can compare two of them which is a better material for my project.

polyamide

I received 7 colors pack of polyamide. First look, the color is bright and is tough, but as to my knowledge, it do have slightly flexibility when in a large scale that I could be slightly bended when we do that, and also the color is diverse on the website. 

Theoretically It can be dyed with any color if I want, but it will cost a lot, the website now provide black, dark gray, blue, and red, to keep prices as low as possible. 

5290b70d289acd01640002f4_sample.jpg
5290b72e6405b17b5b00032a_sample2.jpg

Rubber-like TPU92A

TPU92A is a rubber-like material which It can be bended in a large scale like what I presented in the picture, and It will recover to its original shape as soon as possible, that means this material can produce garment or accessory which we can were in our daily life.  

But the color is limited, it only can be dyed black (origin is white). But this is a break new material that is first material with fully flexibility and it is still under developing.

drawing workshop 2

18.nov.2013

In today’s drawing workshop, we supposed to draw something relating to our own project, thus I printed out my image from my research, and start to use what I learnt in last lesson. 

First, I began with a dress from Iris Van Herpen in 2011, and I used newspaper to simulate the shape and texture that I found in the image. As I continued working on it, tutor just walked by and spoke to me something really worthy to think again and again. 

He said, you have to do something that comes from yourself, not always try to mimic what you look at, and try to find materials / elements in your previous works that may connect to what you research. And never forget to create new tool which you can find around you. 

Then he began to demonstrate. Above all, after he told me, I start wondering what is he mean and how can I integrate to whatever any other workshops or my project. 

So I finished my first work quickly, then thinking about what should I do with what I have. I found a similar image from my previous work and also another design from Iris, so I commenced to combine them with my own thought and create a shell-like painting which were floating on the paper.

The interesting thing was that due to the floating shell-like piece, it had a different landscapes from different aspects, and if we controlled the lightening that also gave a distinctive image. Then I bend the base paper, as you can see on the picture, the pieces looked like scales standing on the paper, I didn't come to this view when I was working on it. I was so exciting, I created something unexpected by exploring the paper in different aspect. This is a very important point to every MA student who working on fabric experiment.

528bf1b0636c8a22060002cc_drawingworkshop.jpg

Cloud gate dance theatre

16.nov.2013

This modern dance group based in Taiwan which was founded by choreographer Hwai-min Lin in 1973. Its choreography is combining with Asian classical dance forms and in Tai Chi and meditation, as well as in modern dance and ballet, and well-known by several performance, such as Nine Songs, Moon Water and Cursive: A Trilogy (including I, II and wild cursive).

Reflect to my project, 

Nine Songs, 1993

Lin combines dance techniques with modern dance and incorporates ancient Chinese poems, aboriginal Taiwanese village songs. 

This choreography has a strong narrative emotion and distinction, and this is the reason why it was admired by the world. Besides, the drama-like performance relate to Pina Bausch's form of performance.

528b830fa293e44b6e000bc3_cloudgateNine.jpg

Moon Water, 1998

Lin's dancers glide in Tai Chi-like movements across the stage. Lin wanted to pursue the cycle of life by water and mirrors. On the stage, Lin placed lots of water and mirrors, but in dancer’s wear he only use the white color representing water.

The simple garment give the dancer more space to express their emotion of how Lin thought of Moon Water, and the fabric they use strongly influenced the whole show when the fabric was manipulated by the dancer’s step and movement.  

At the moment they stopped, the fabric continually flowed in the air until the performer started another motion.

528b89882d97b1926c0008cf_cloudgateMoon.jpg

Cursive: A Trilogy, 2003, 2004 and 2005

Lin inspired during the Calligraphy class which every dancers in Cloudgate were supposed to attend weekly. He thought that there were several common points between cursive and dance, such as the flow, curve, and fiction versus reality. By the movement of body, muscles and sweat to describes the desire of calligraphy. And this is my favorite performance from Cloud Gate, because it combine a very traditional culture and the performance was fully described the depth of calligraphy by the performer.

528b8b97a293e44b6e000c24_cloudgatecursive.jpg

Johan Ku

14.nov.2013

He is a Taiwan designer who was famous because of his earliest collection called “Emotional Sculpture” and wined the Gen Art of The Design Vision of Avant-Garde in 2009. He specialized in knitting, crocheting, and also printing. In his master study, because he was not satisfied with crochet of creating garment, he created a skill called 3D crocheting which is the main method he created the collection of Emotion Sculpture.

emotional sculpture

3D crocheting as a main method of this collection shaped the whole collection with a crazy appearance, and he combined various thickness of untwist wool tops. When I first knew this collection, I was shocked whit everything, shape, chunky knitting, it was all beyond by knowledge. 

And now, I renewed this collection, and thinking how to transfer into my project, I was thinking about my project was crazy 3d printing with knitted based garment, maybe it was to narrow, knitting could be crazy as well, if I know the method, and I will try to understand what is “3D crochet”

Re-sculpture

This is his another collection after Emotion Sculpture. He made this collection was because he want to reduce the weight of the garment, the previous collection every single garment is crazy heavy. As a result, he made these garments. He used non-weaving fabric chopping into small size pieces and stitching them together with knitted-fabric based garment to form a sculpture-like shape. 

This collection is my favorite collection of his works, it looks really elegant and peaceful. But when I come across to my project, I am thinking how 3-dimensional printing design take over this collection with its own superiority in front of such an amazing piece. Texture. Texture might be the biggest outstanding superiority of 3-dimensional printing technology, it can easily draw every details of different textures, and to create it quickly. Thus, to imagine different texture become the most difficult part of designing in 3 dimention. 

Fashion Workshop 1

13.Nov.2013

draping

Draping is one of my dreaming thing I want to learn, and this Thursday was my first time reaching this area, but the tutor didn't actually how to drape. The only subject was to create six different feeling of draping; Vertical, Loud, Repetition, Cone, Speed and Soft.    

When I start my first draping garment, at the beginning I totally didn't have any idea because “vertical” was so straightforward adjective that I couldn't come out any else but line. And then I leave all things behind, just started it, all things make clear as soon as I started. I started to think about how this line would live on human’s body, and how it relate to another designed vertical line. All followed the instinct. Except the misunderstanding of the subject, other 5 of the subjects were going smoothly when designing as well as the first one.    

Besides, I started to realize that the different thinking way of design between fashion design and knitwear design. In my past experience, if I wanted to design a garment, the first thing was drawing the design outline and then think about how would the fabric like and blah blah…but after this class, I could find another way to start my design, drawing outline, and then try draping on stand thinking about what other possibilities can be discover.     

Reflect to my project, because of what I want to do is three-dimensional design, I cannot easily draw out what I think in my brain, and I may use draping in different material to represent the thought in my mind which is difficult to describe with language as well, such as sponge or Styrofoam.

pina bausch

12.Nov.2013

Her choreography was known for sadness and humor, and we can easily find that most of her works were talking about the relationship and emotion between man and woman. Besides, she linked every routine together forming a choreography, and also “Repetition” was one of most important part in her works. 

Café Muller, 1978 

This was her first open choreography. She combined dance and theater together. 

At first, not all the mainstream comments admired her combination, but after a while she began to influence the whole section of dance. In this case, Pina as a dancer behind the stage was moving like a water weed, sometimes stood still, and sometimes danced repeatedly to reflect the main dancer’s inner feeling.

528b7ec5c0312a936c000972_movingmeshes.jpg

Masurca Fogo, 1998 

Repetition was still one of the important element in this choreography. And at the beginning, the woman wear in red she looked like a water weed the same as Café Muller, she was manipulated by other dancer on the stage, such as a water weed moved by the ocean. 

Part of performance of Masurca Fogo  from YouTube.

Drawing workshop 1

11.Nov.2013

Charcoal painting

It was my first time using charcoal for painting, it can be easily told the difference from normal pencils, the texture, the thickness, all are different.     

But in this workshop, the tutor expected us to again use our body, arms and hands to create something real instead of digital painting or photo (but he still mentioned that digital things is easier to preserve our works), he also talked about to create new method by using that we used to paint, such as pencil, ink plus tissue or the newspaper (tore into pieces).    

Thus, I re-thought what I had in by bag, I got a few pens and nothing, so I tried to paint by my old tool with new way. No matter the outcomes was good or not, this process of re-thinking provide me a different view of my stuff when I start to design or create something new.    

Reflect to my project, it might give me a wider horizon of 3-dimensional design which means to designed by 3D software and printing it out, or I can look around myself and find out what I have and how I reuse it.

5285623d0a8244c506000915_coroal.JPG

Iris van herpen

3.Nov.2013

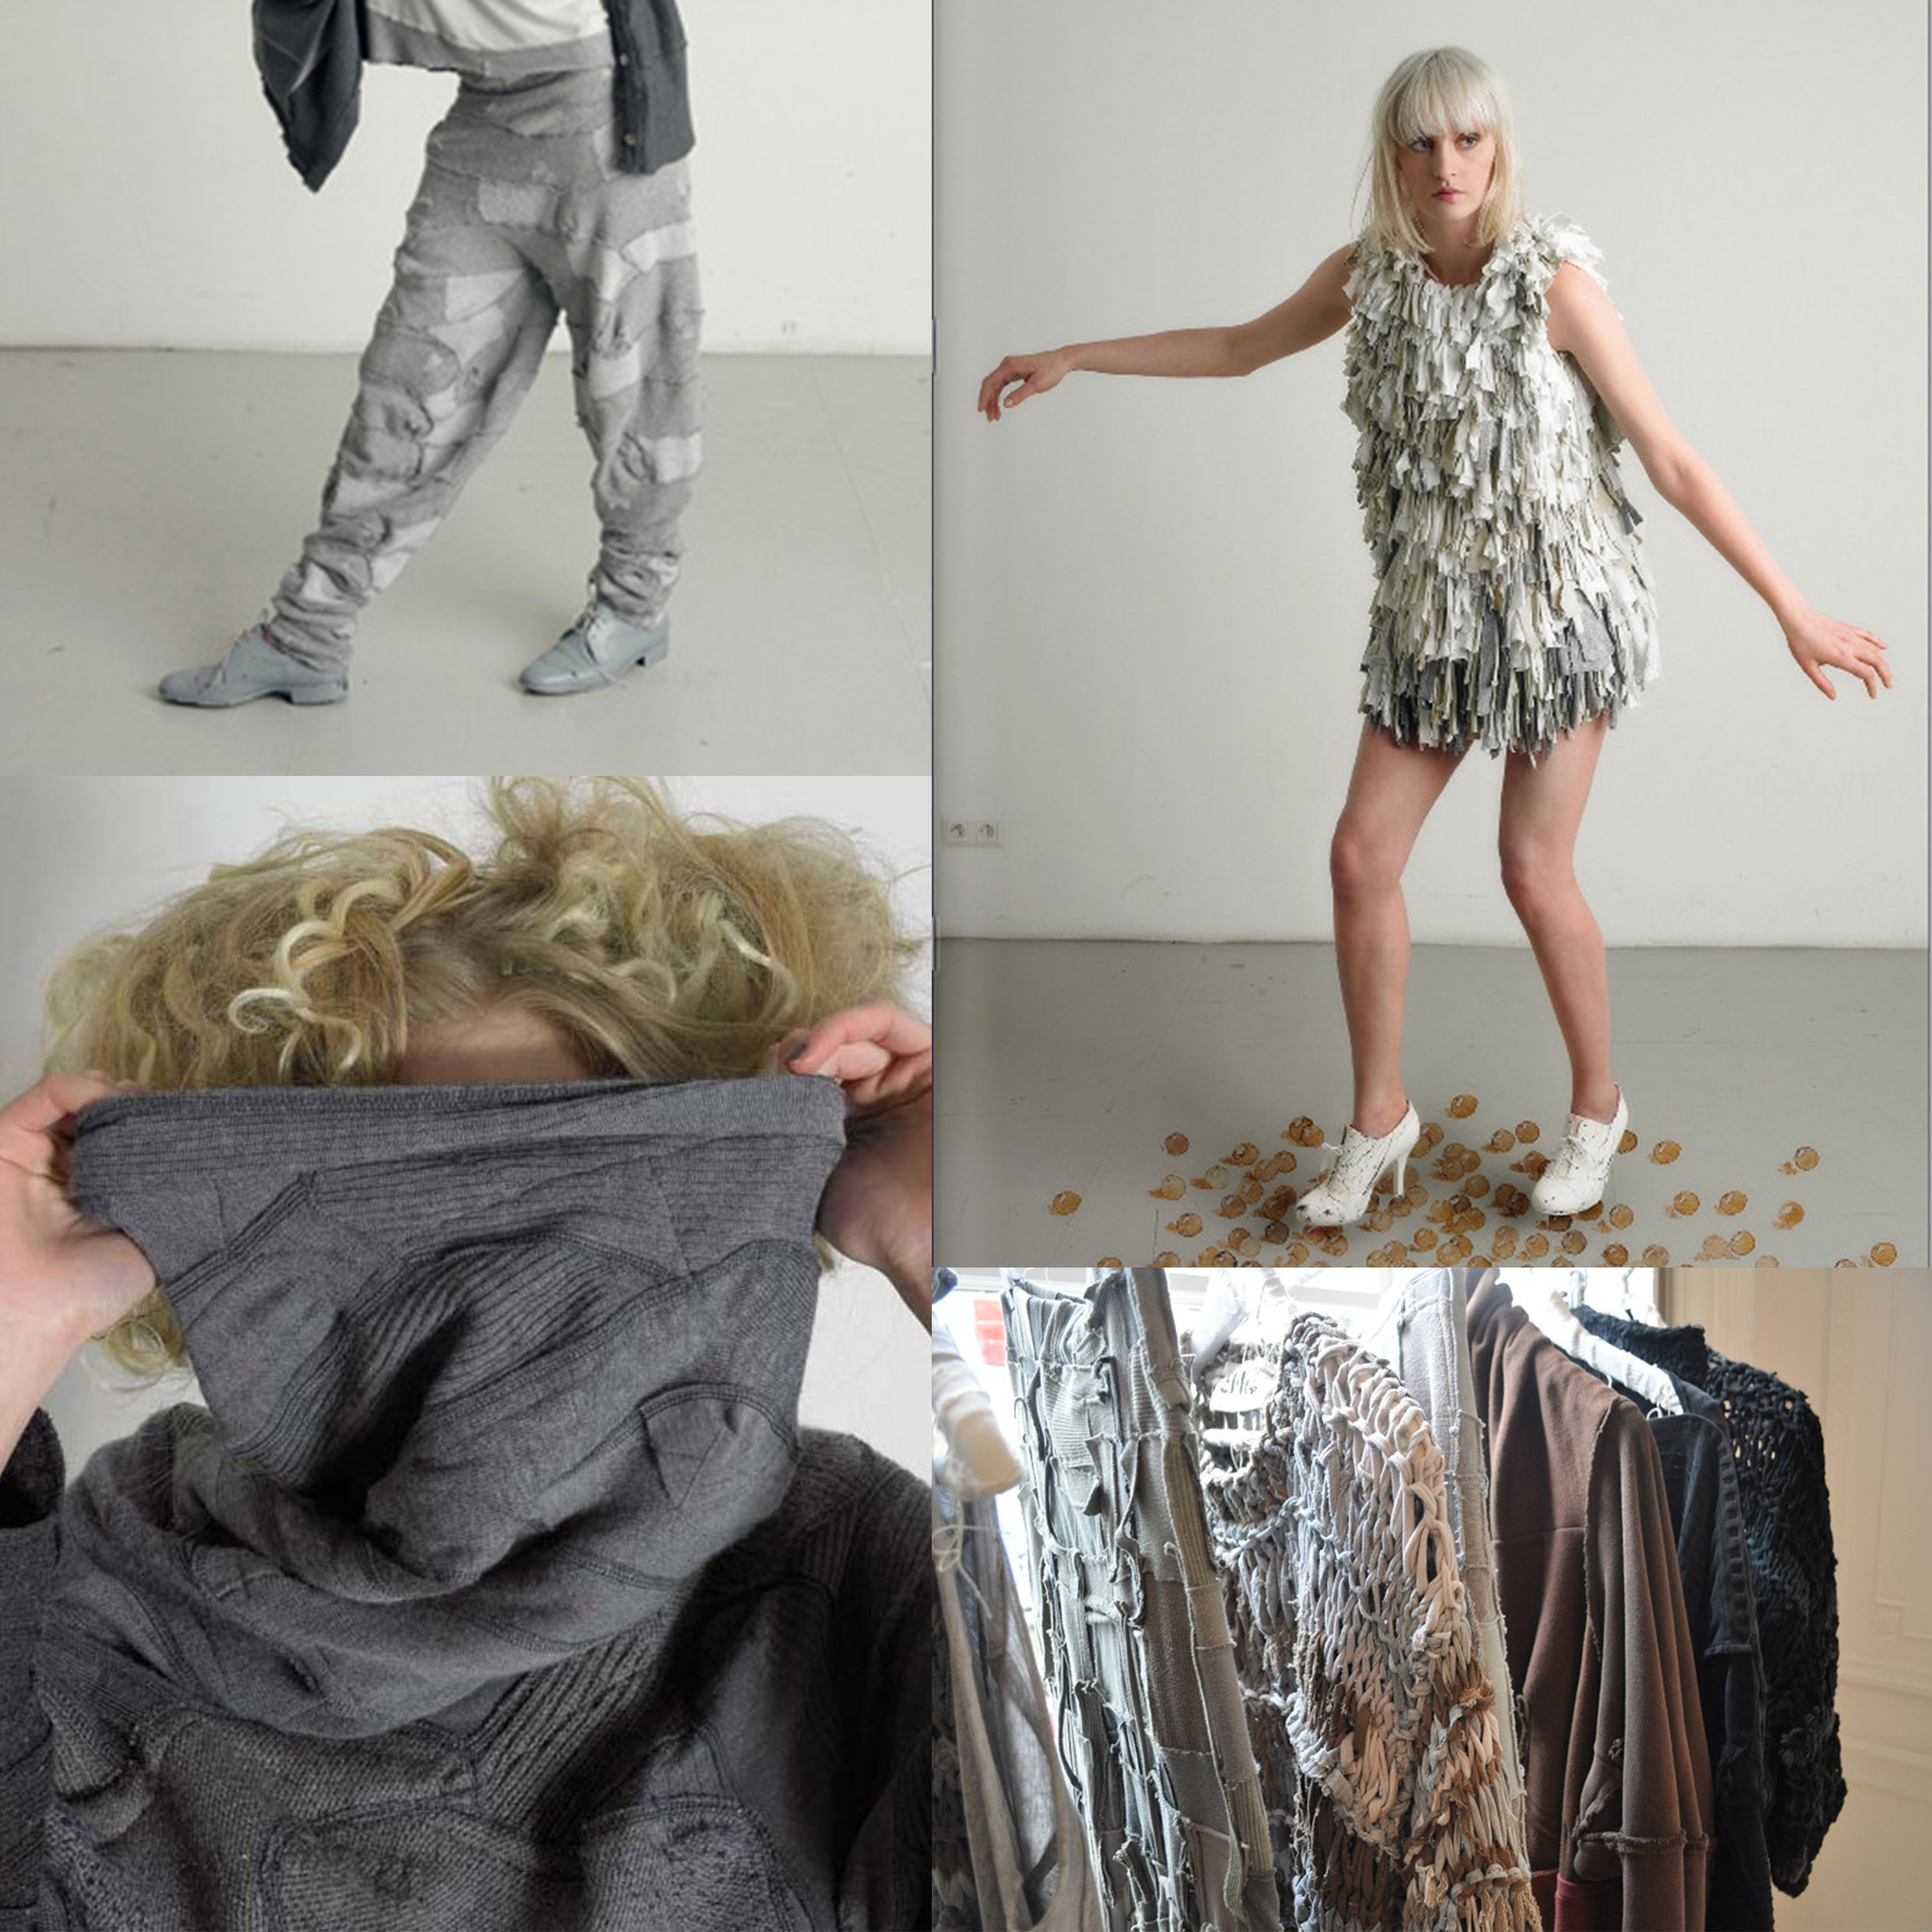
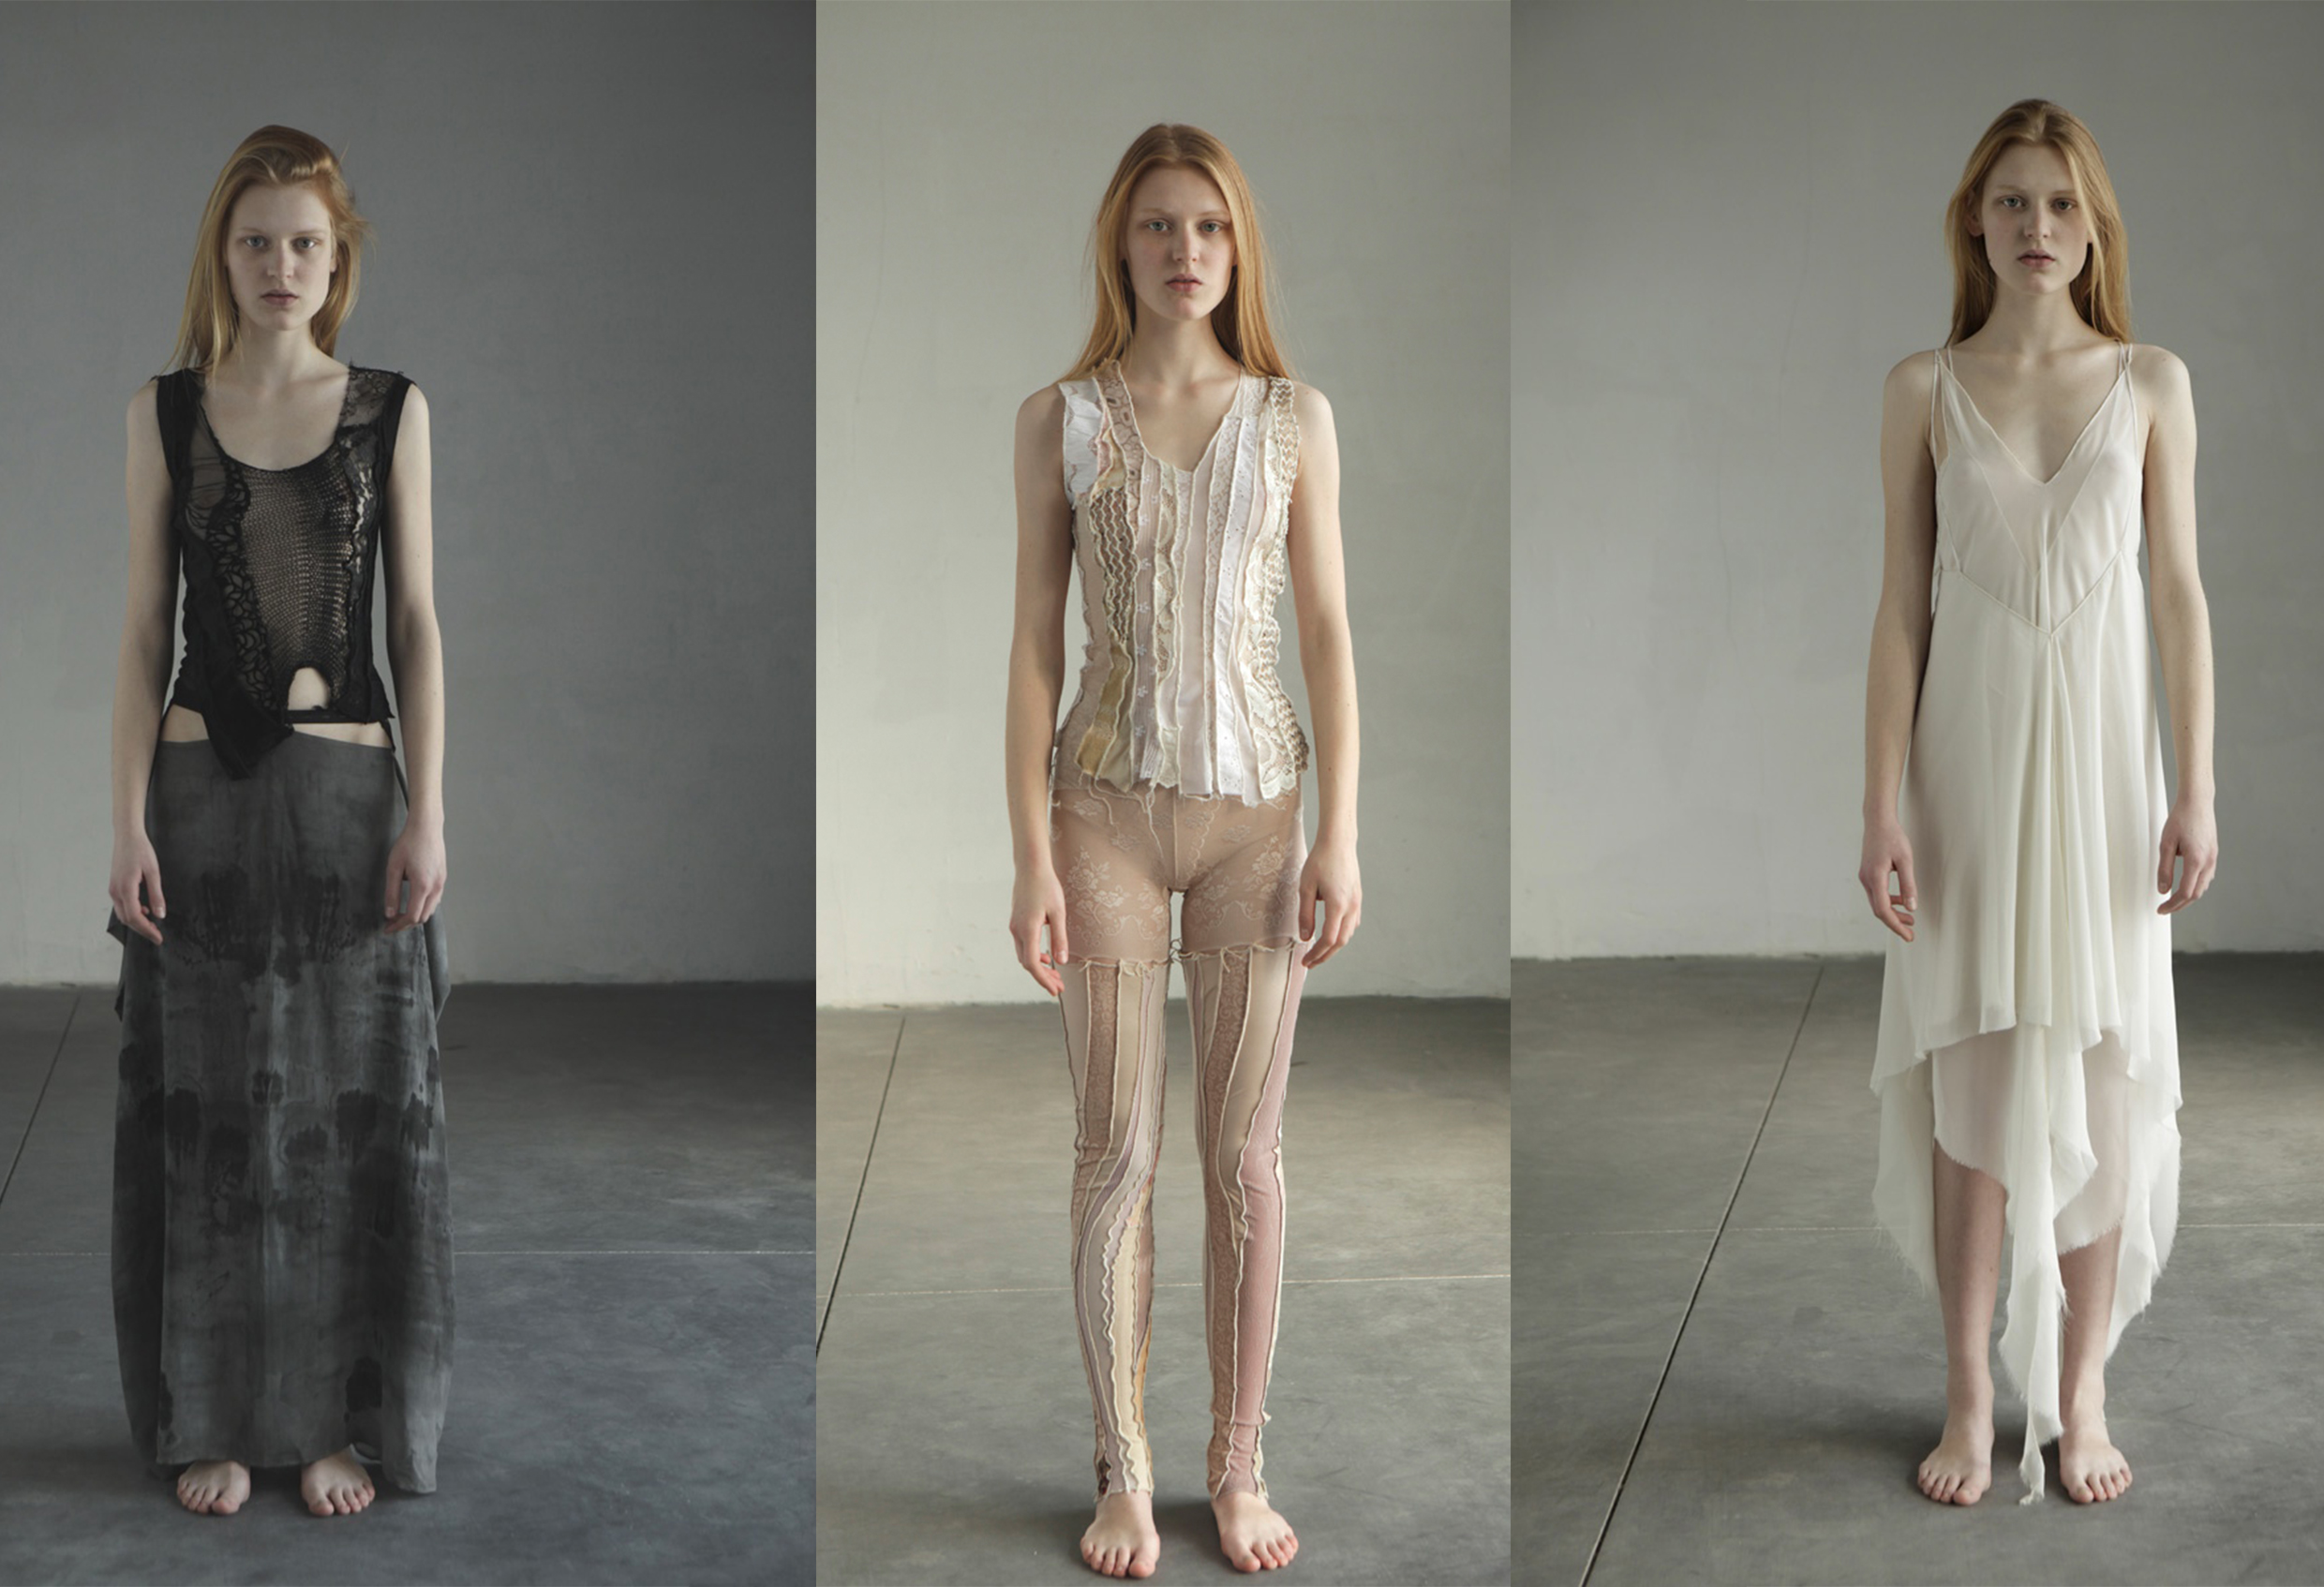
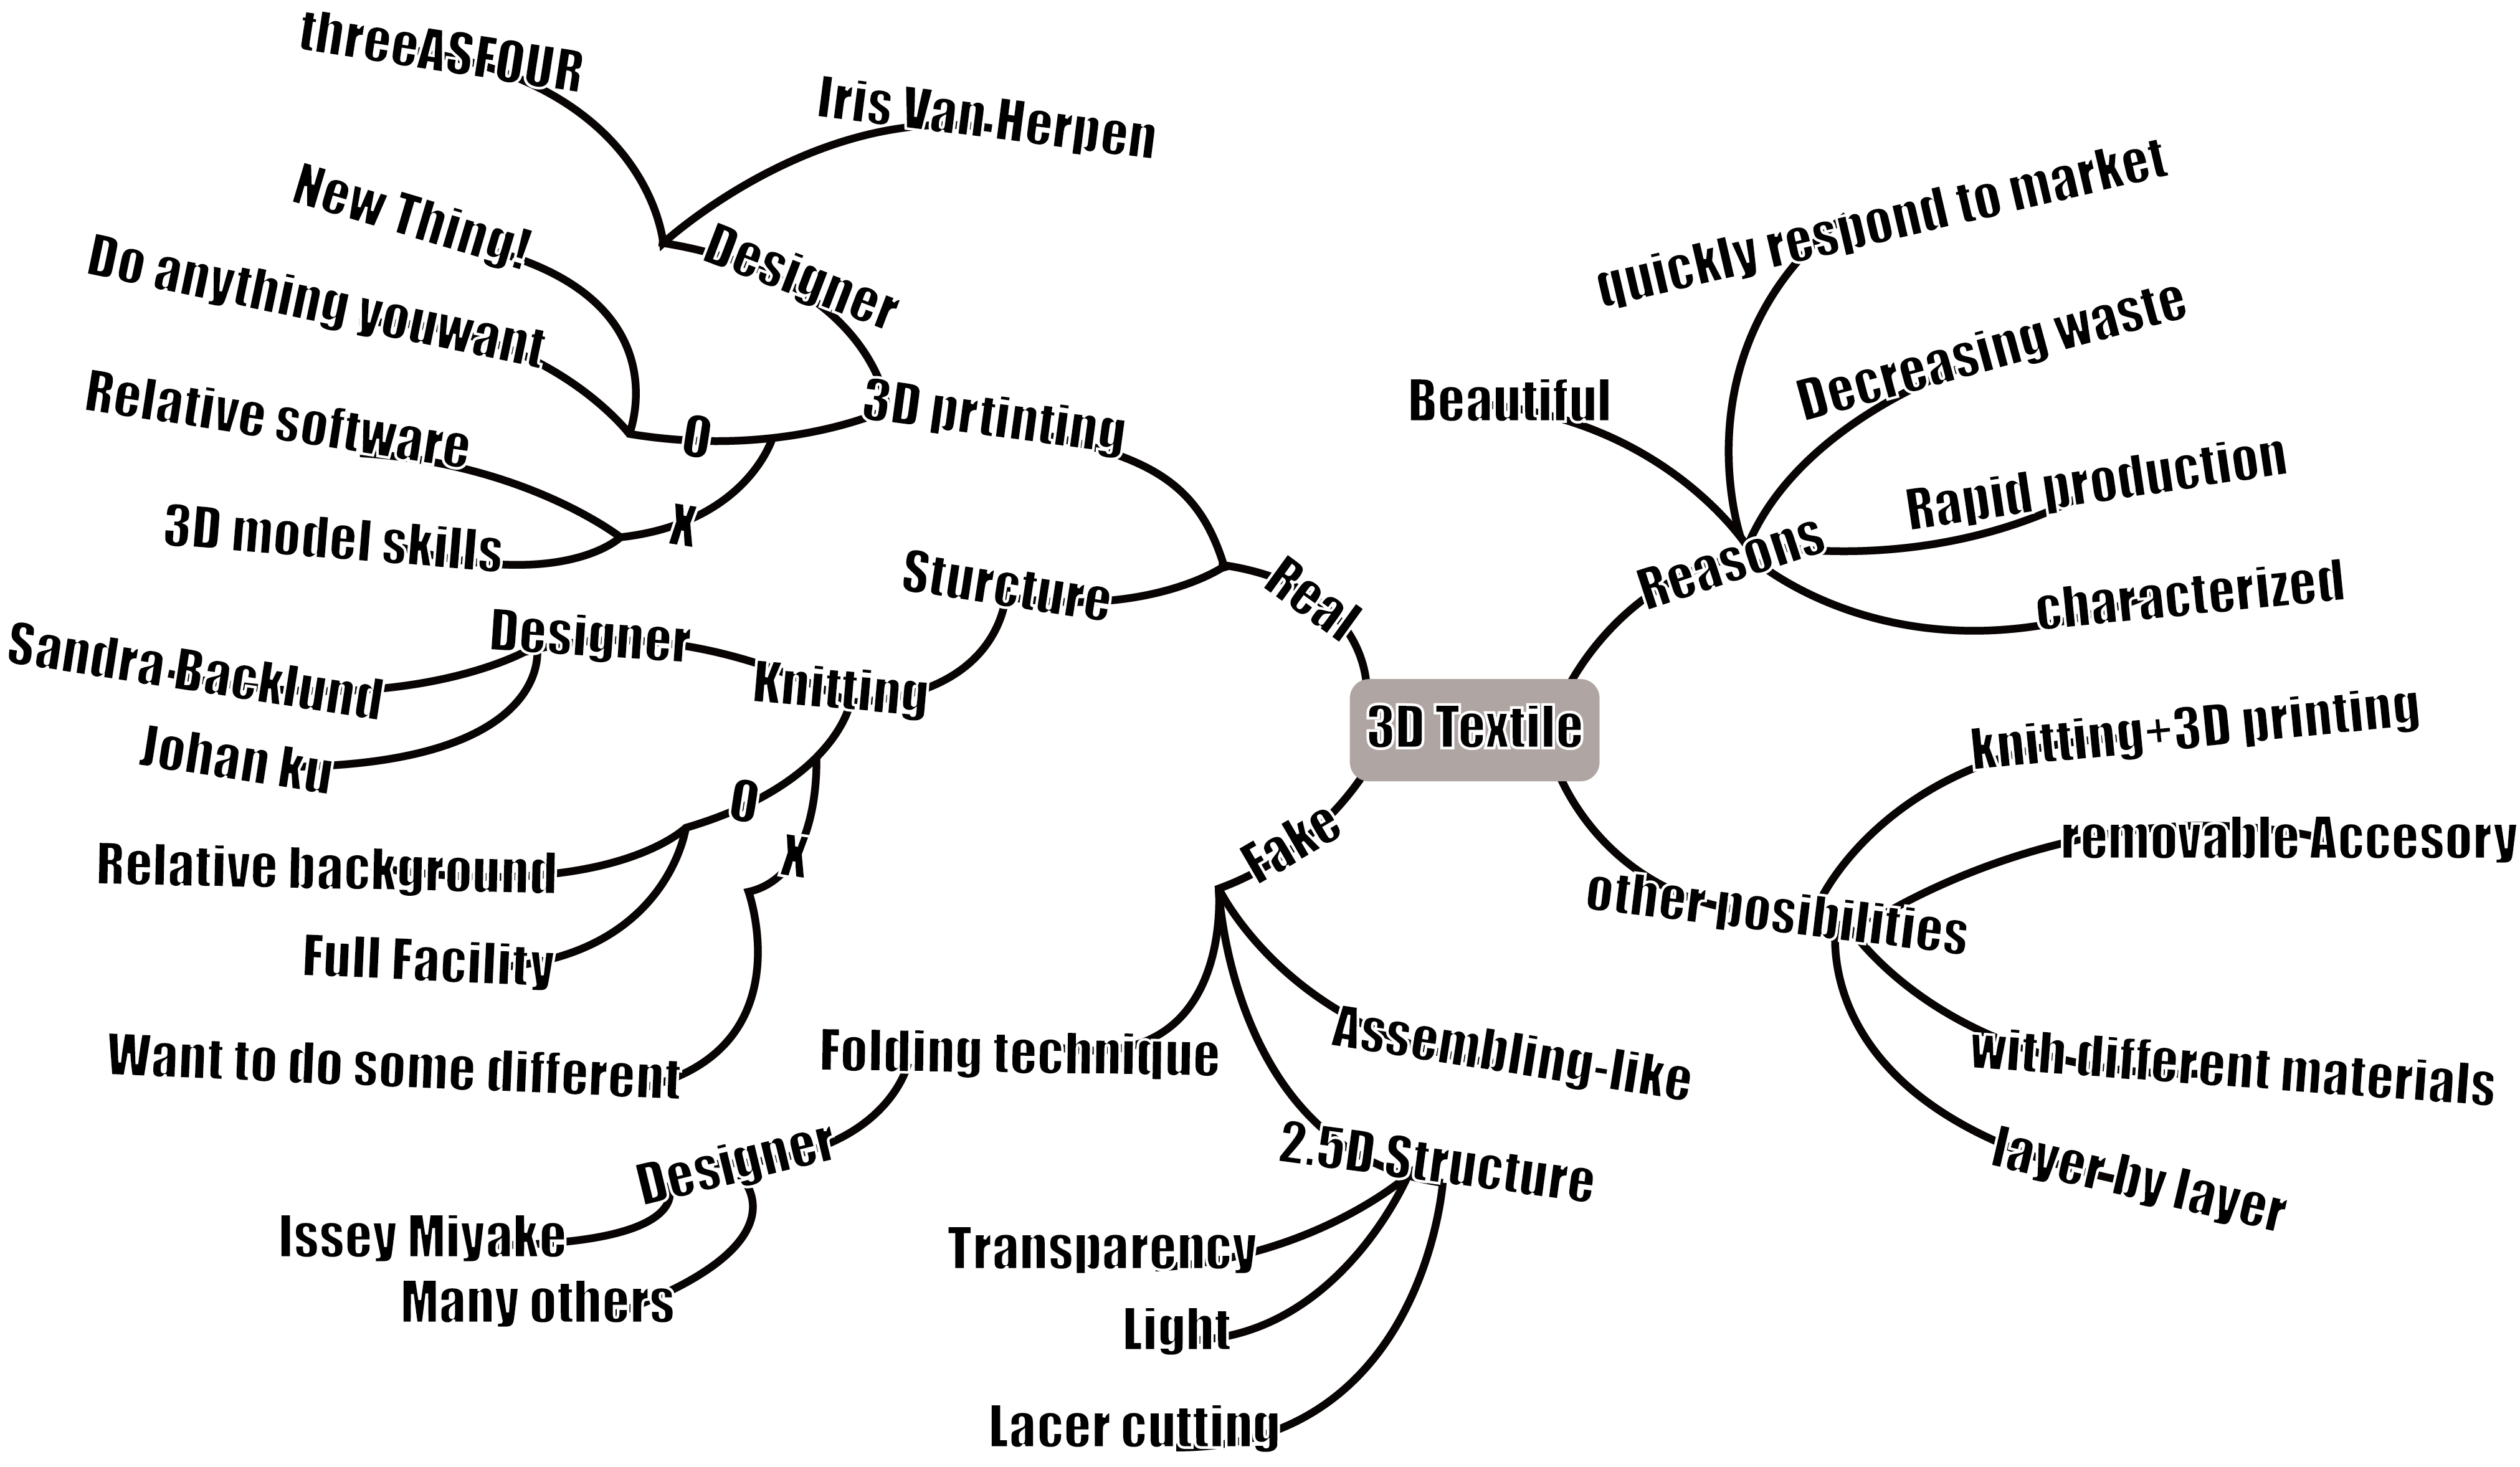
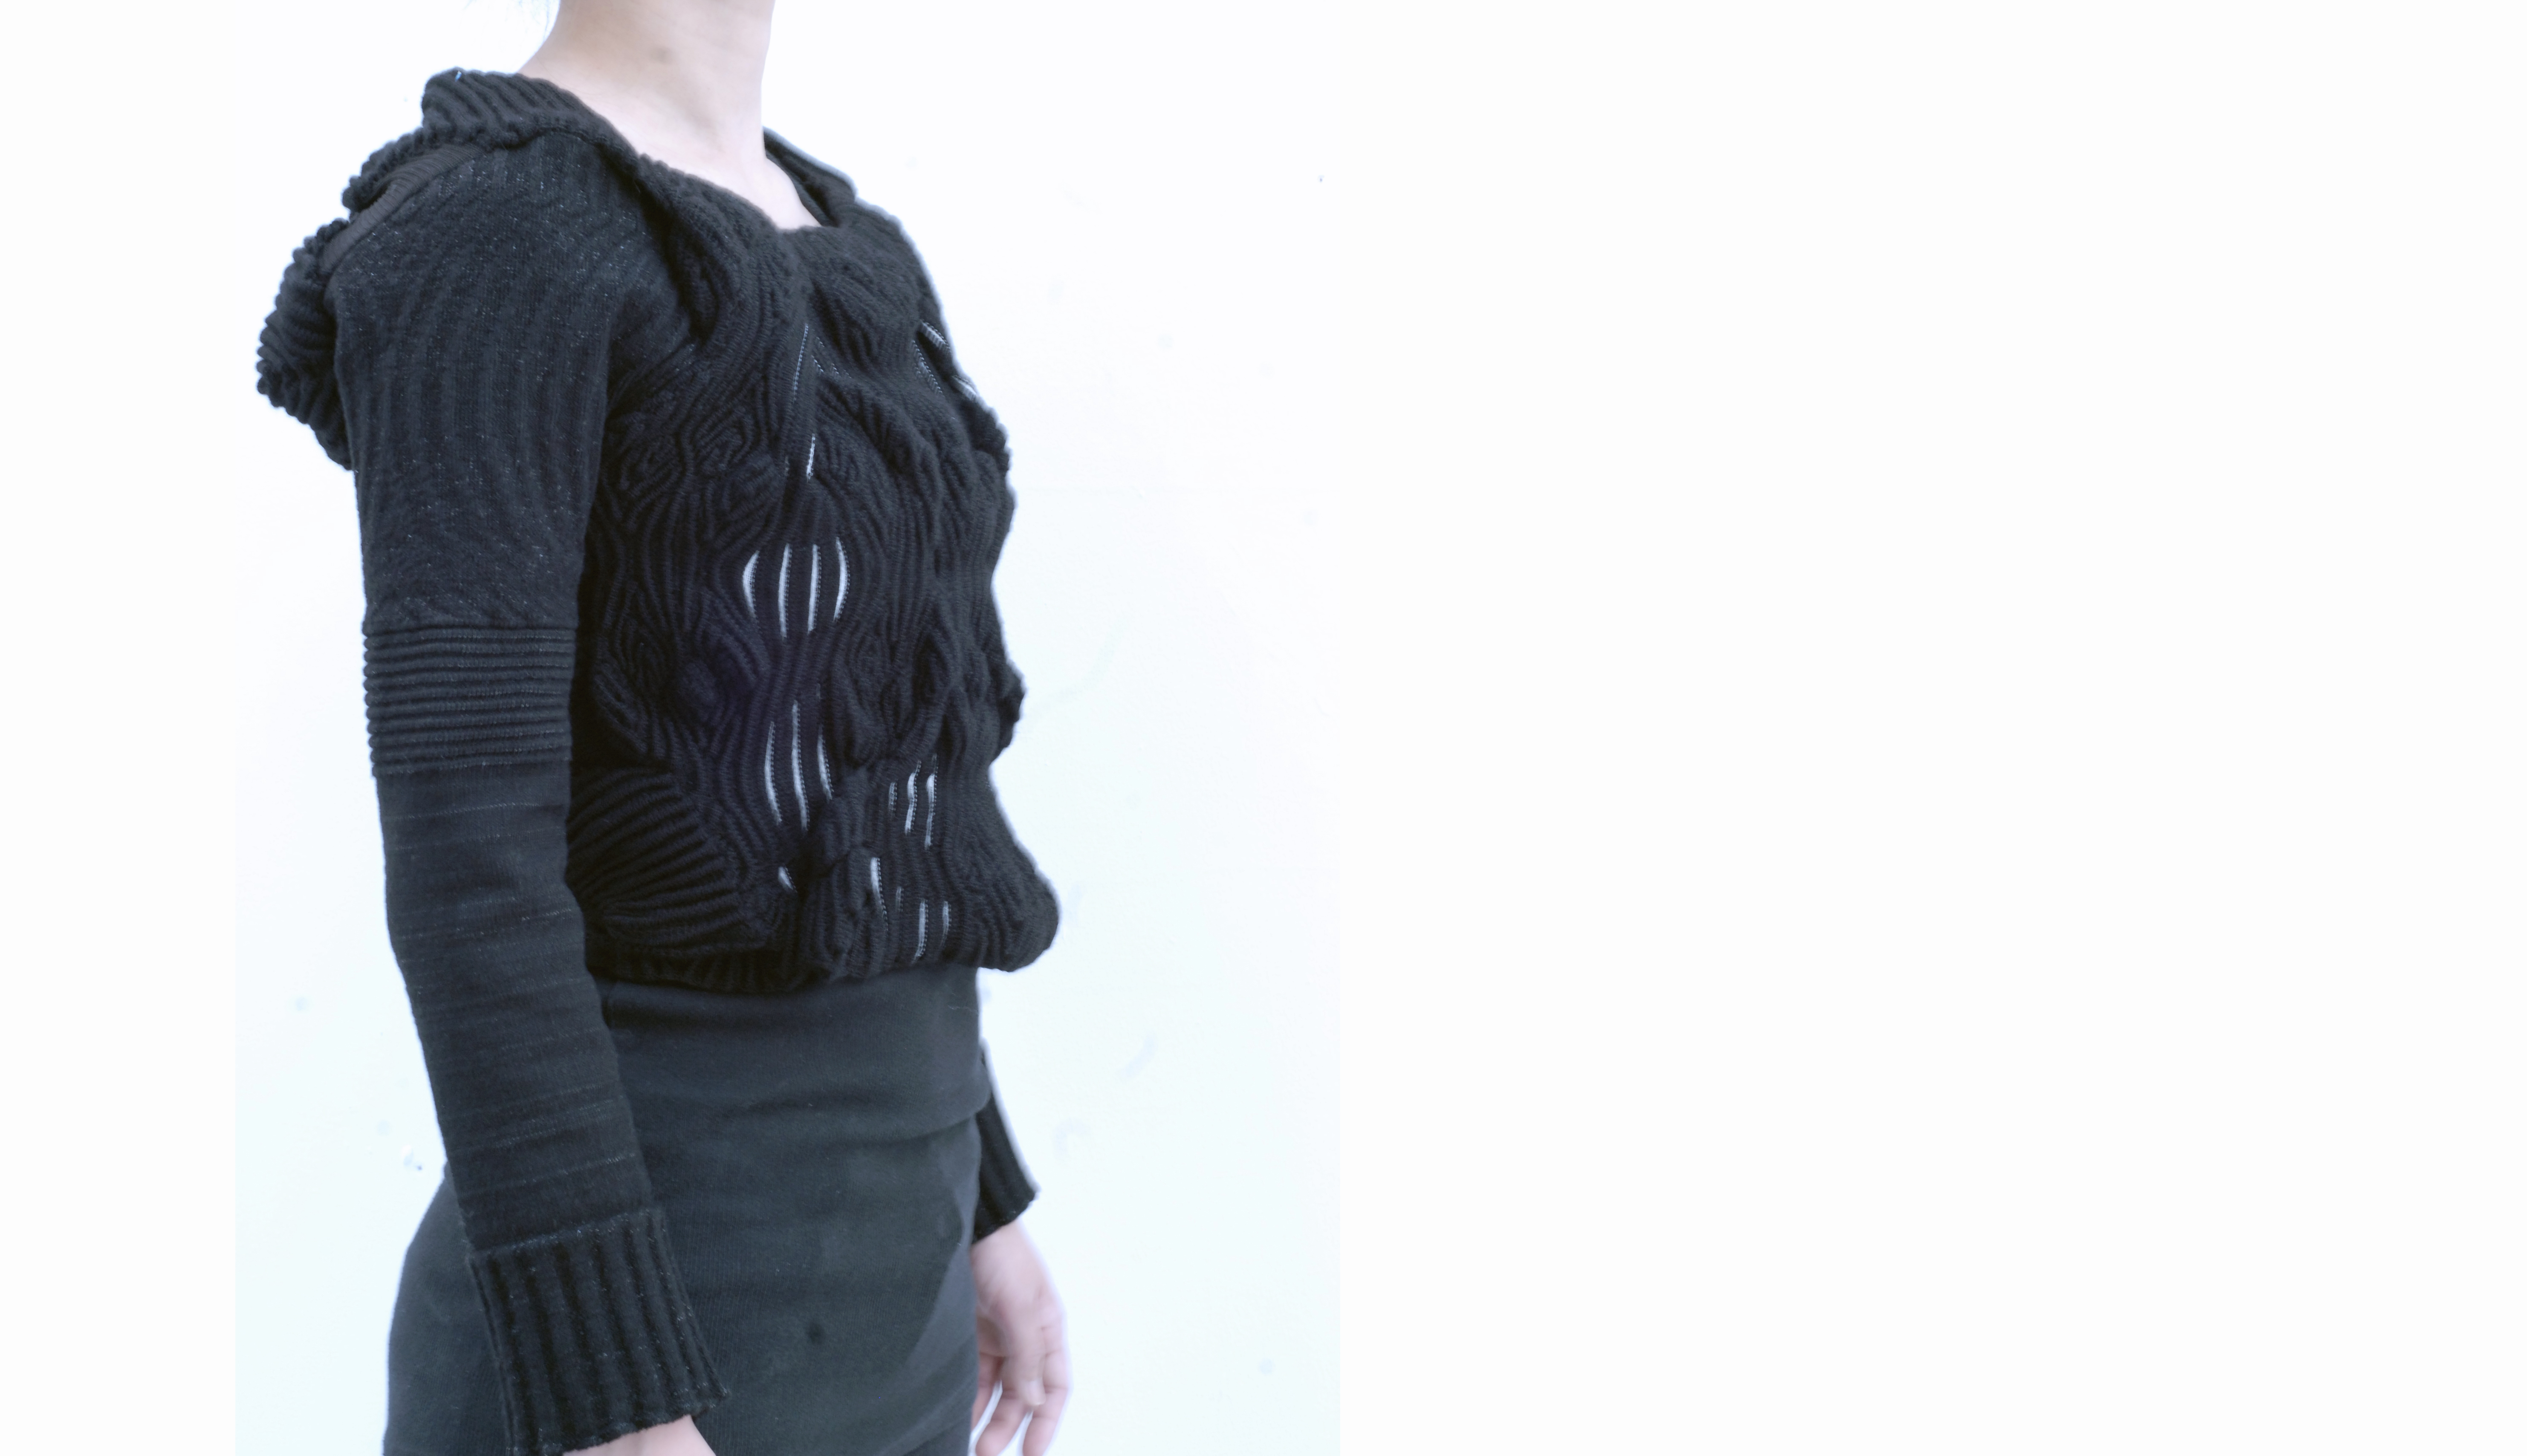
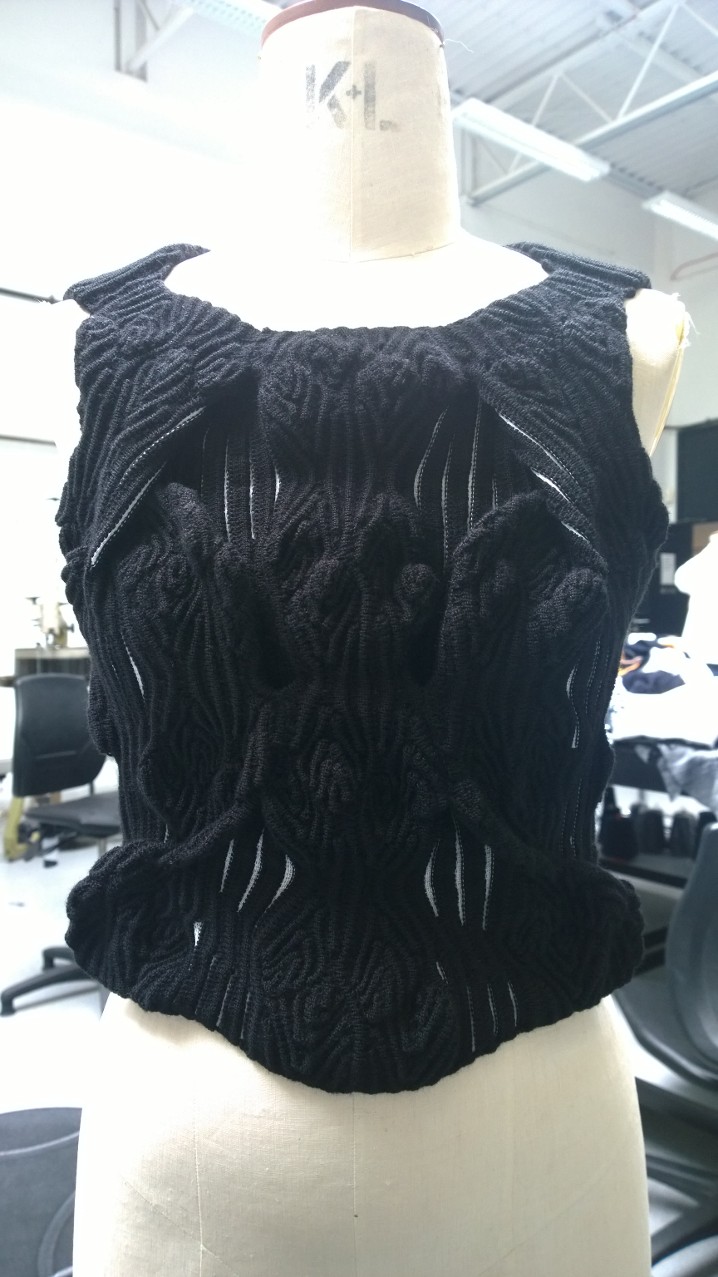
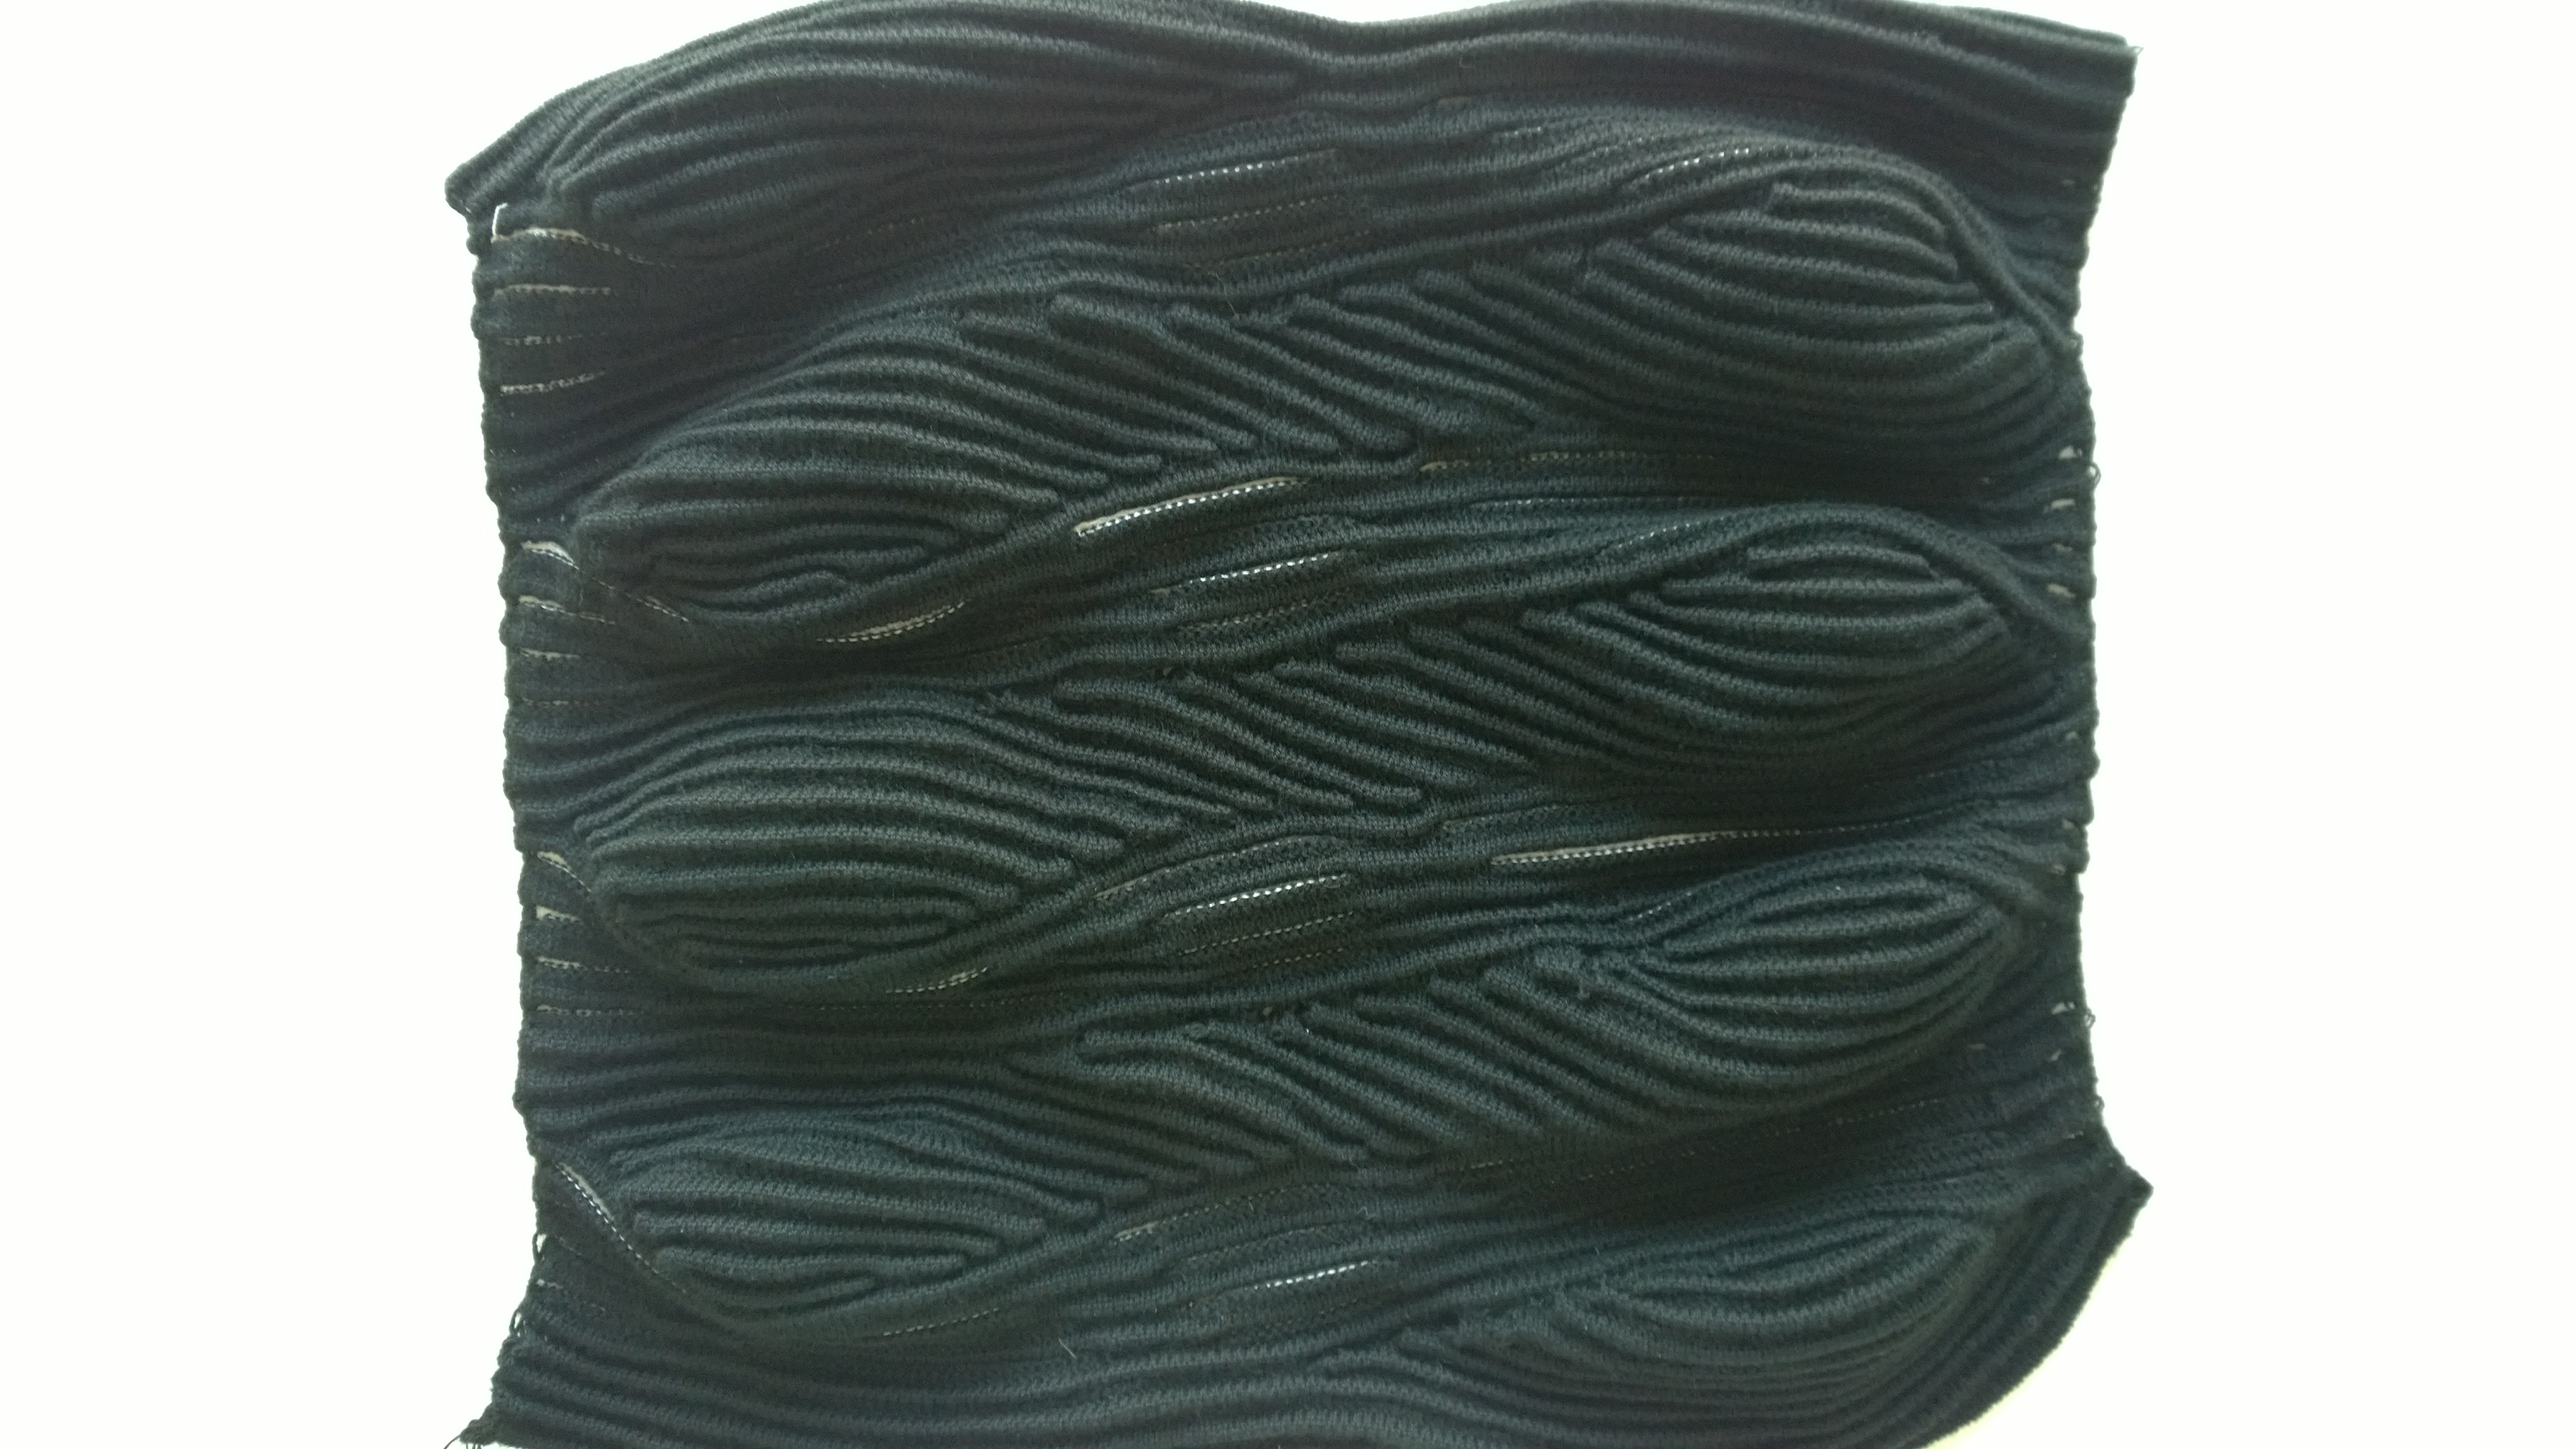
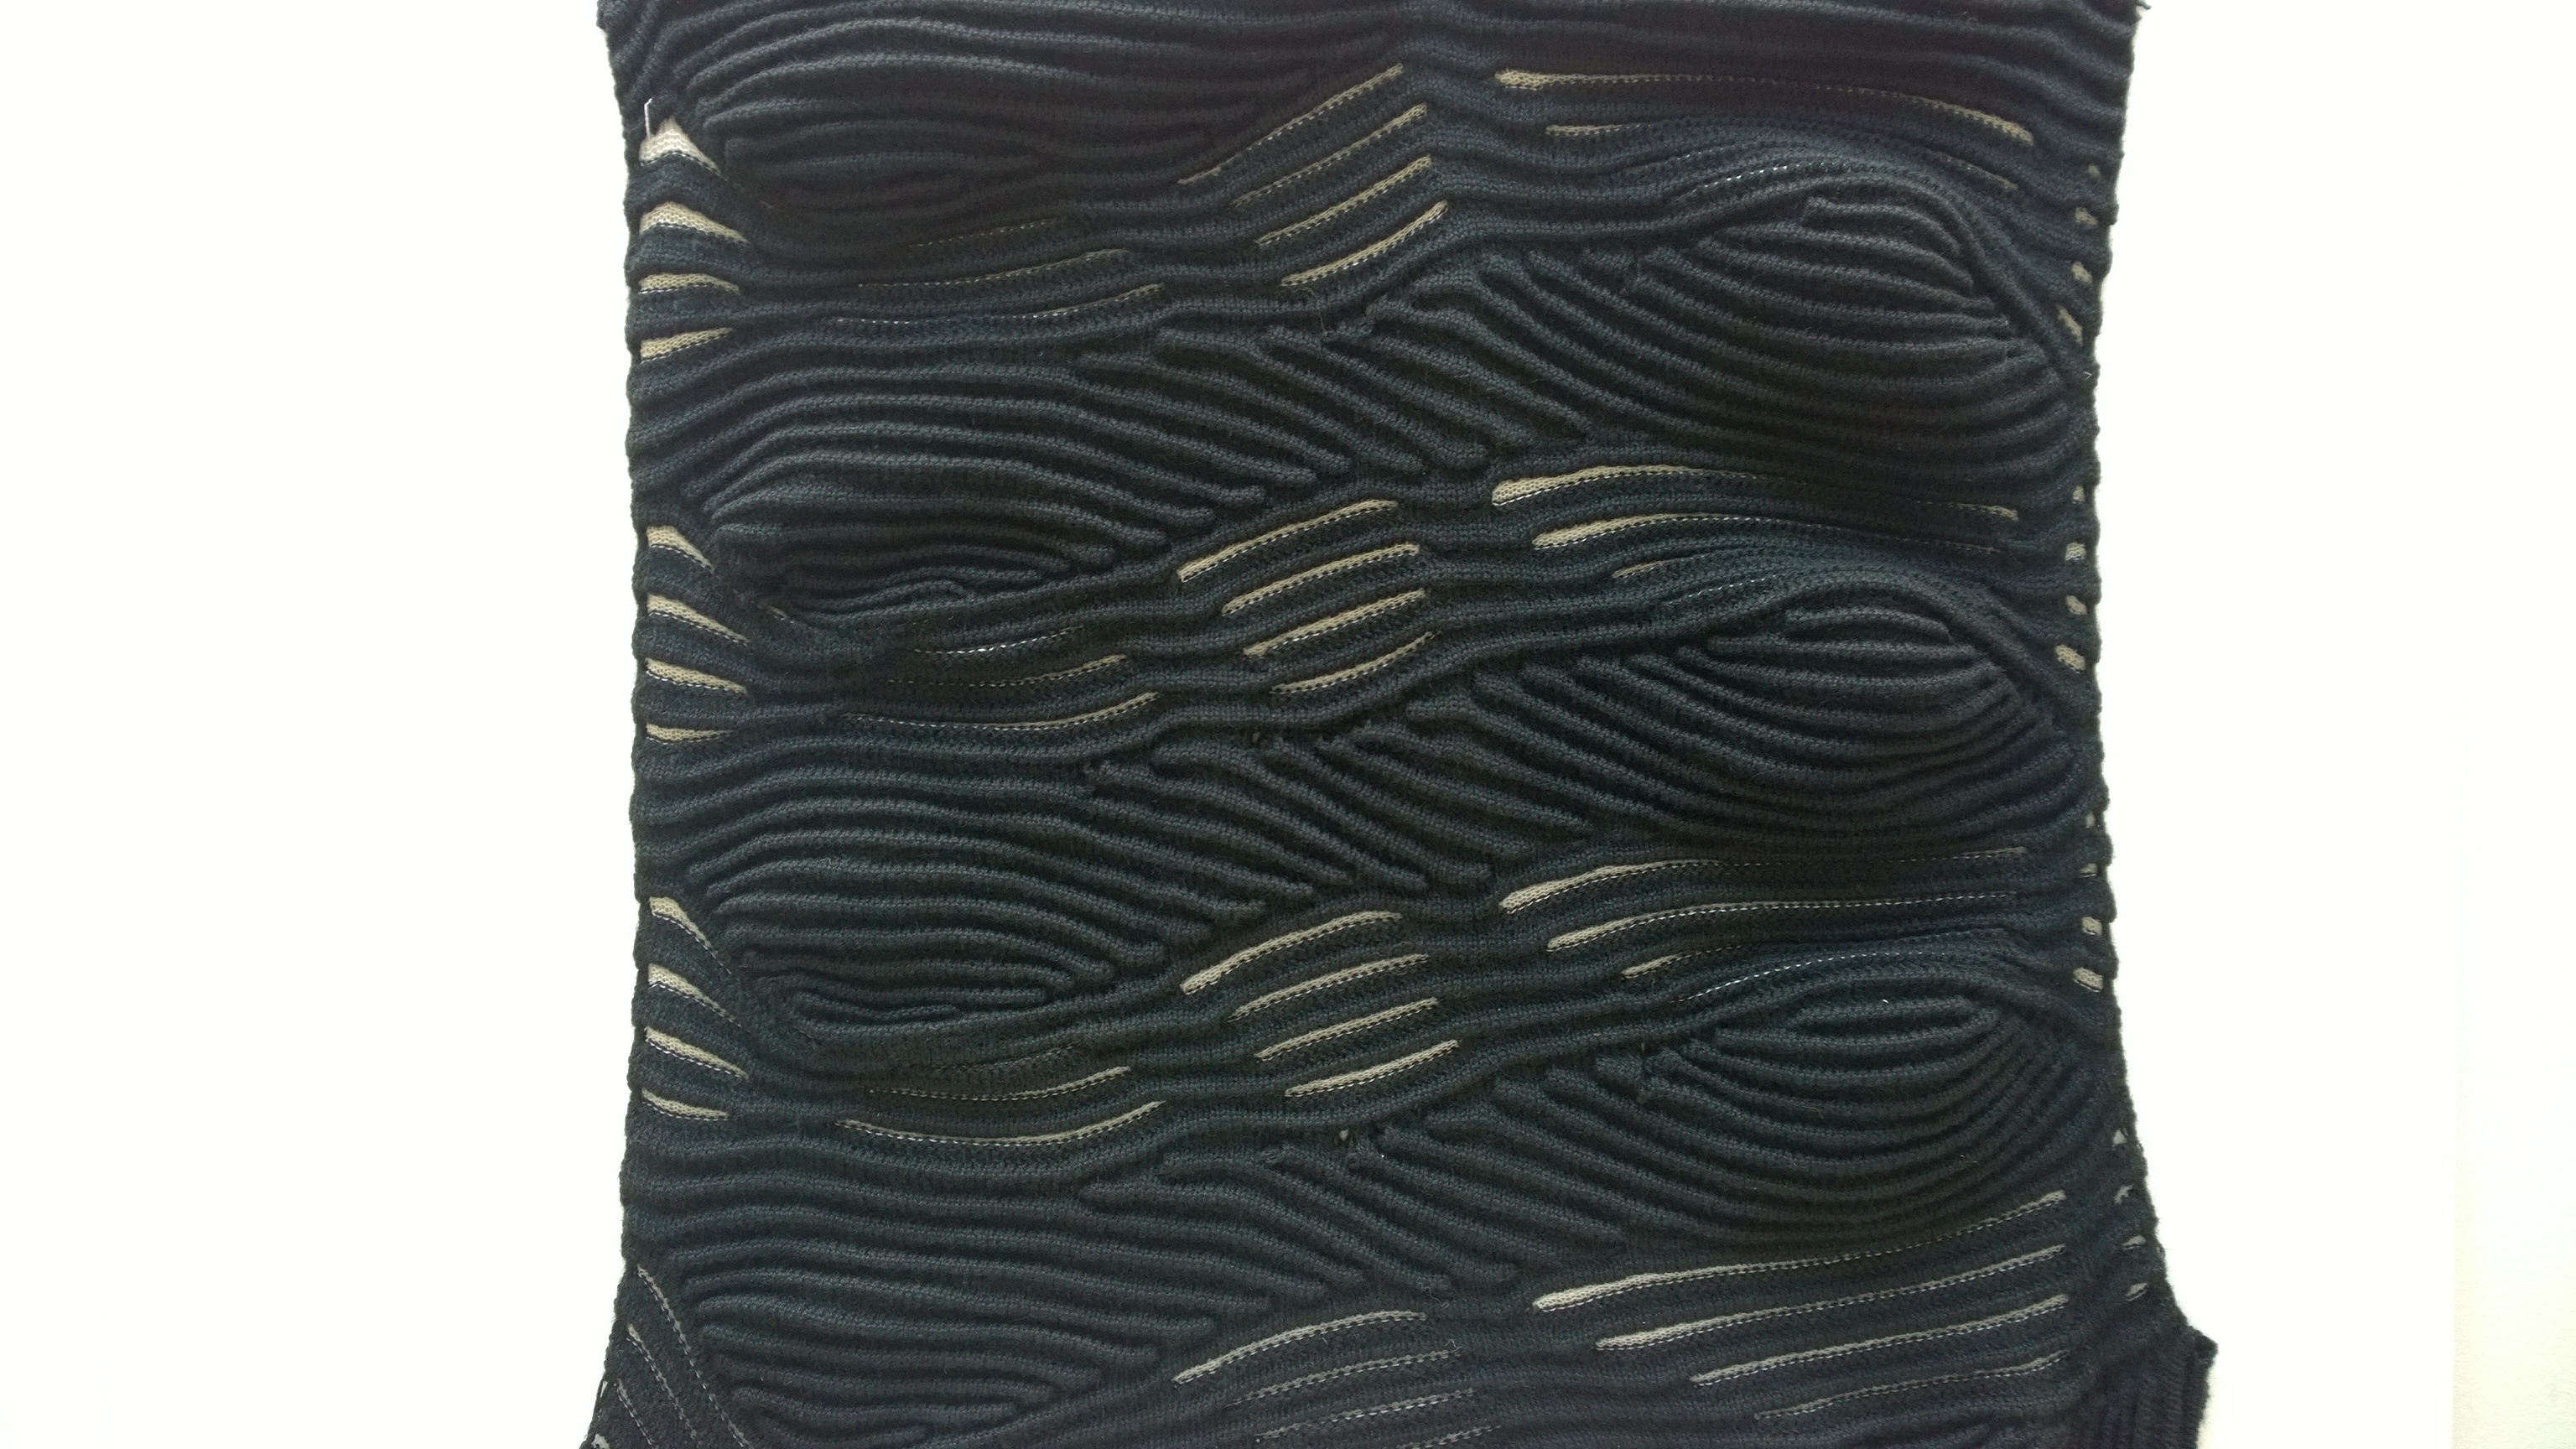
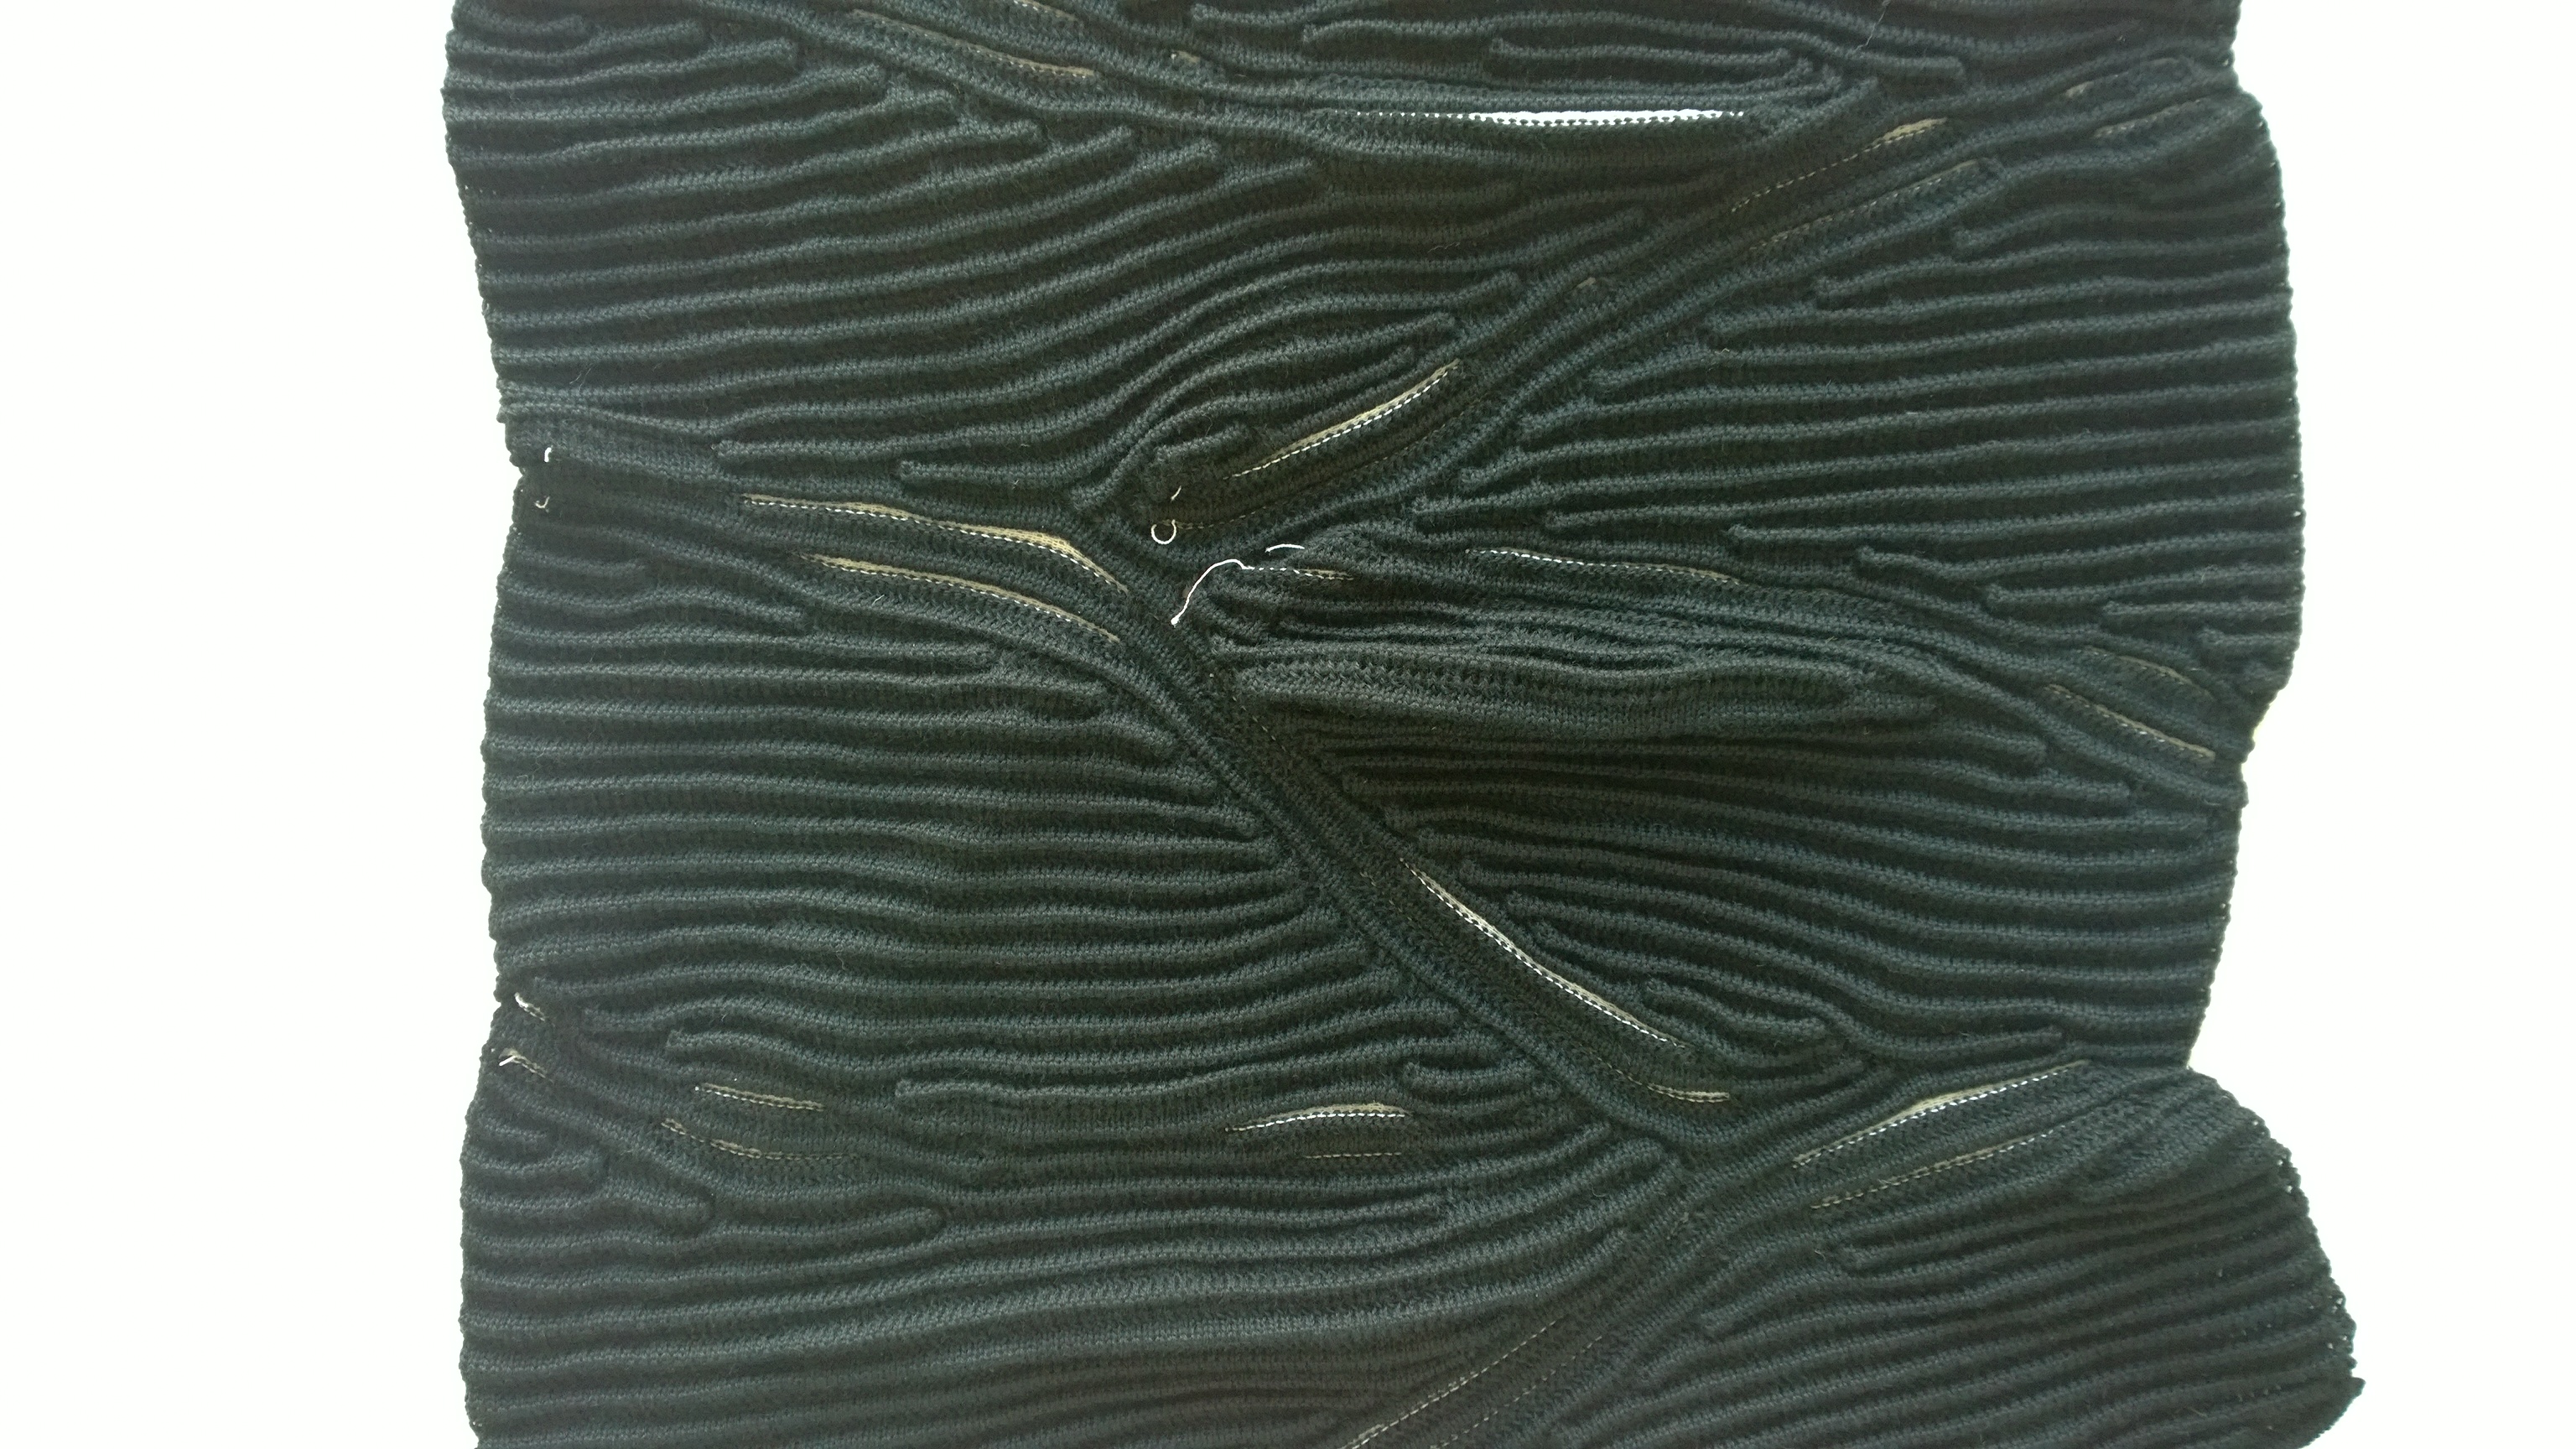
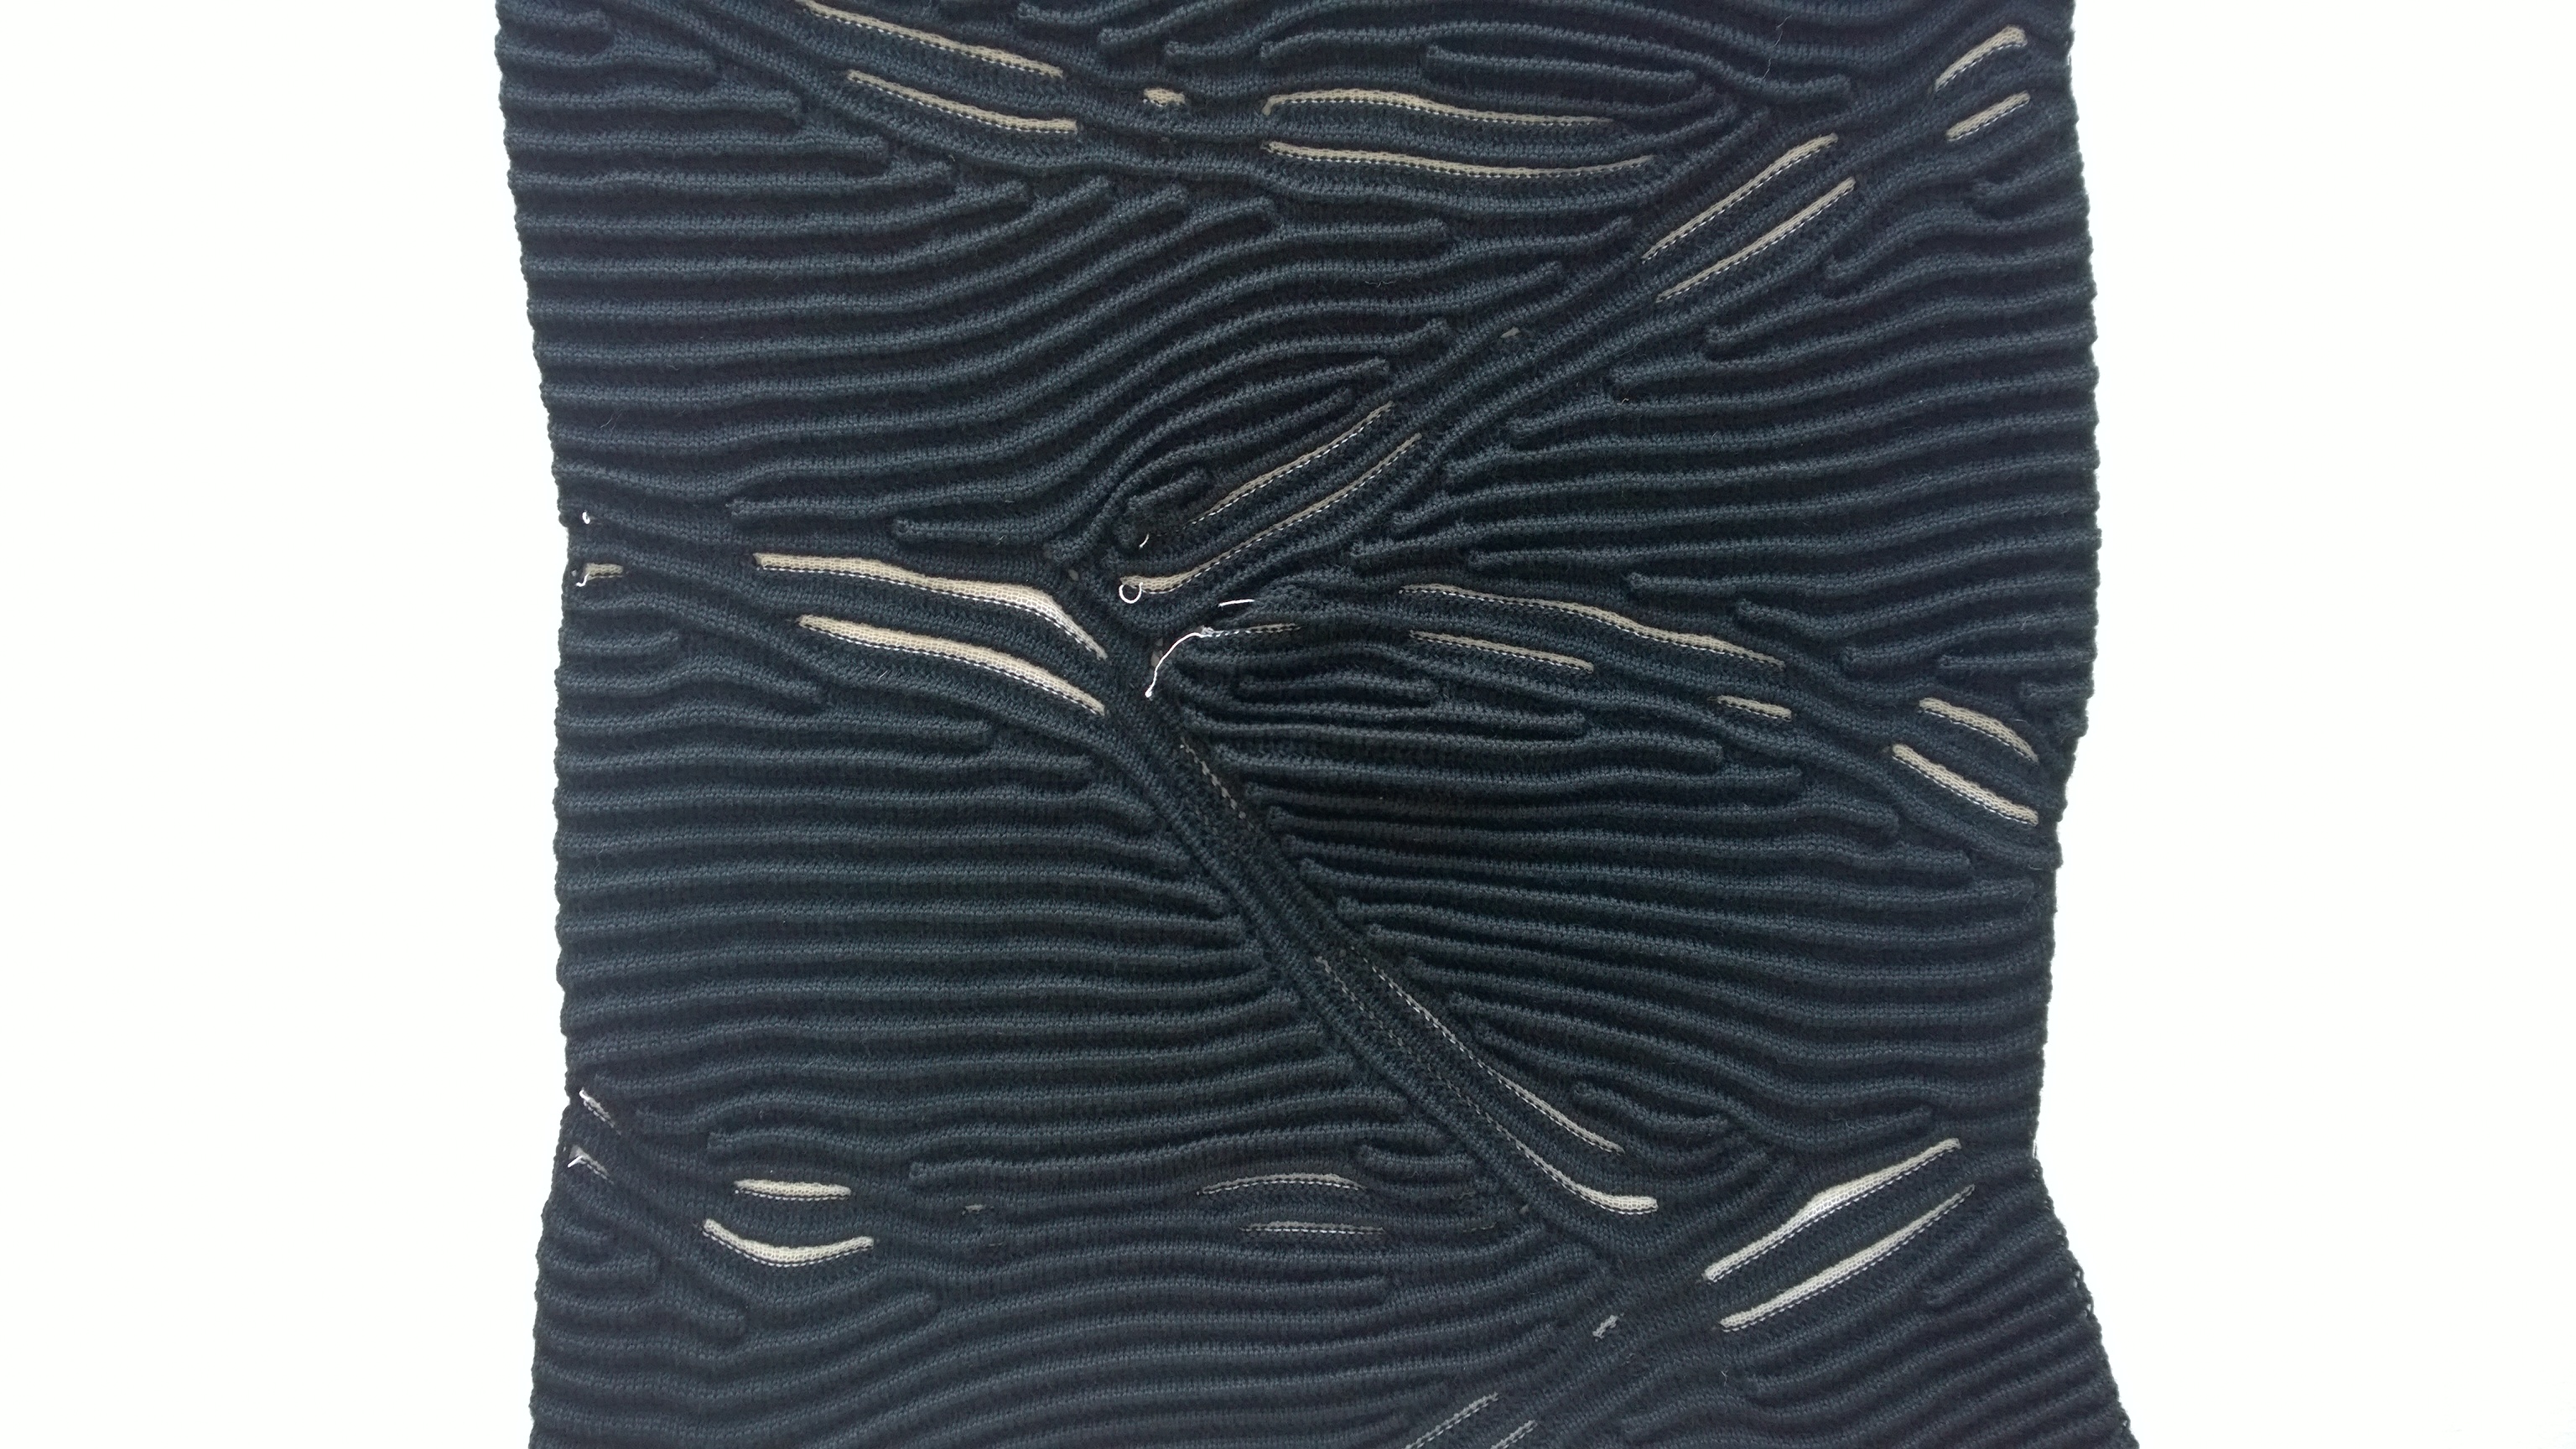
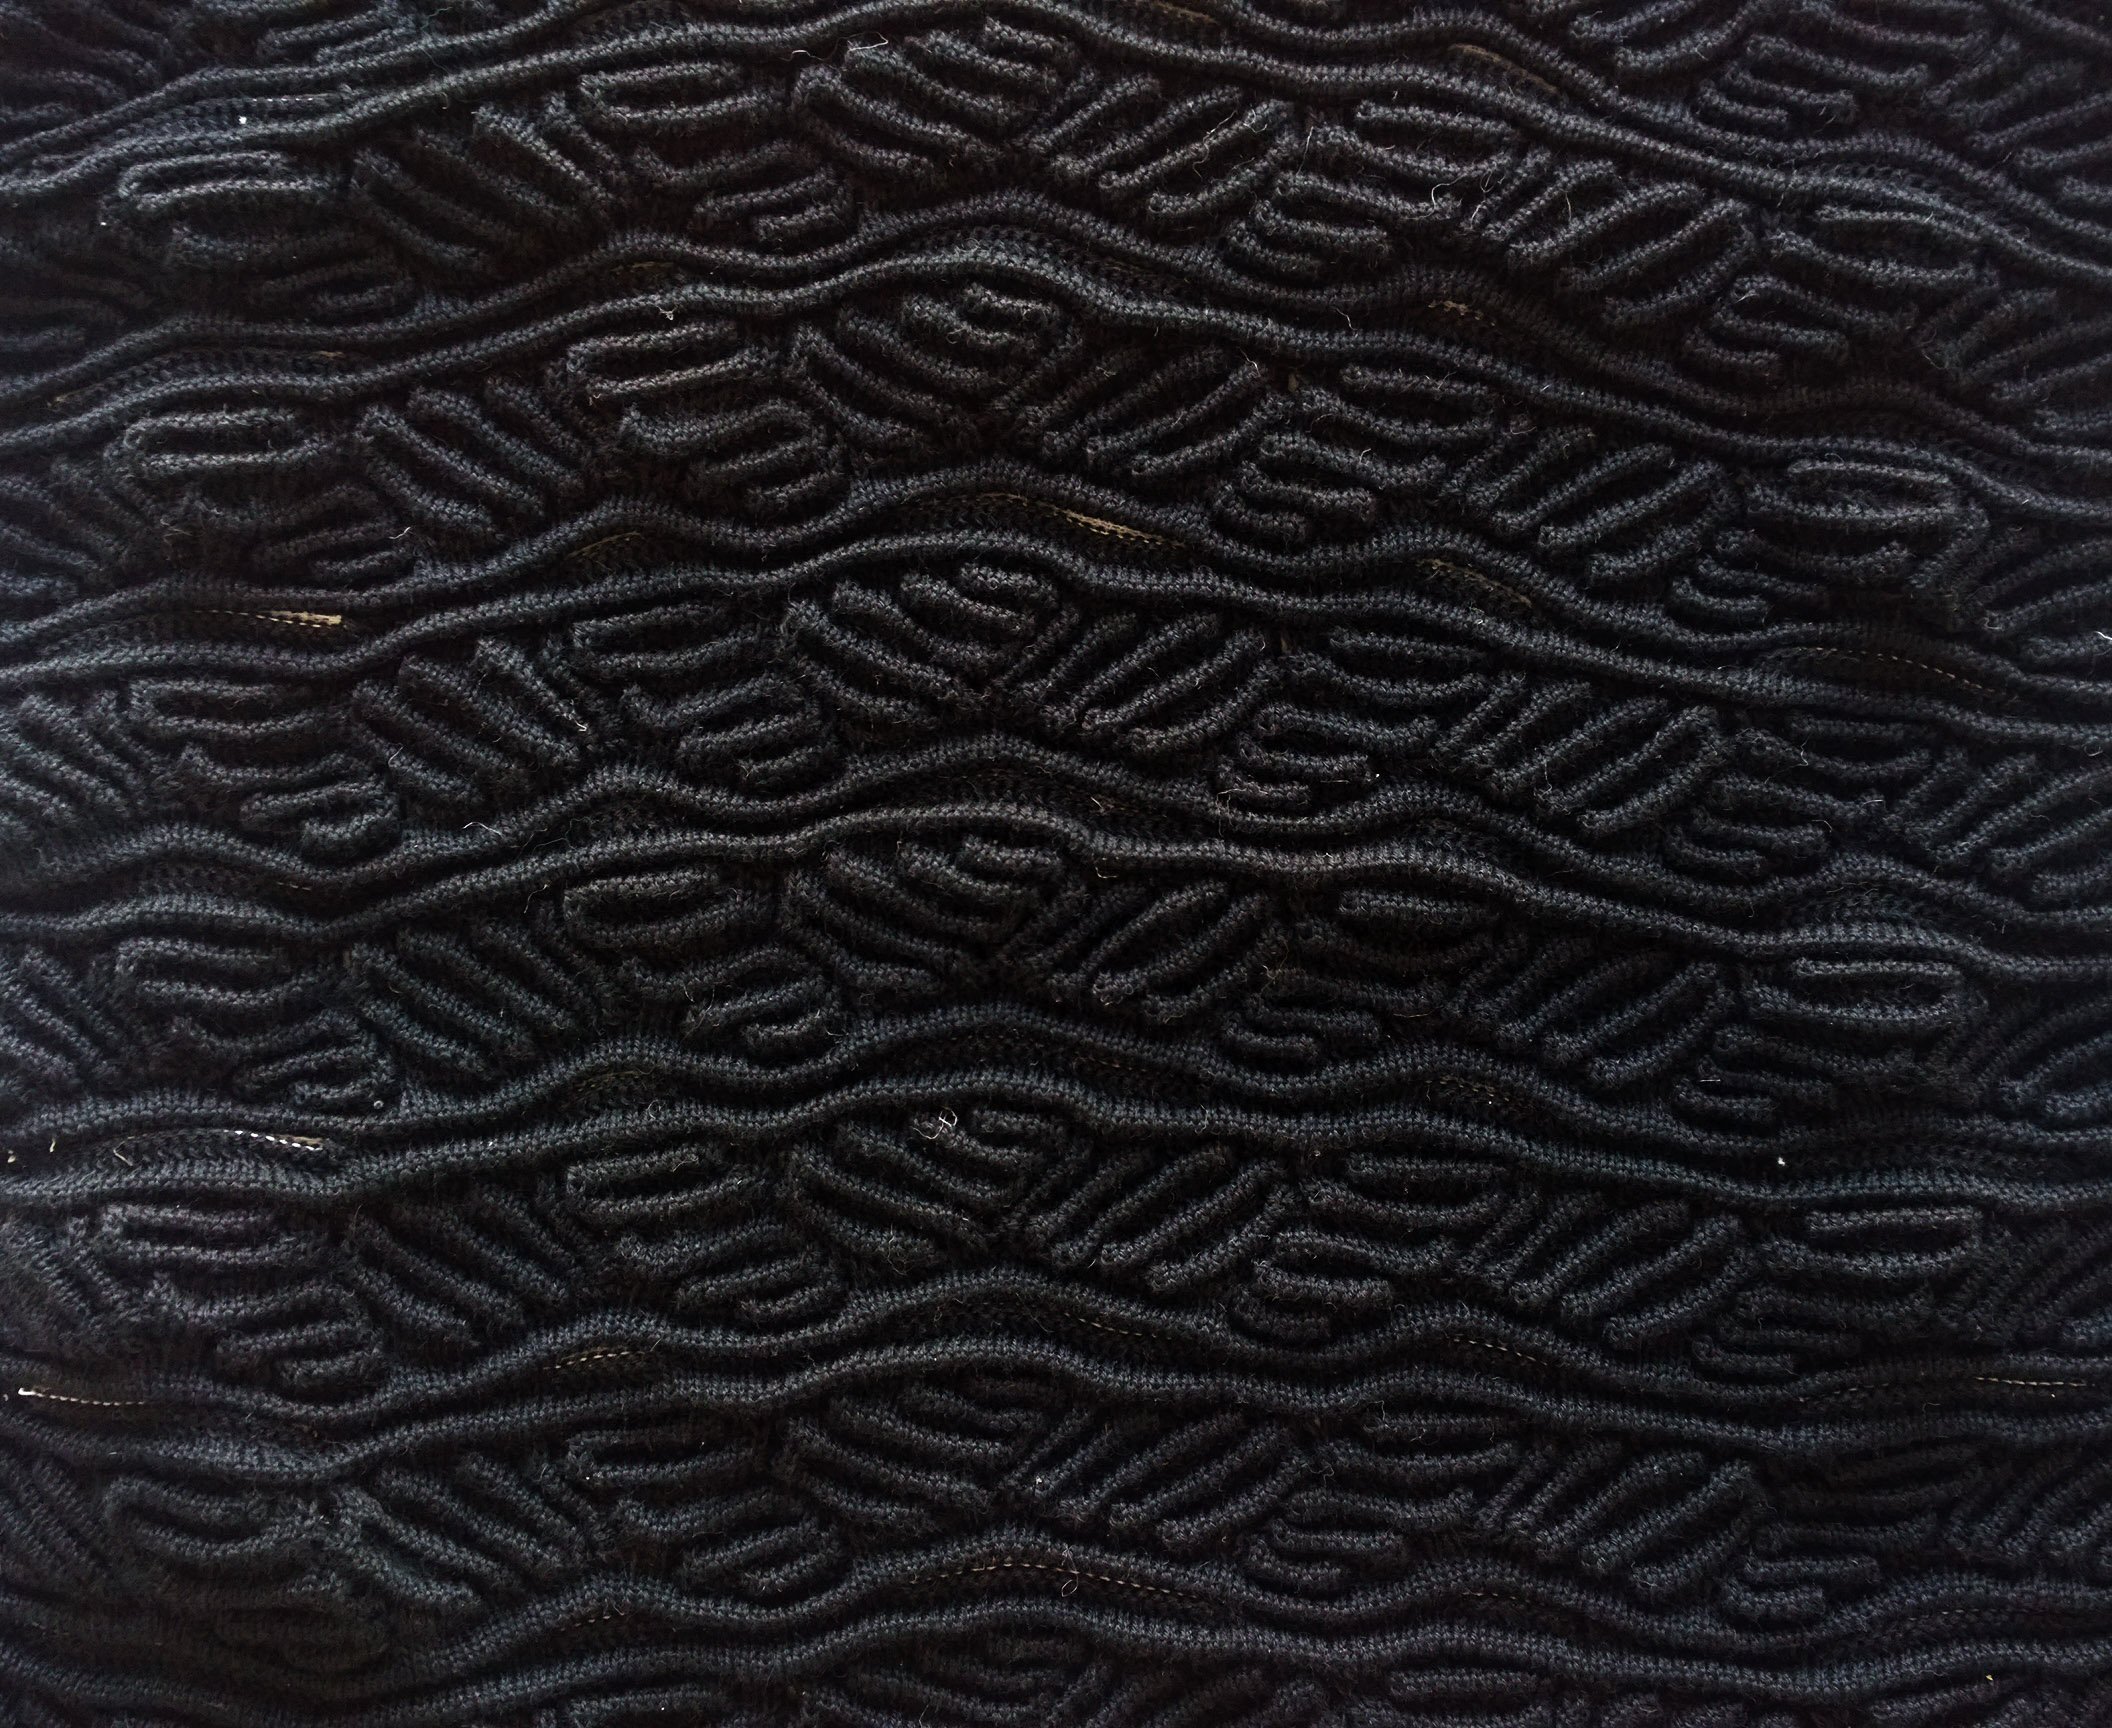
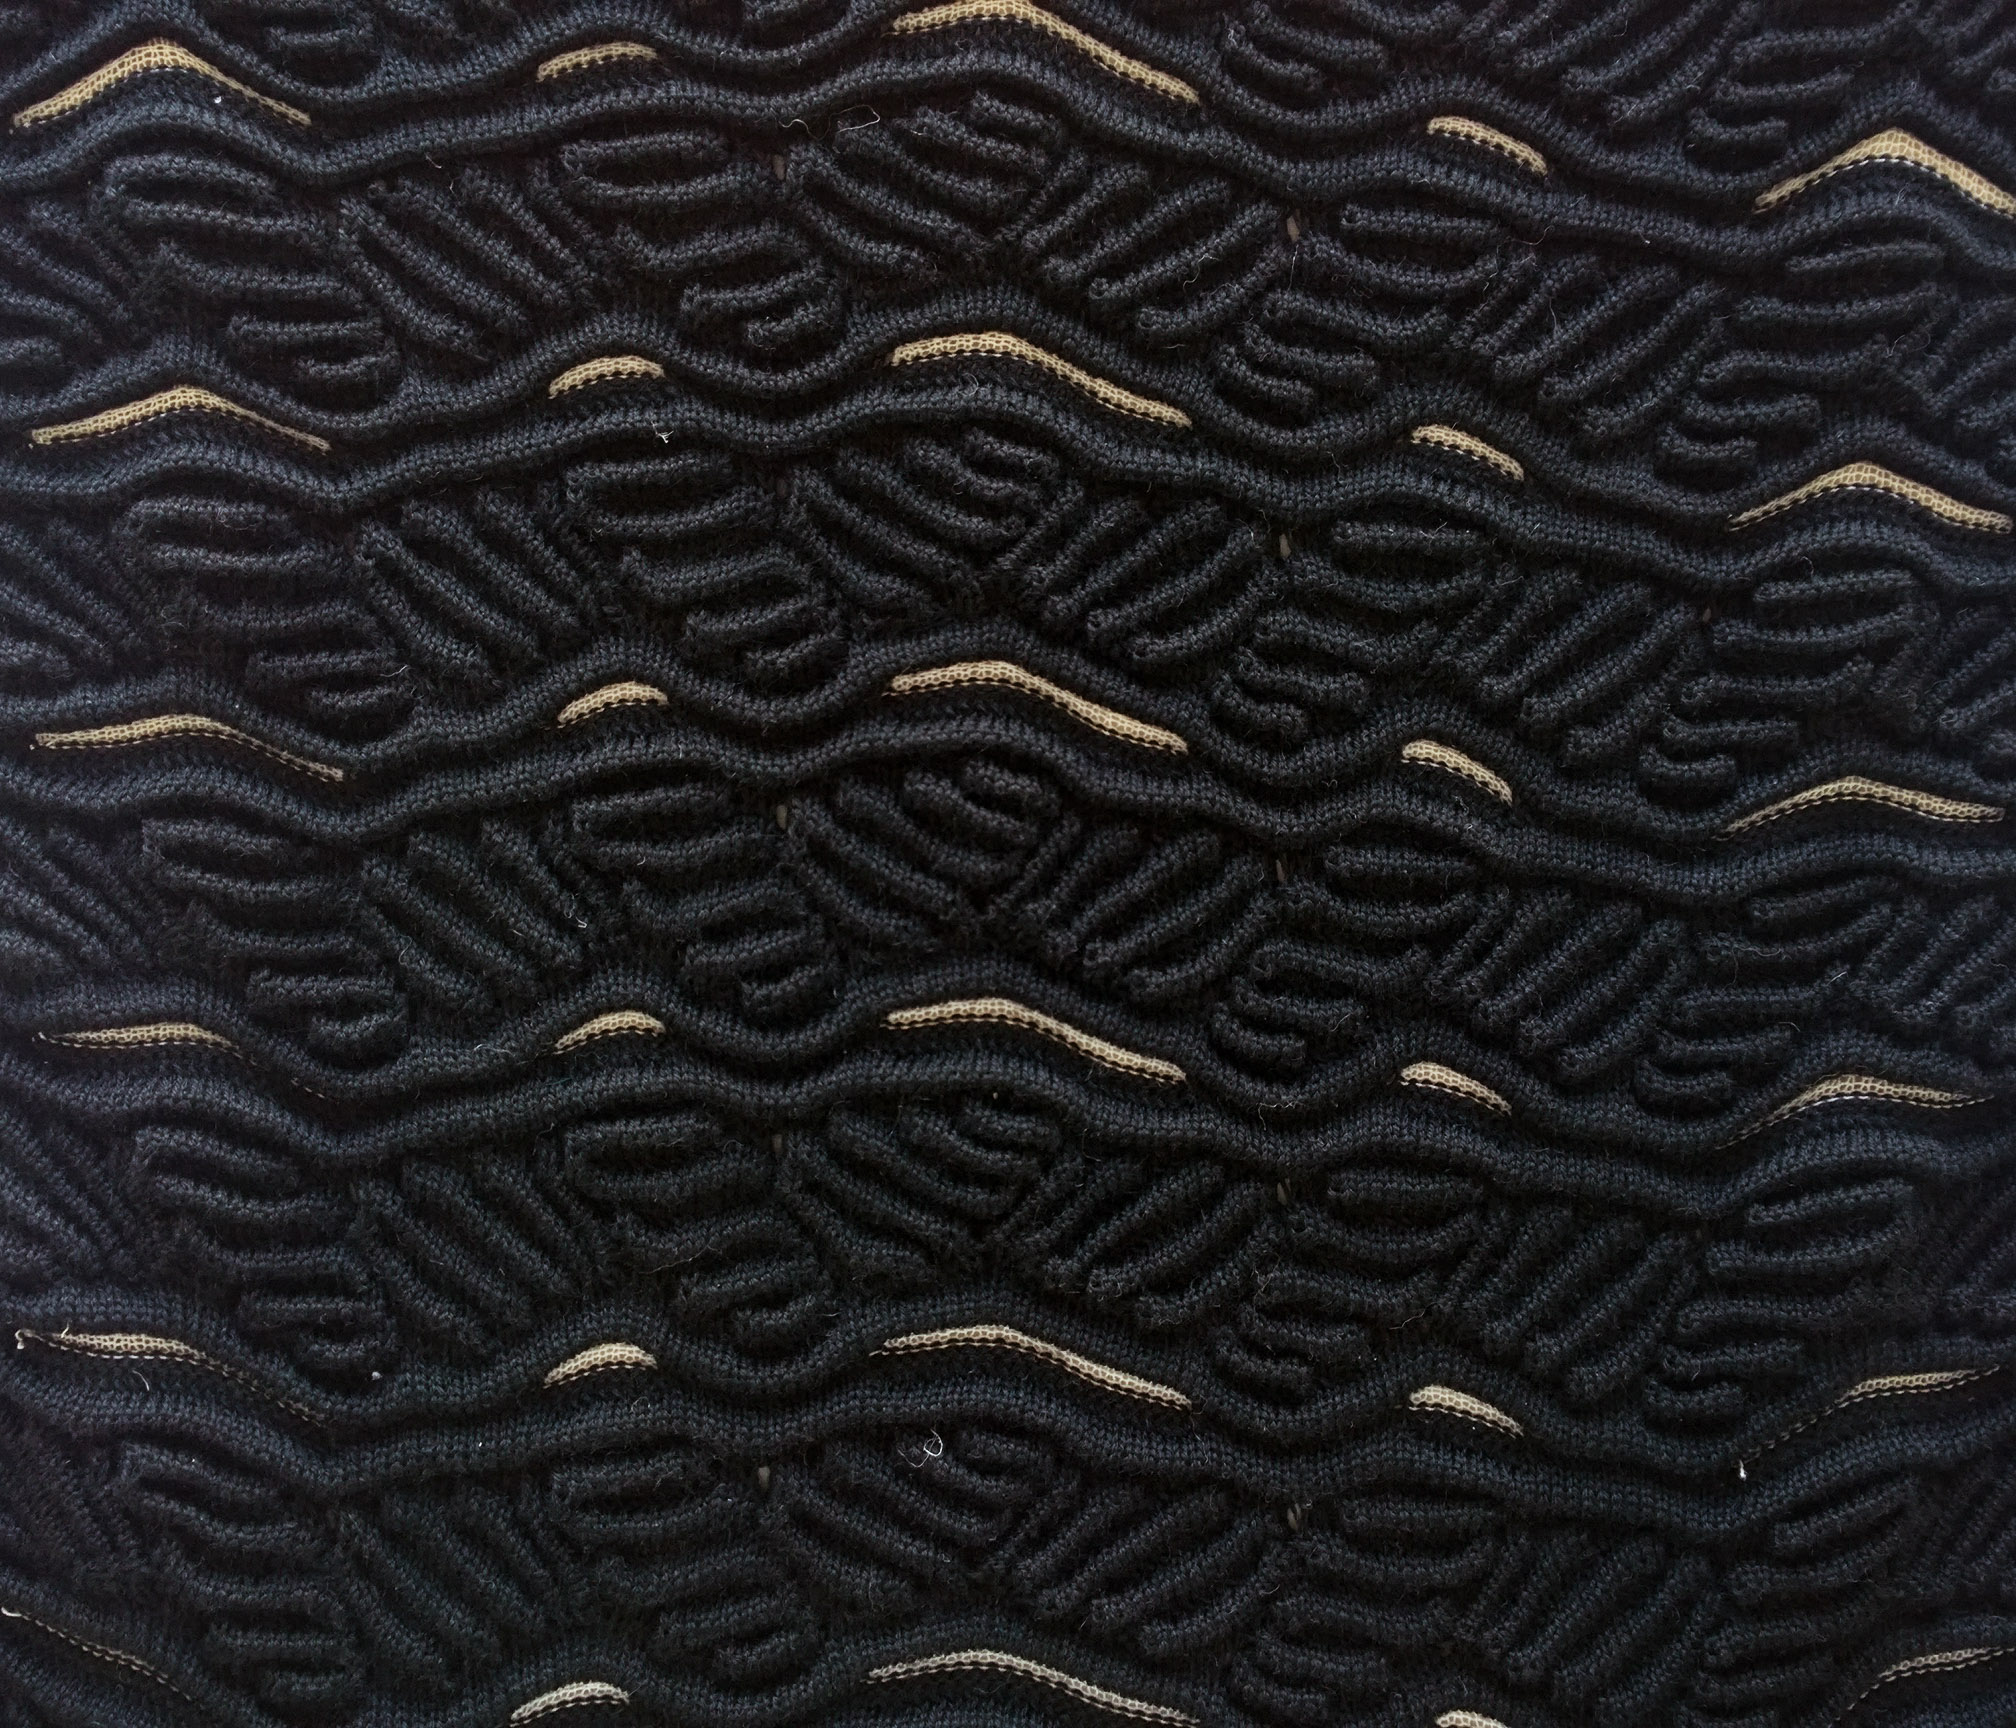
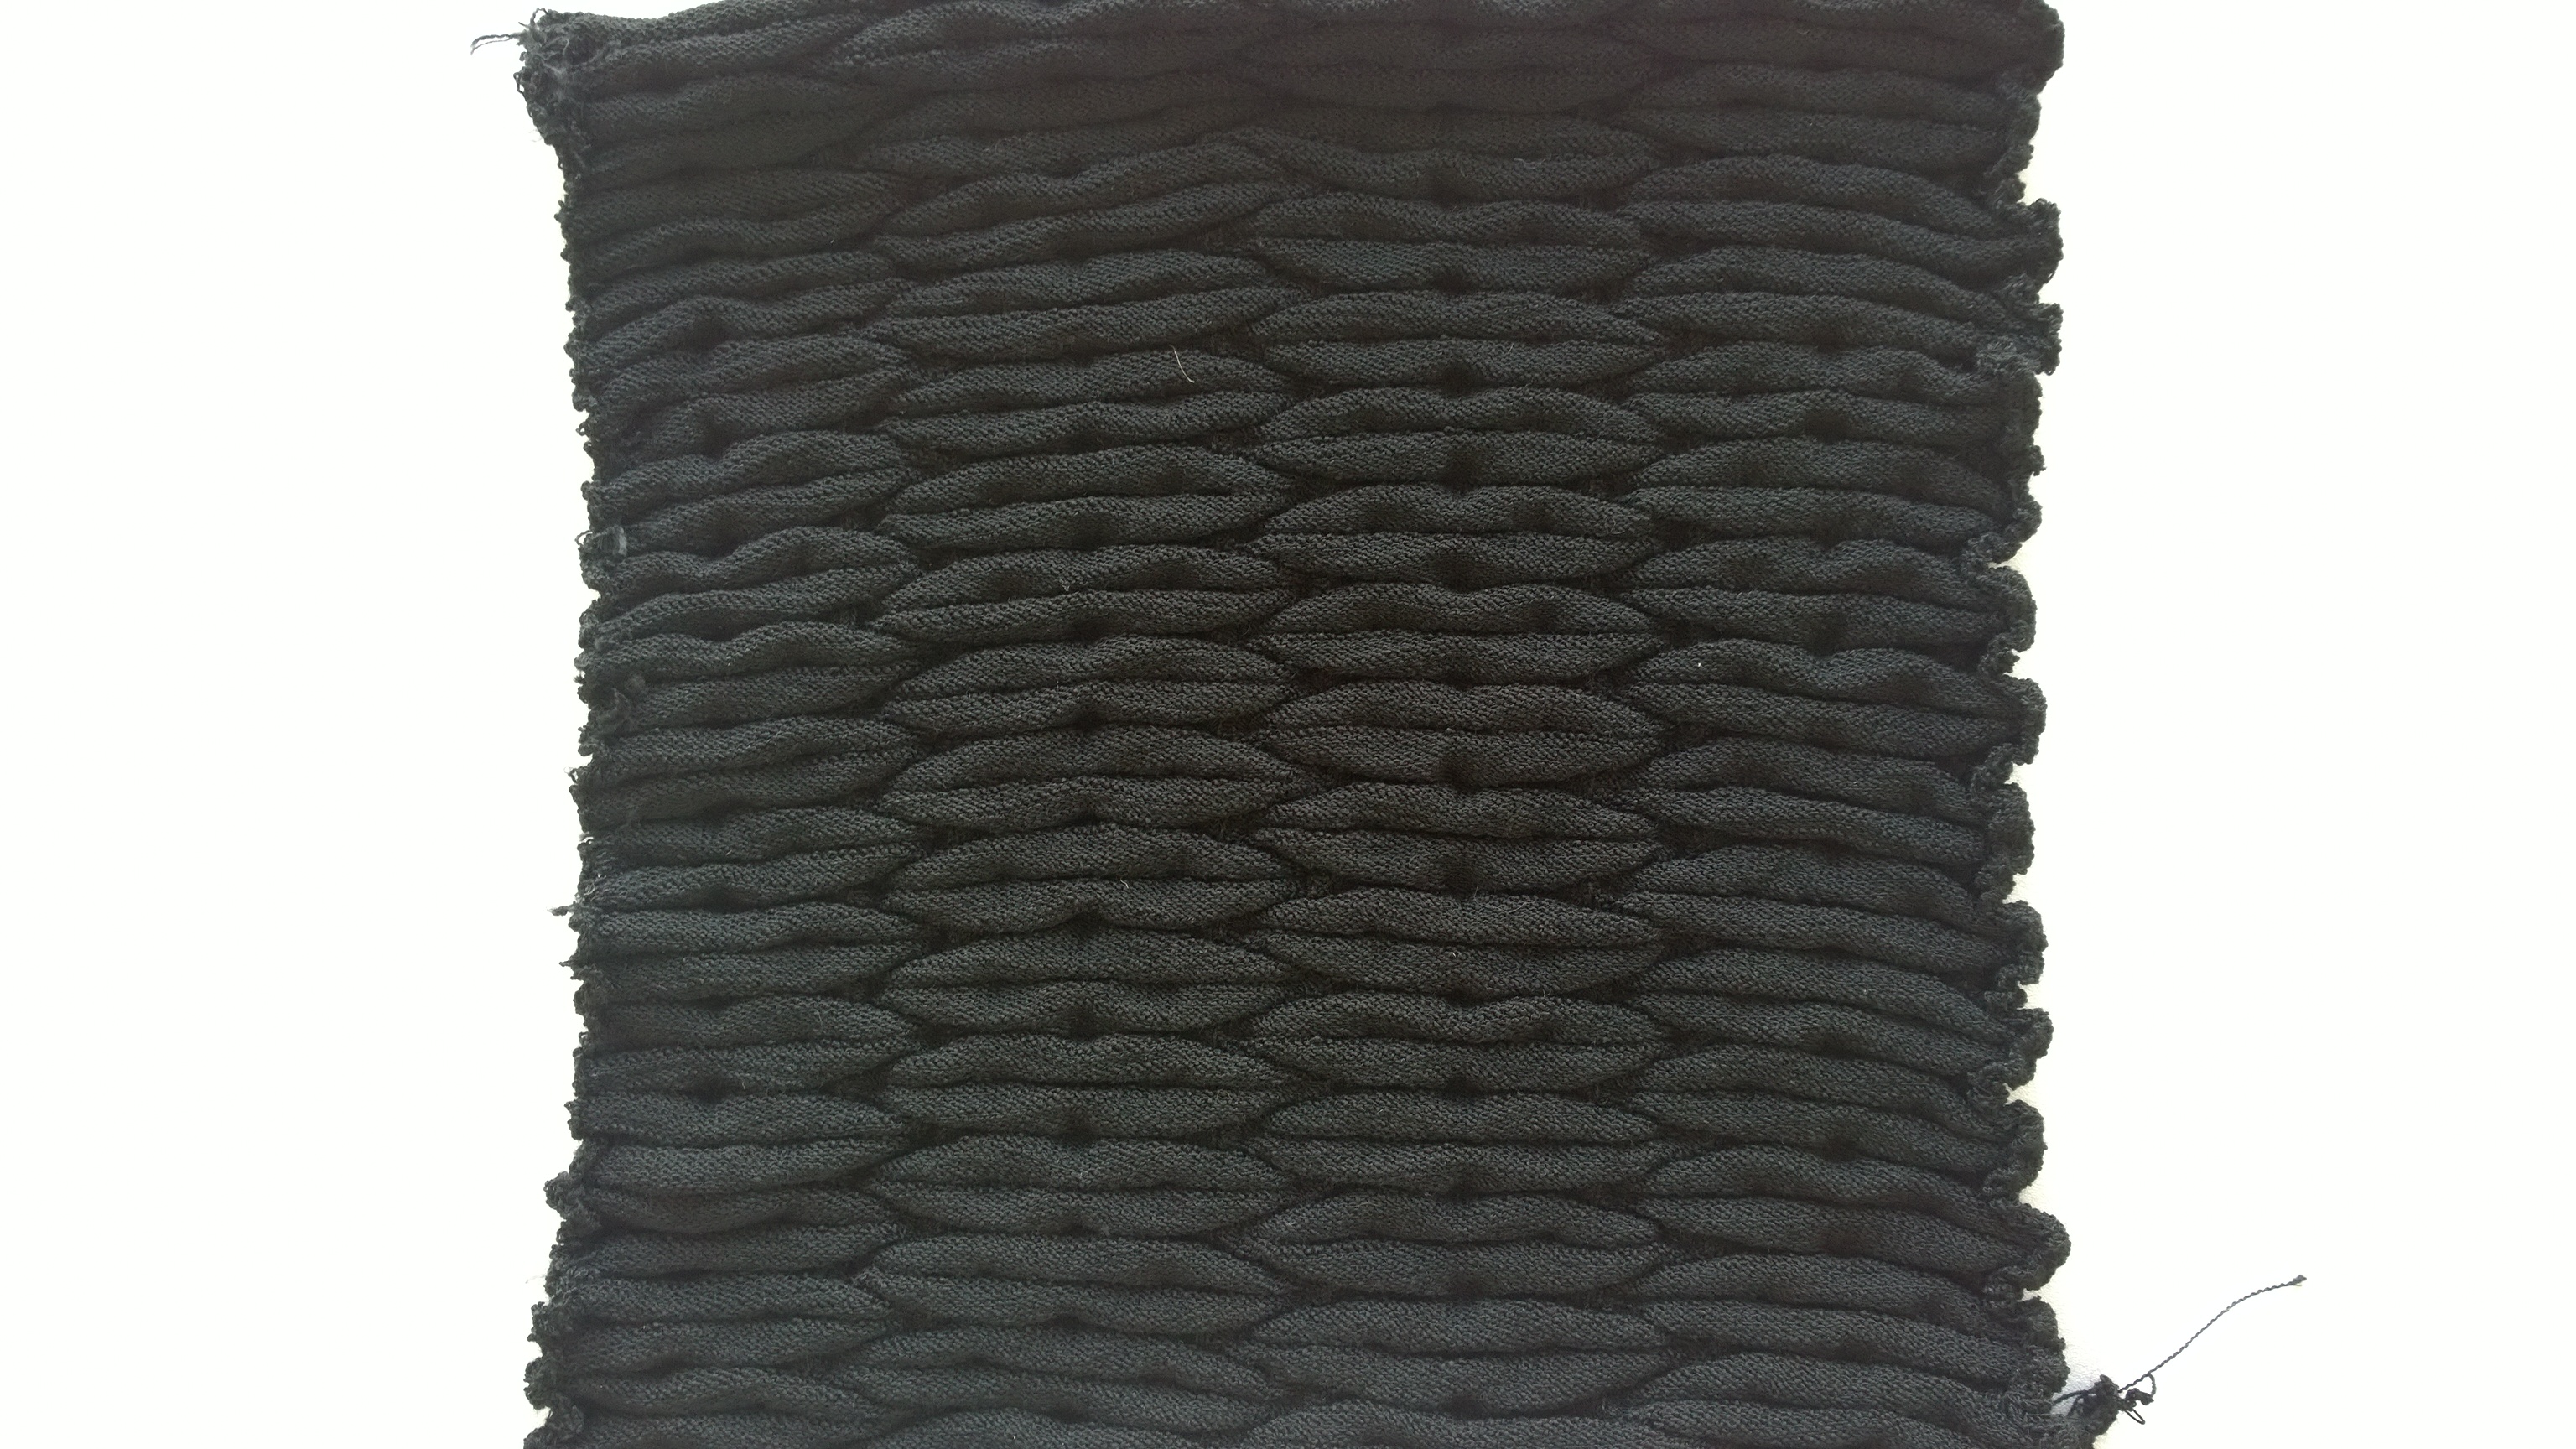
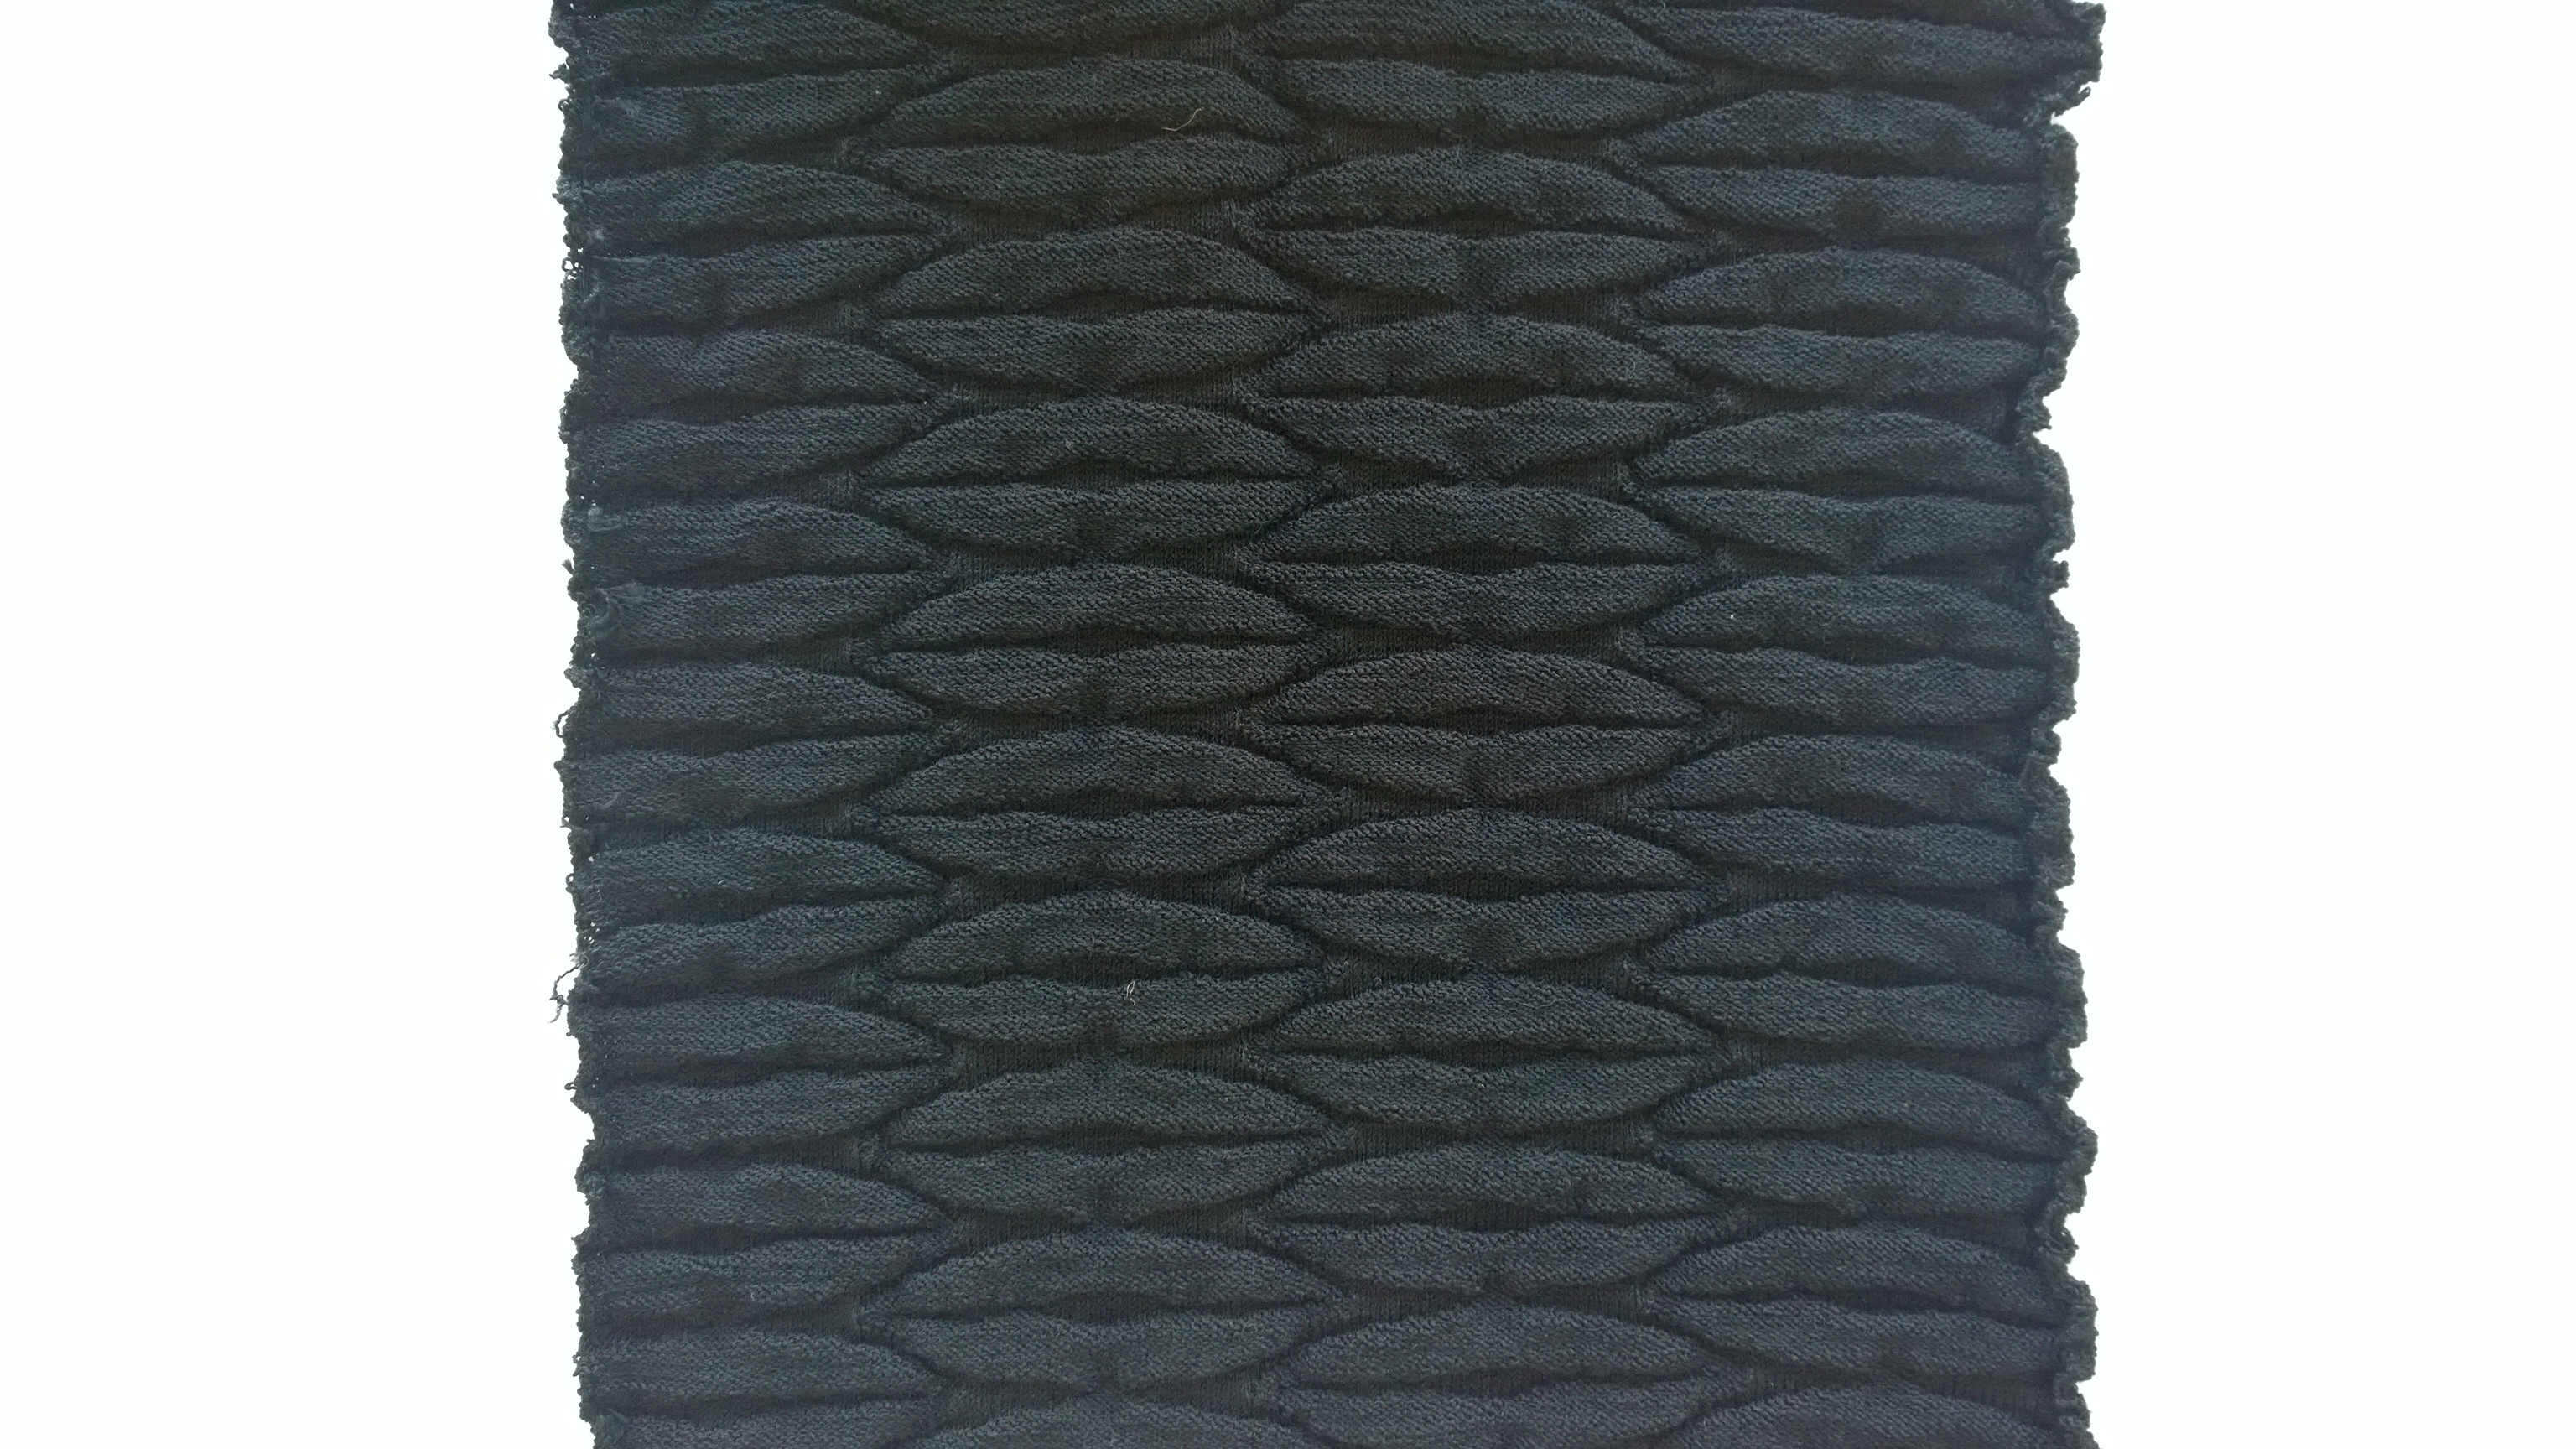
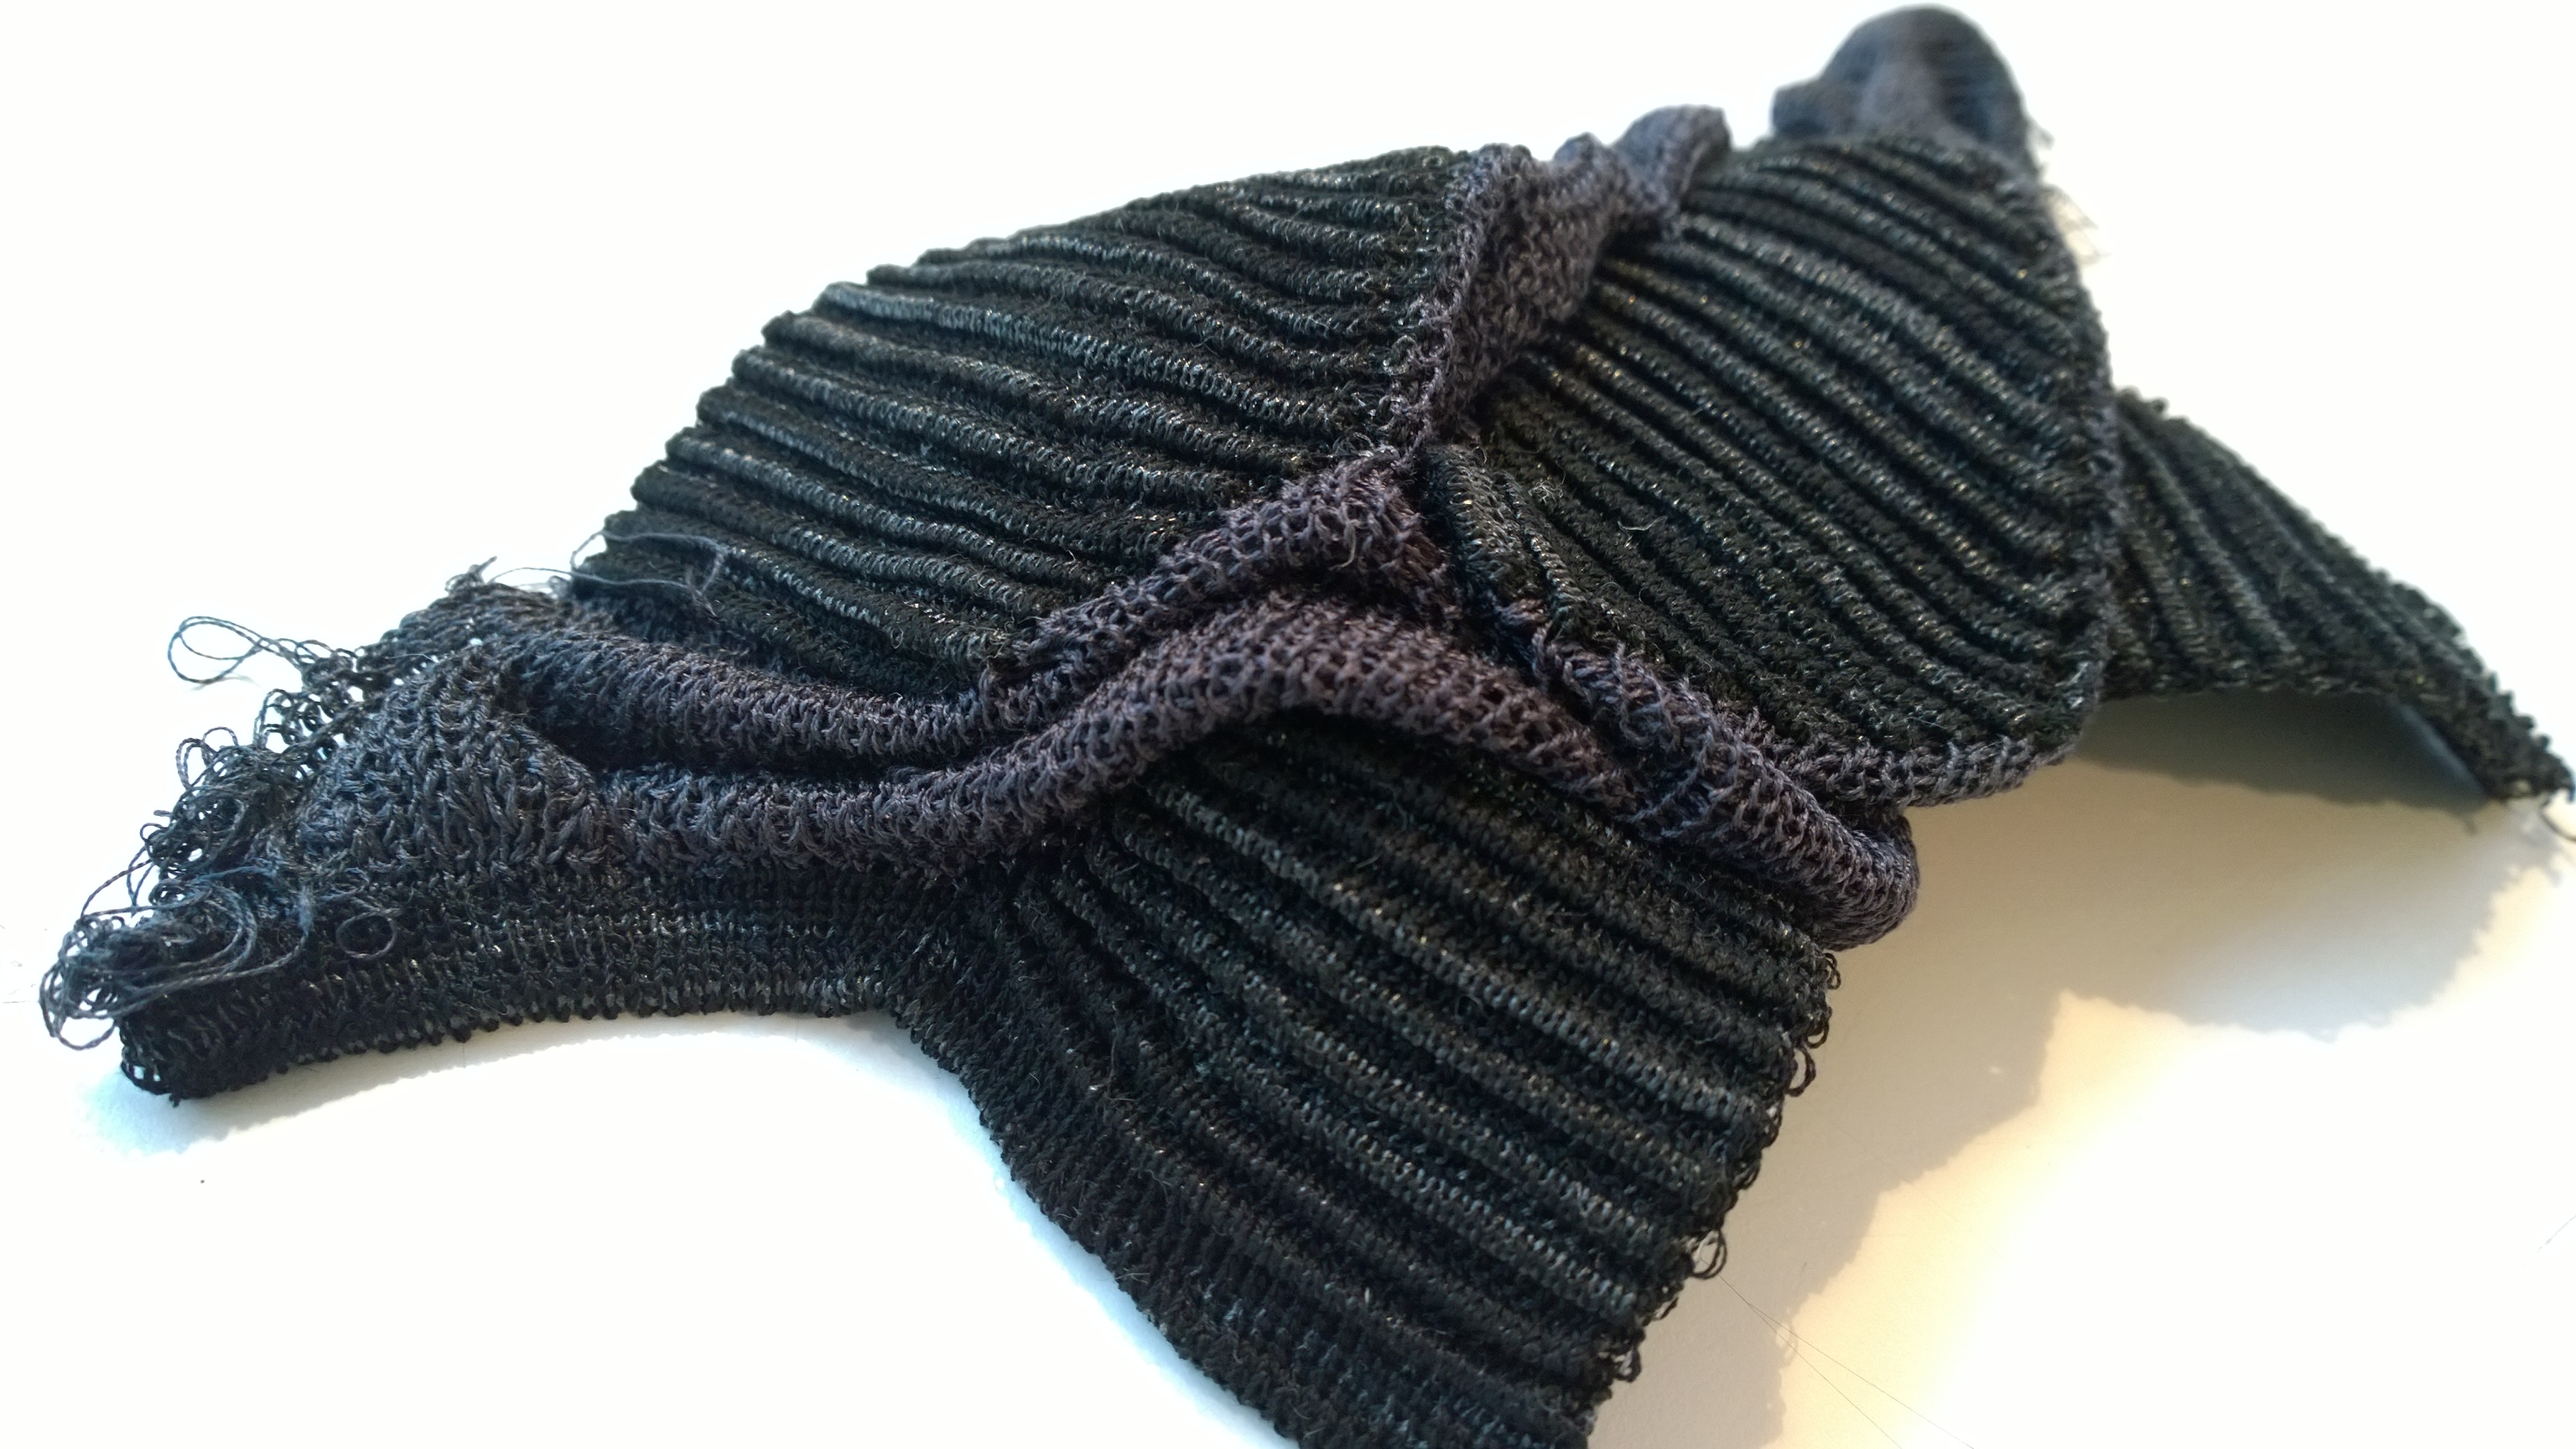
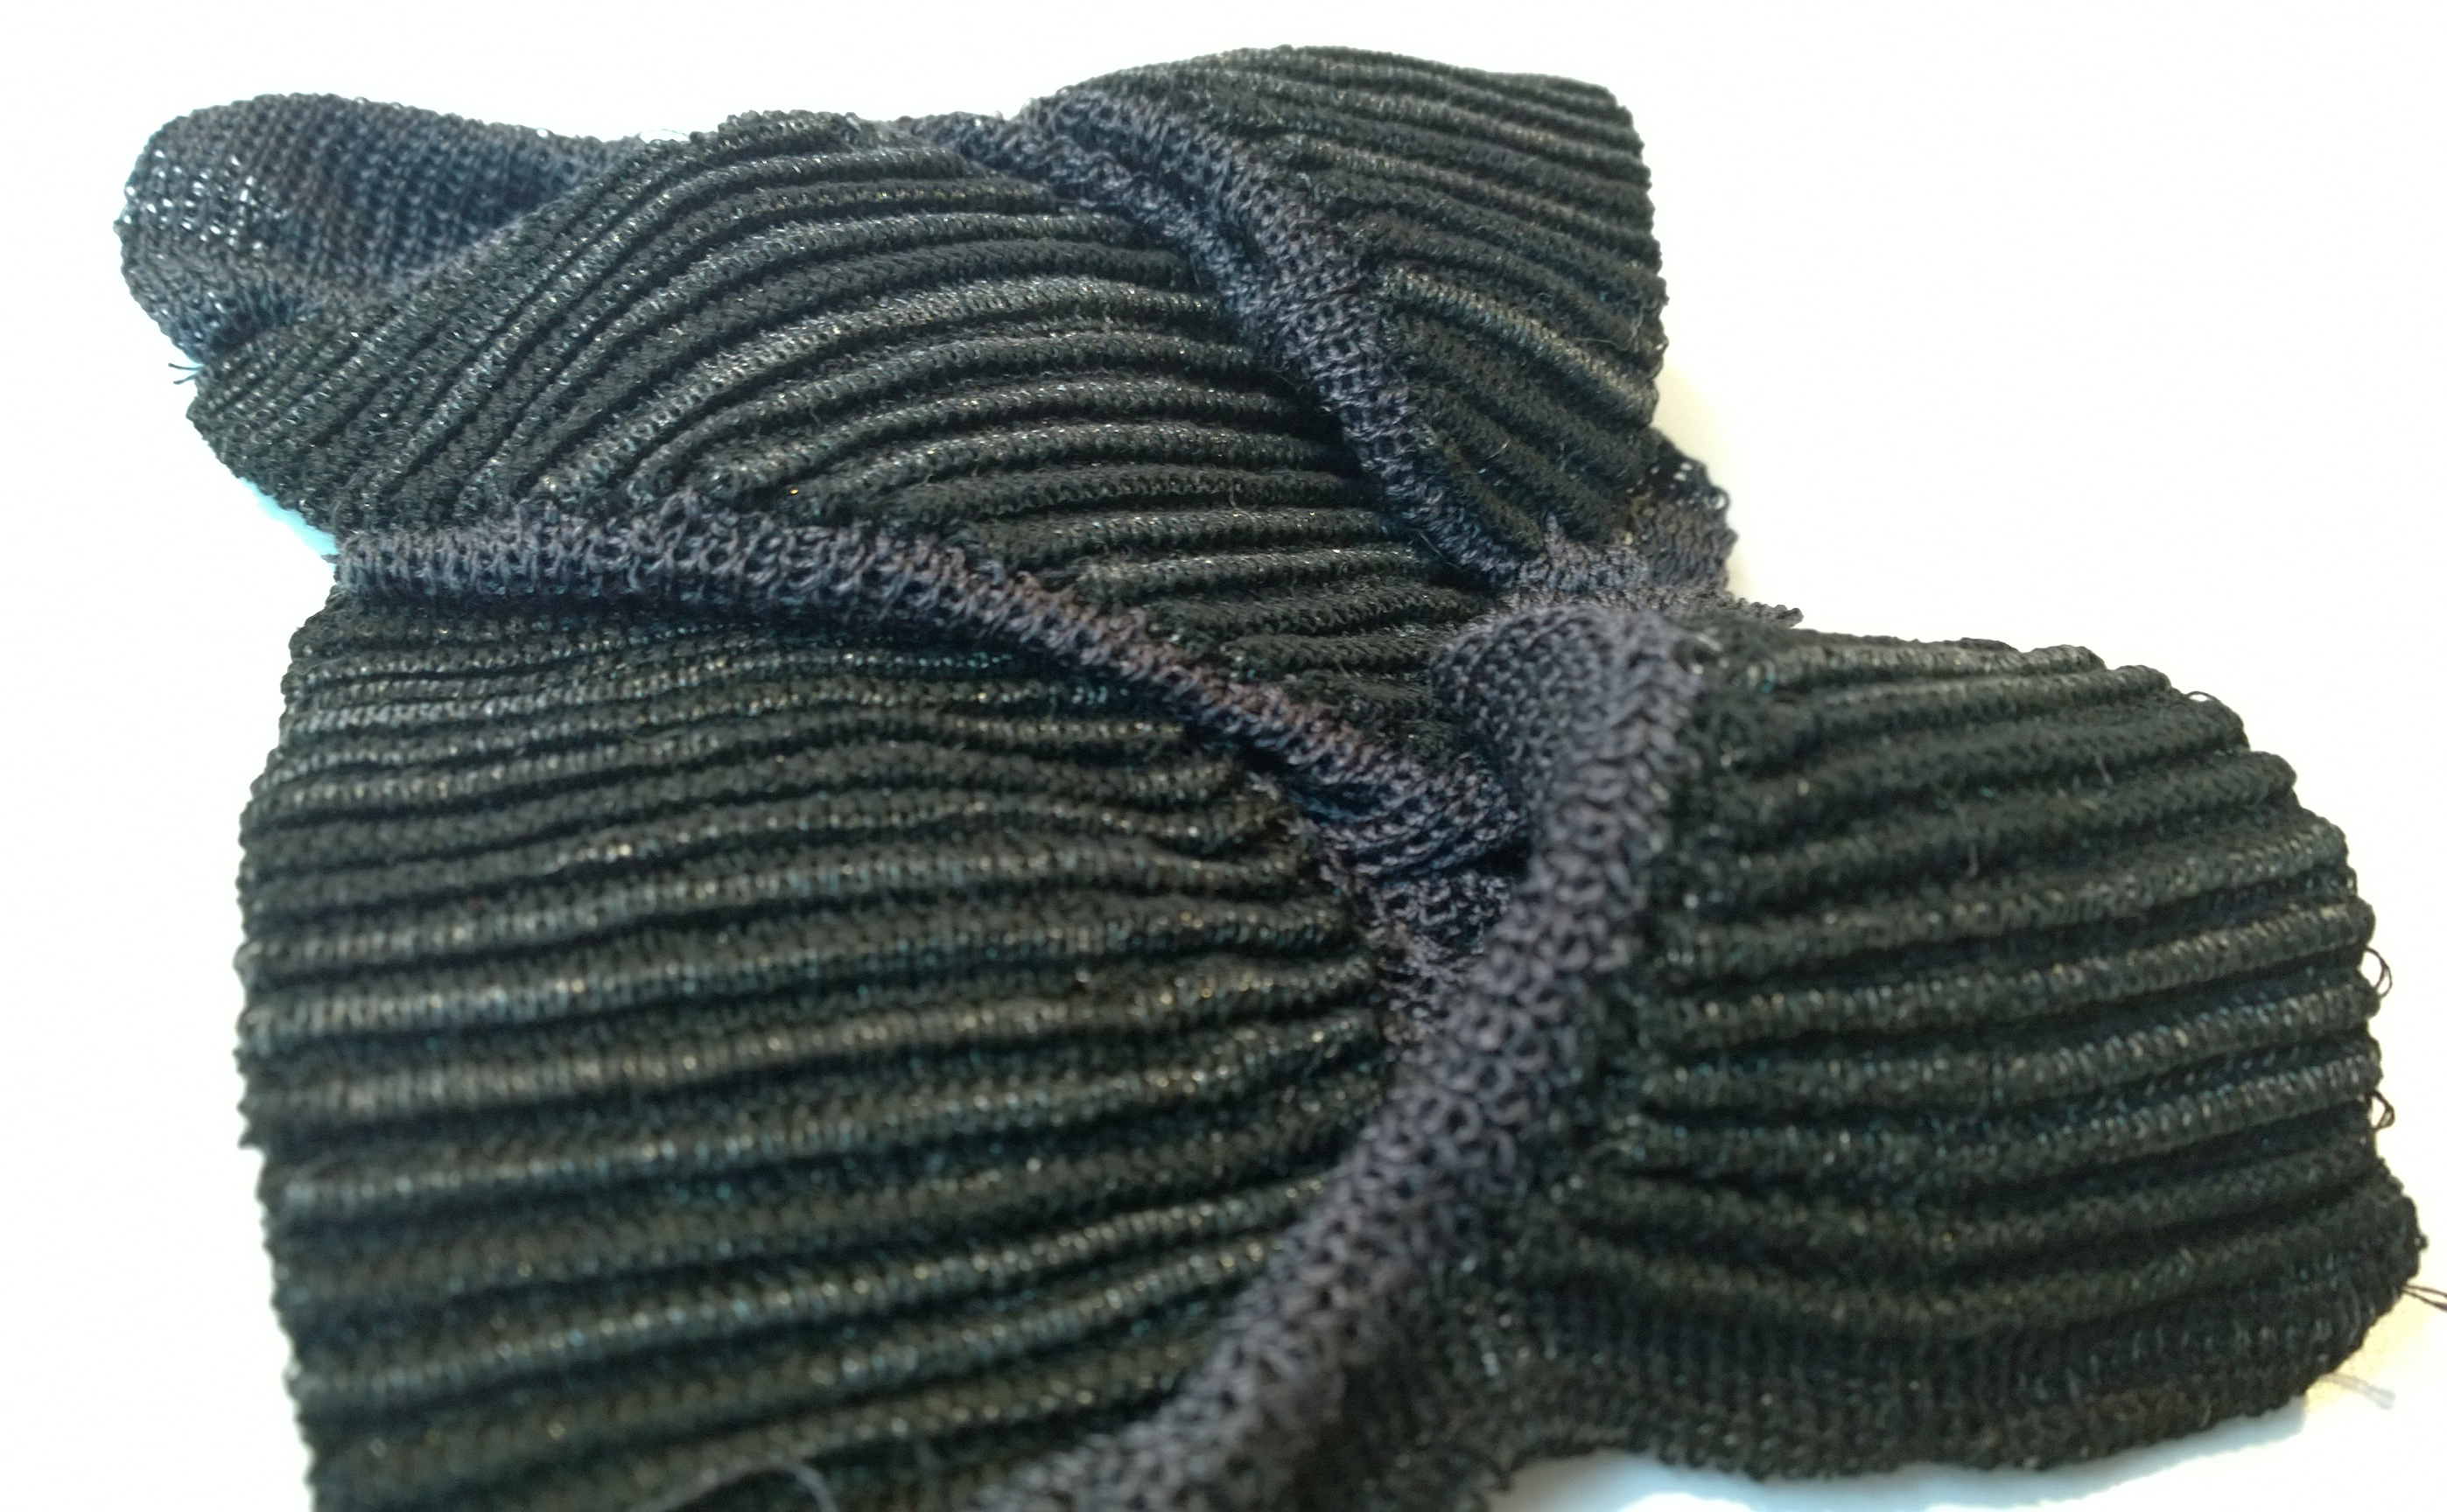
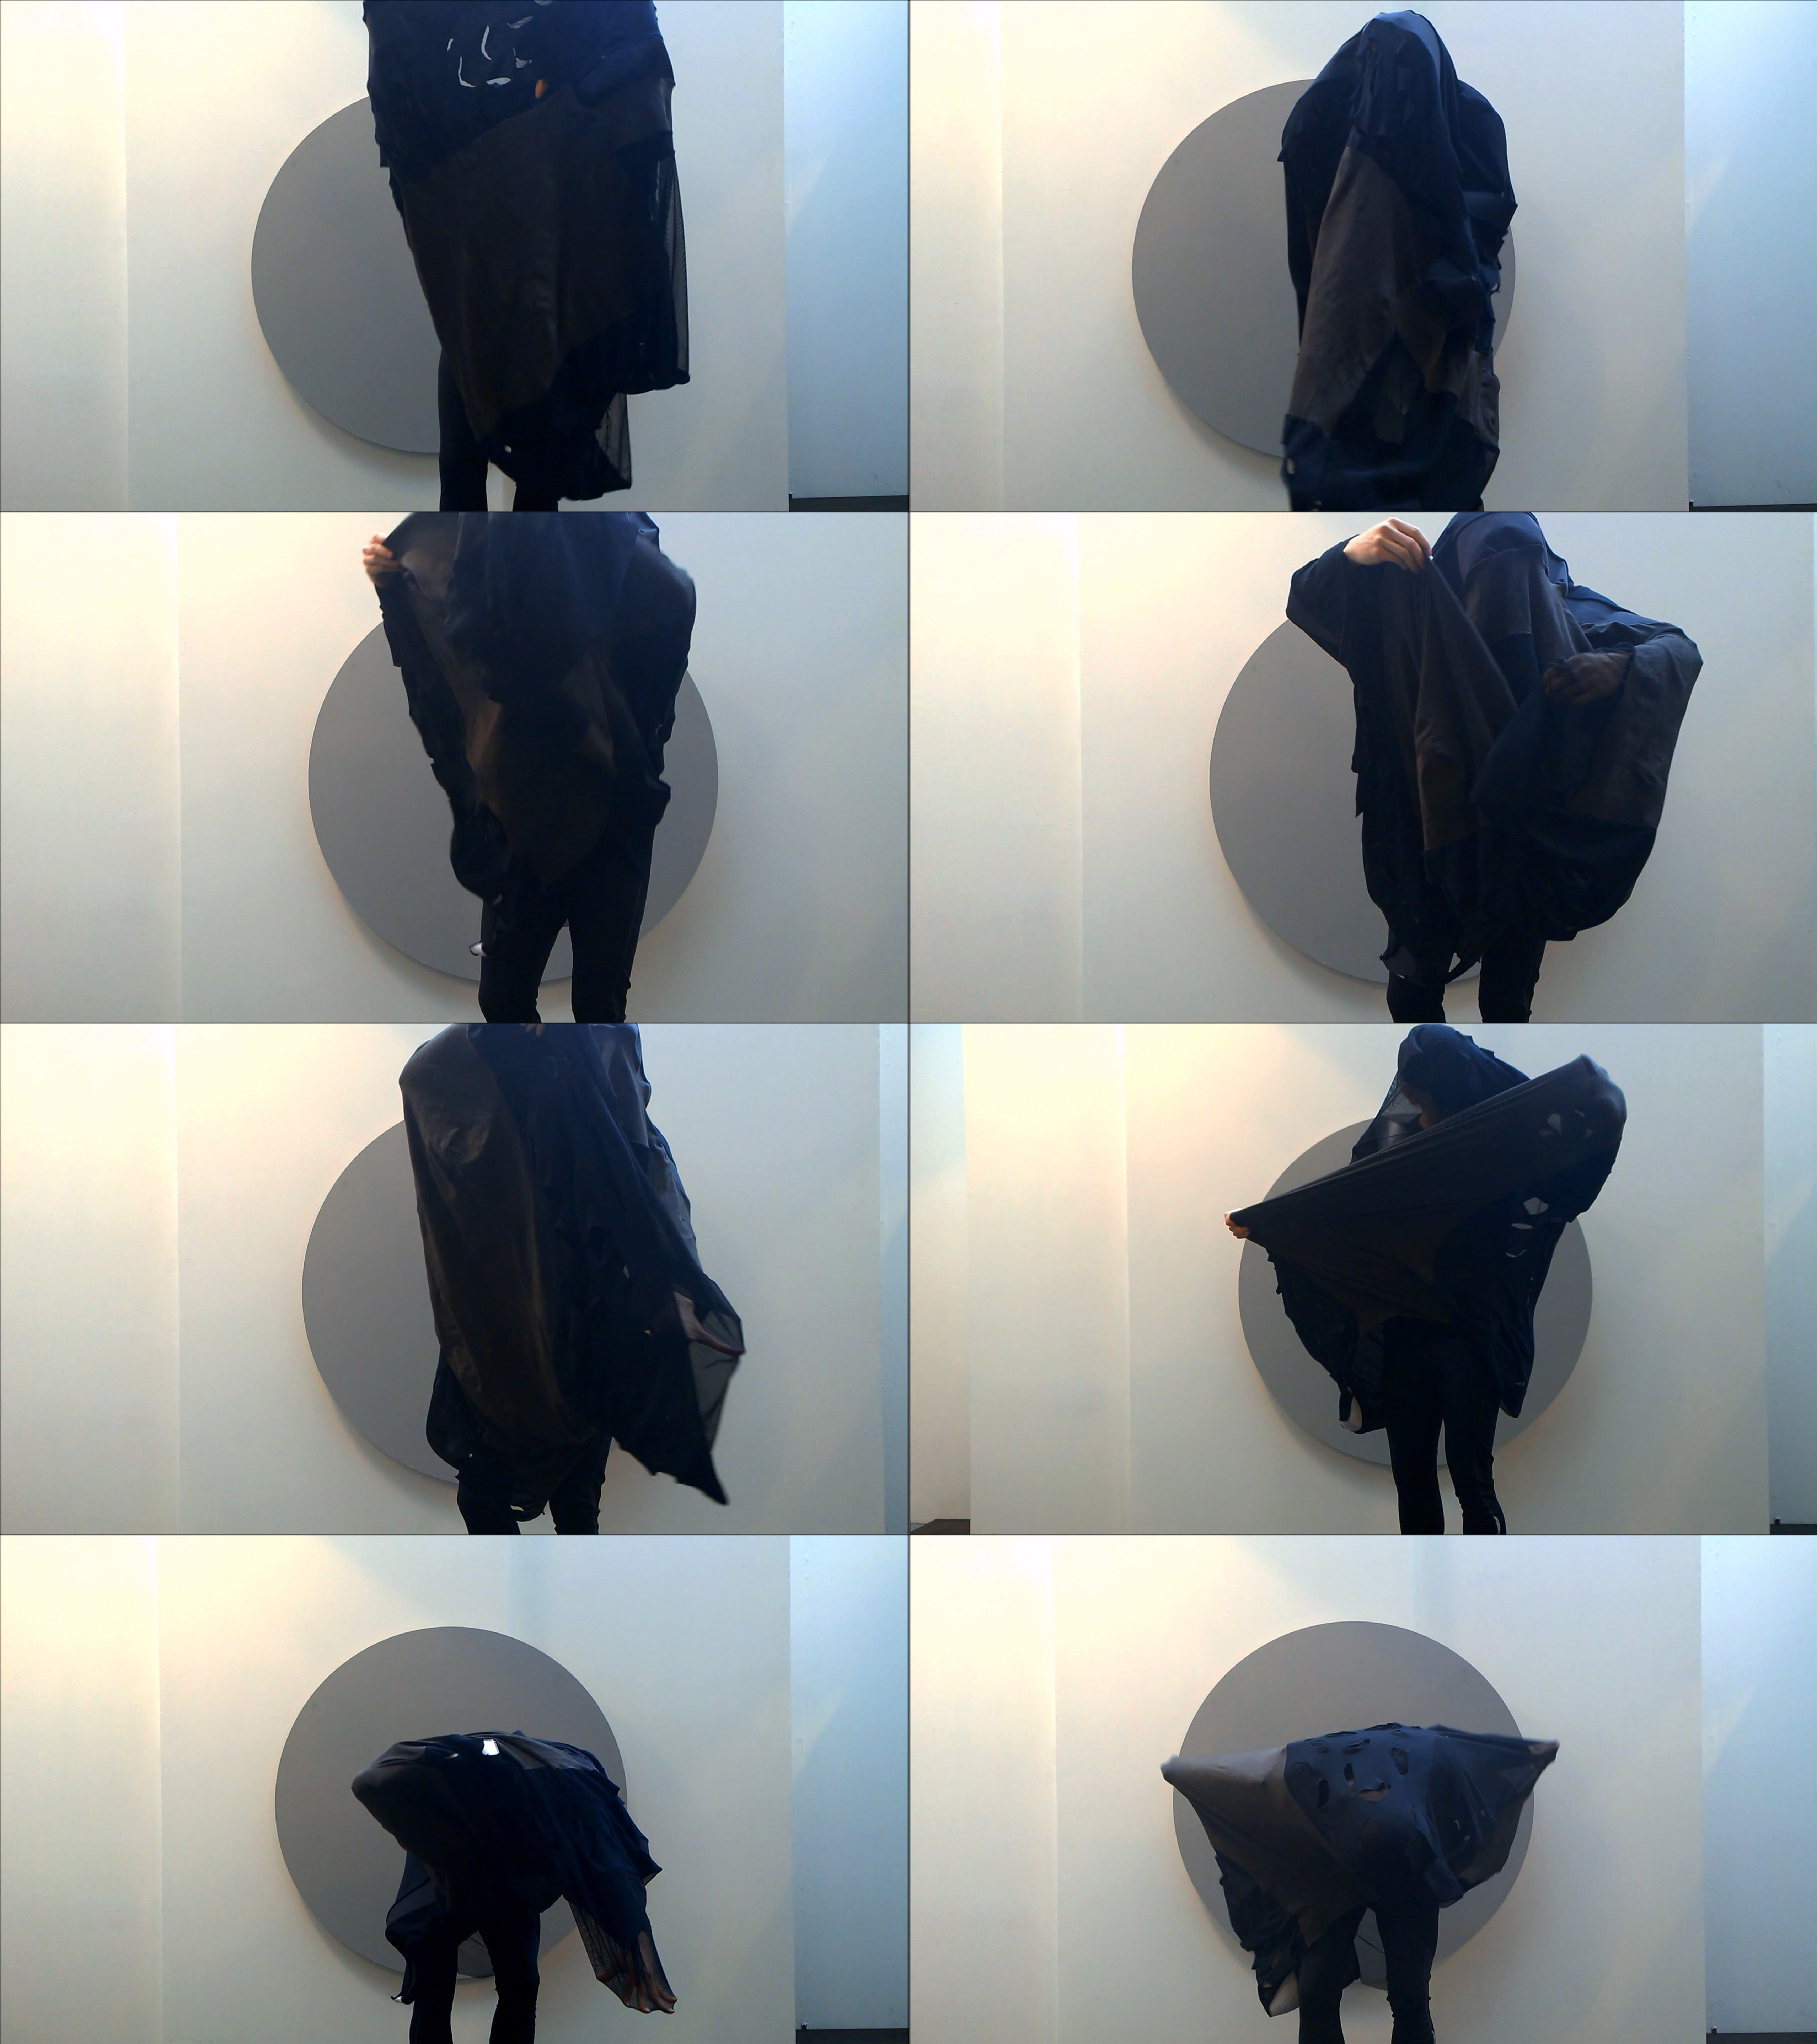
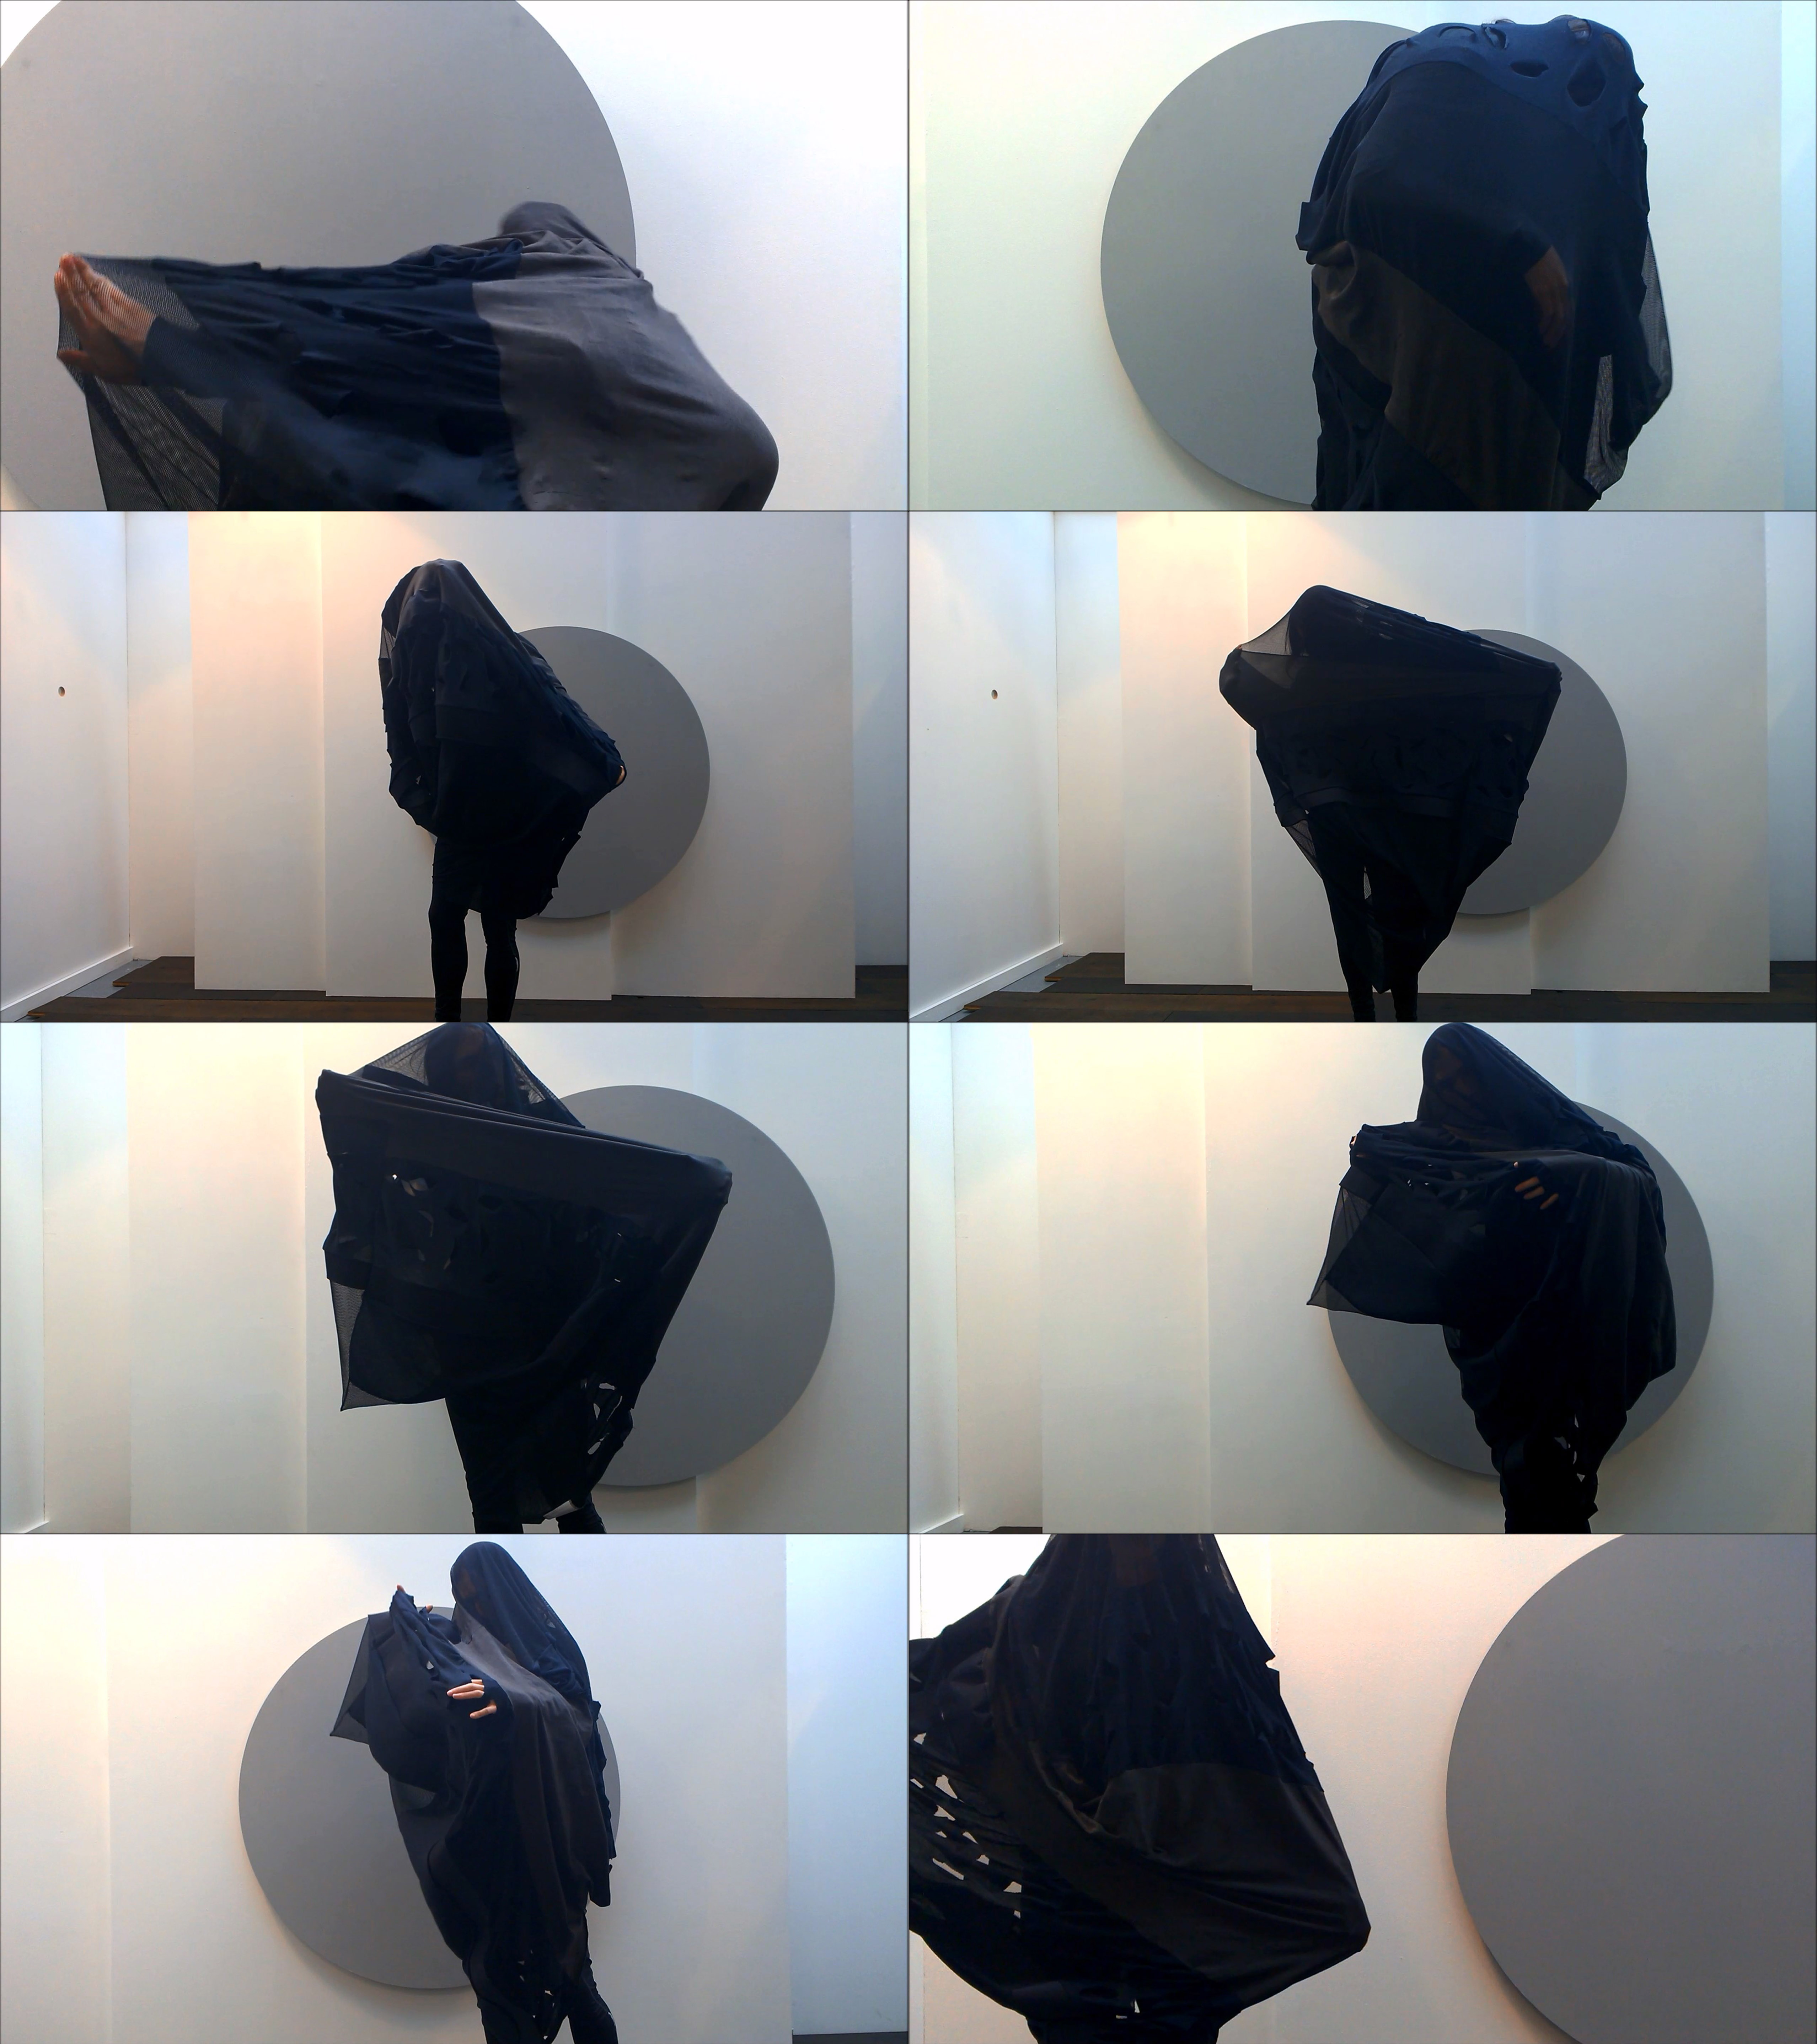
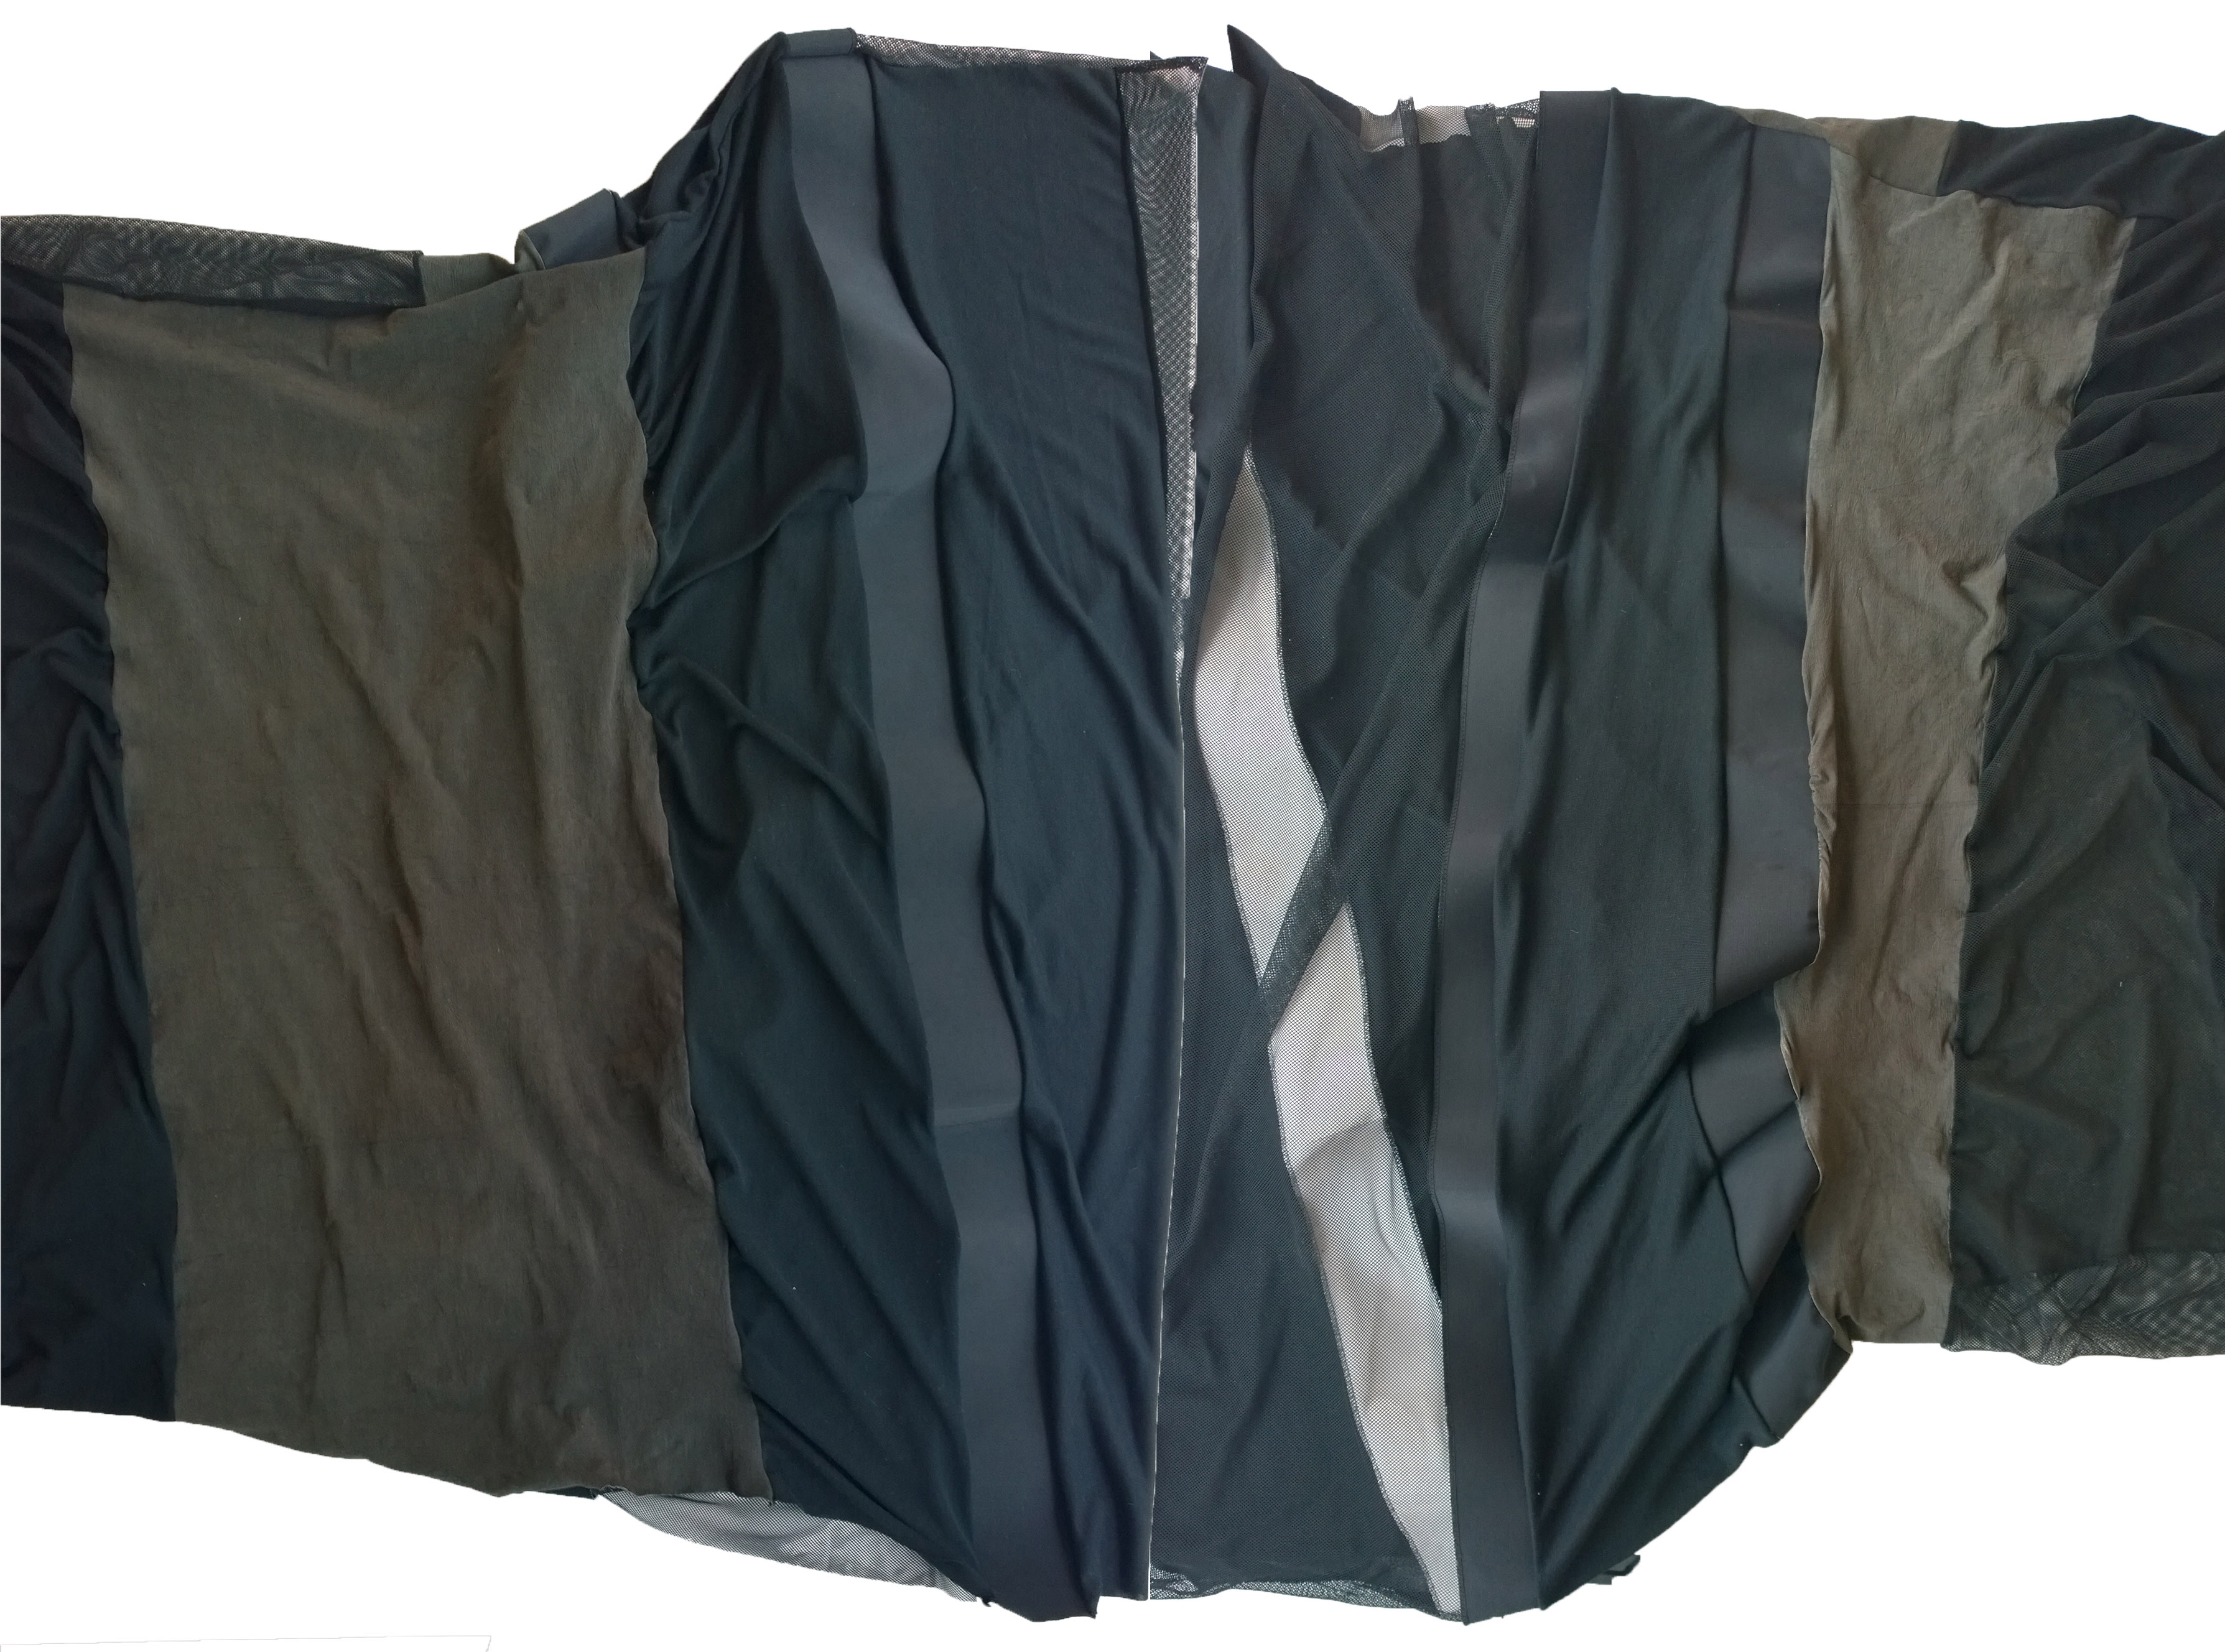
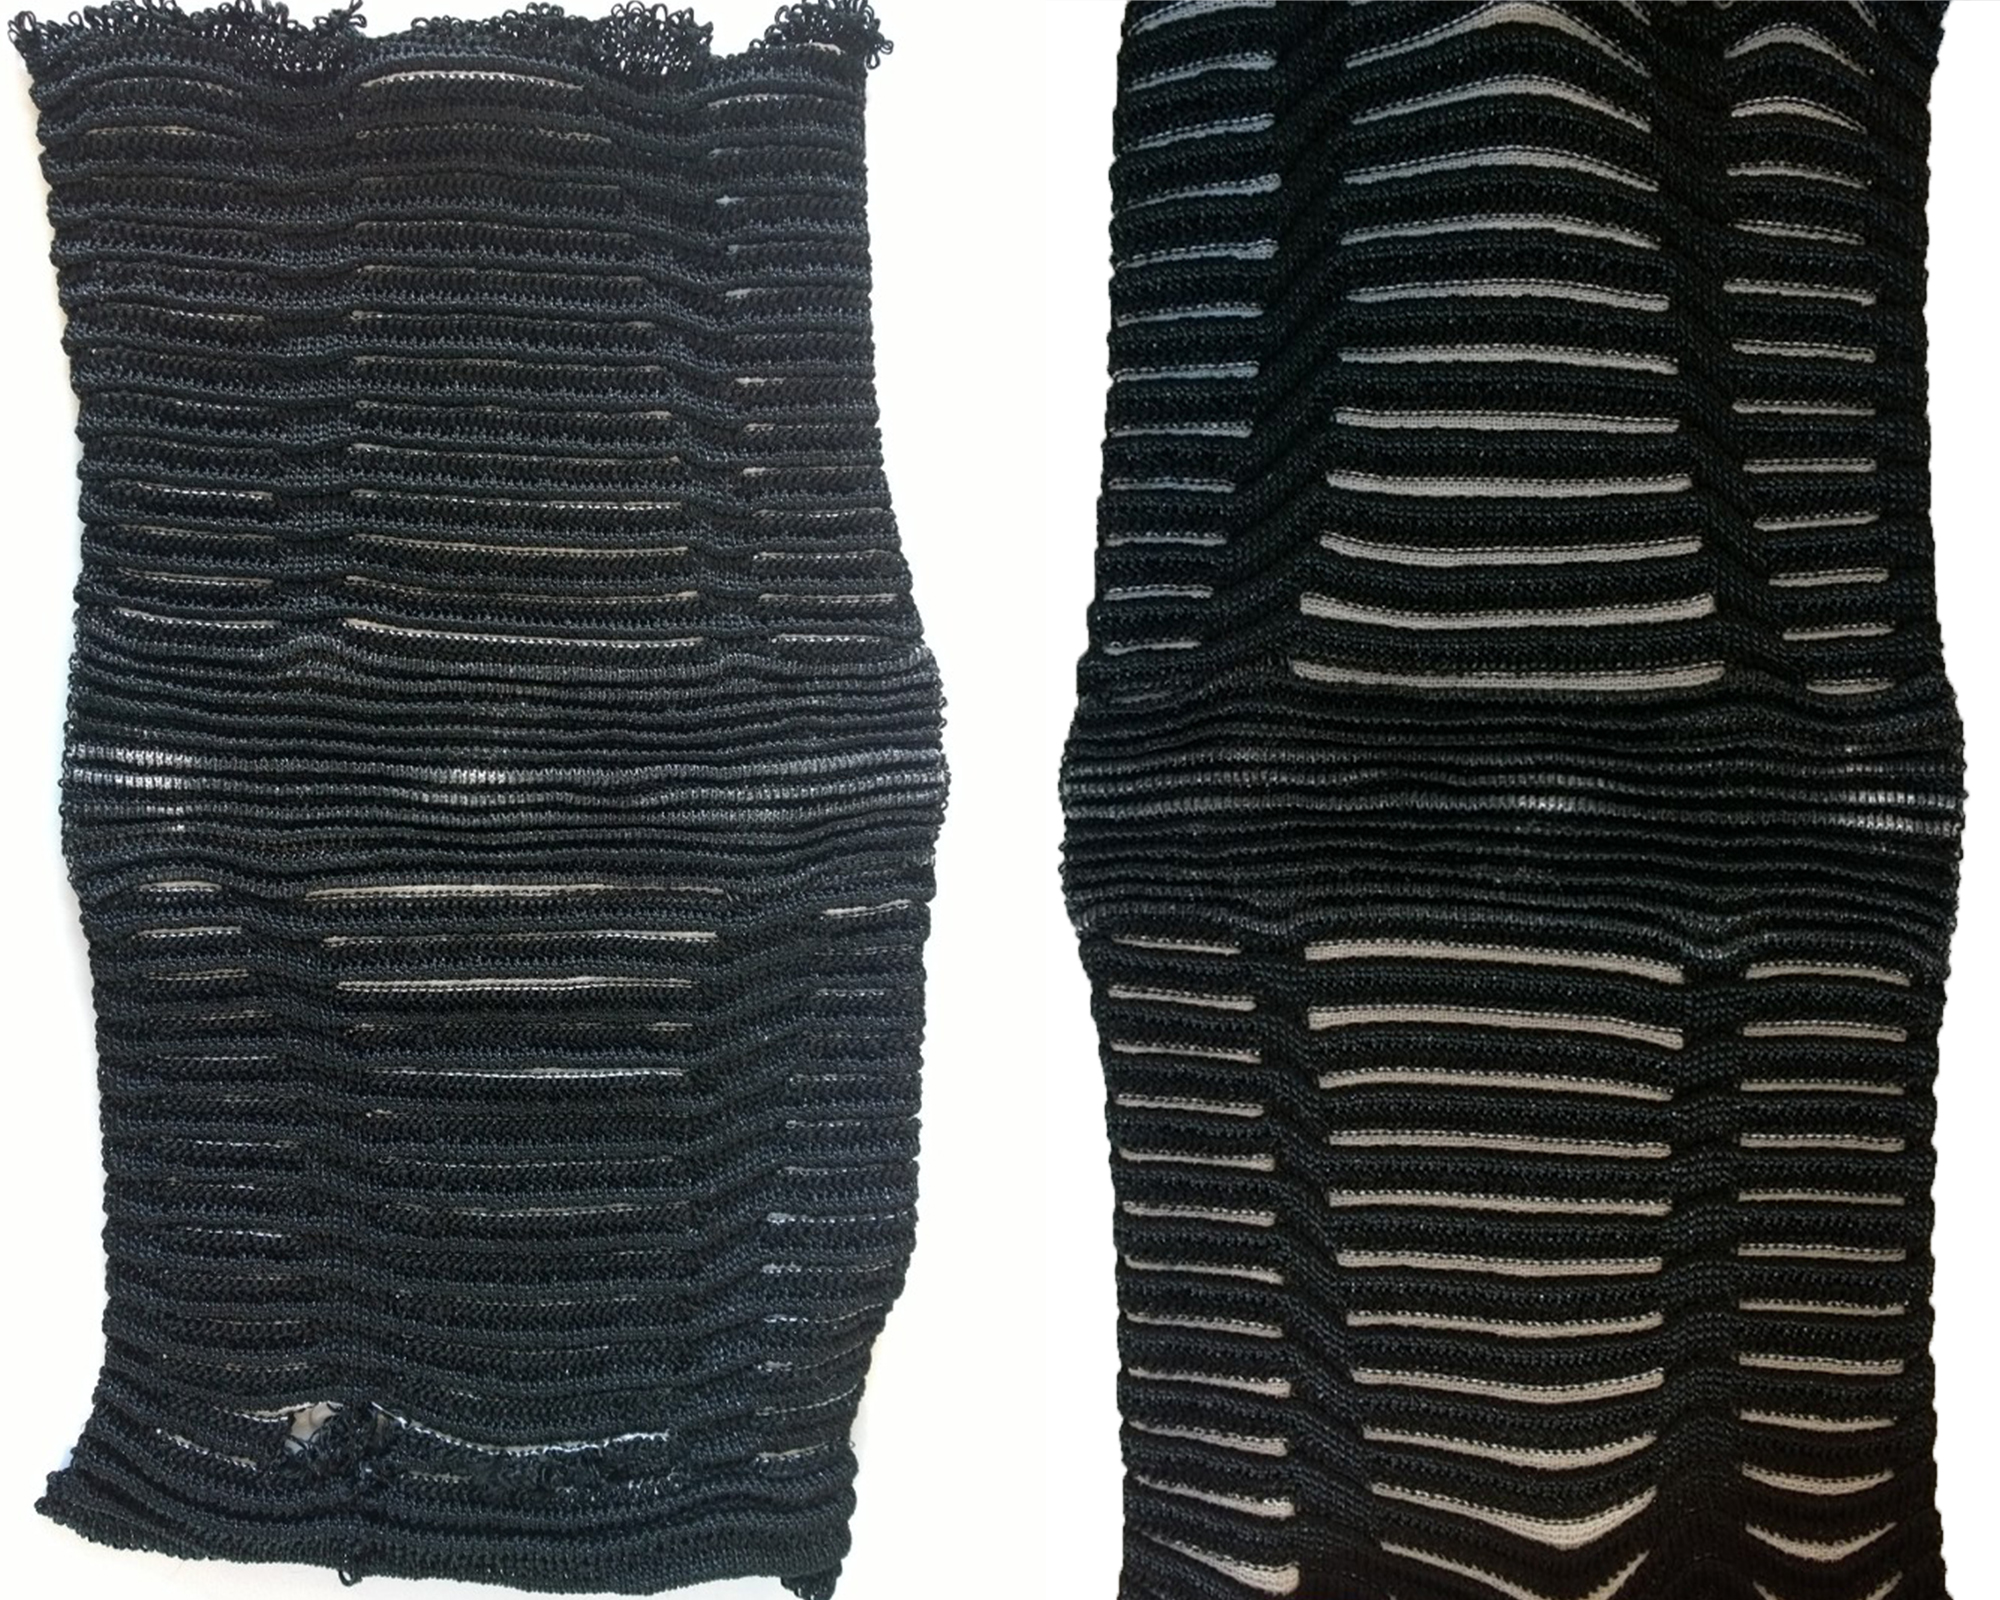
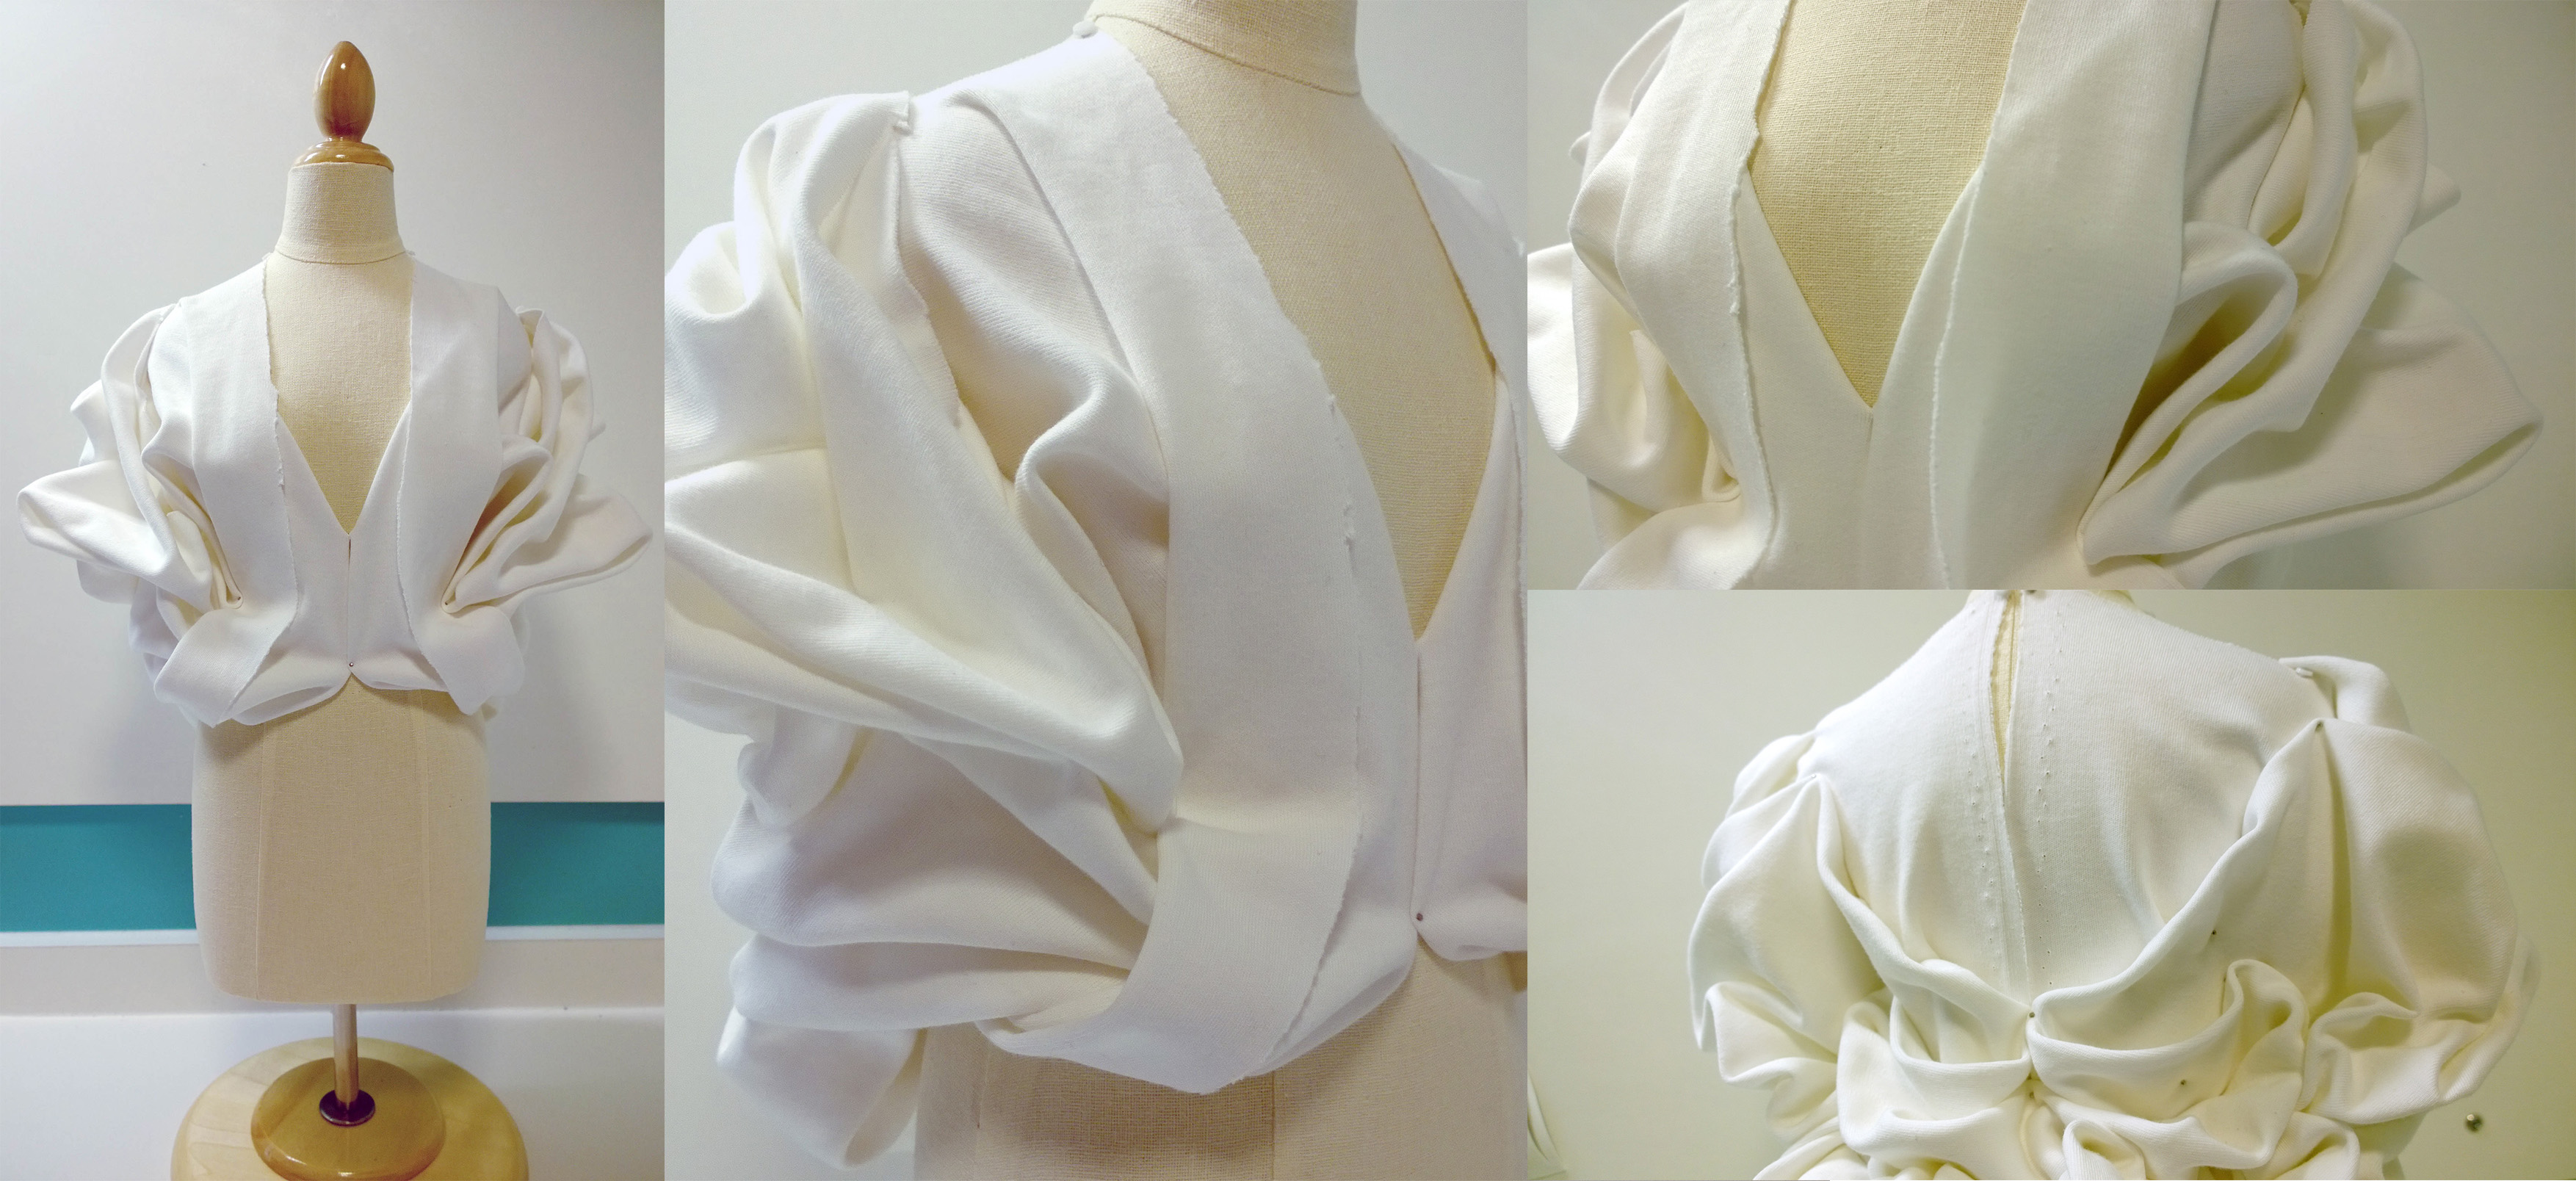
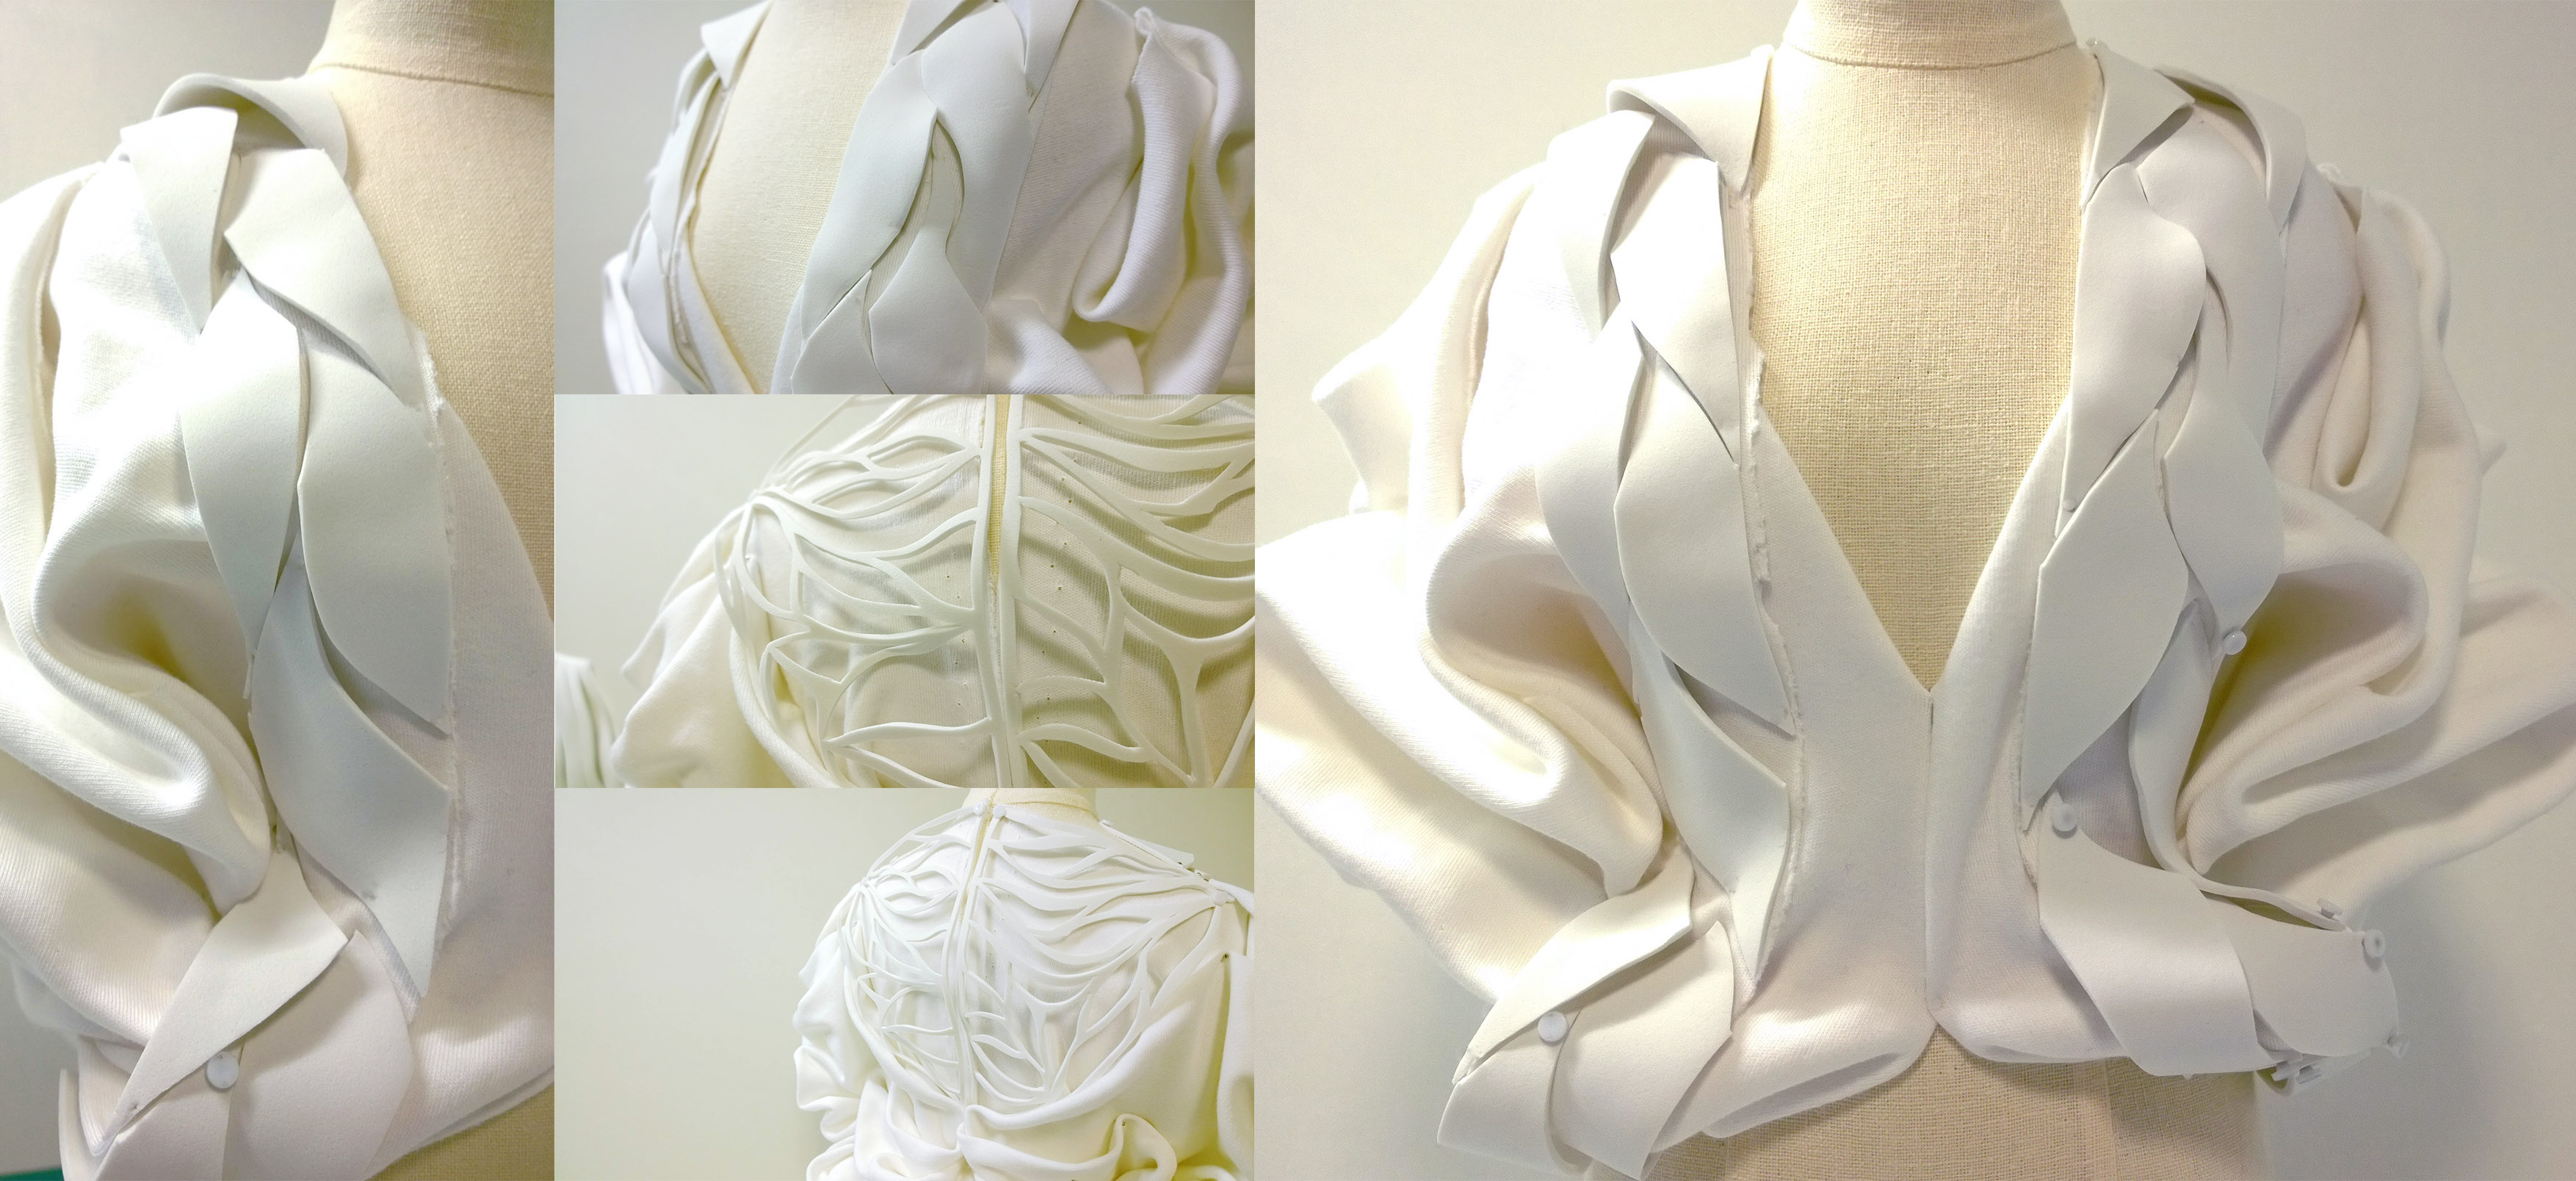
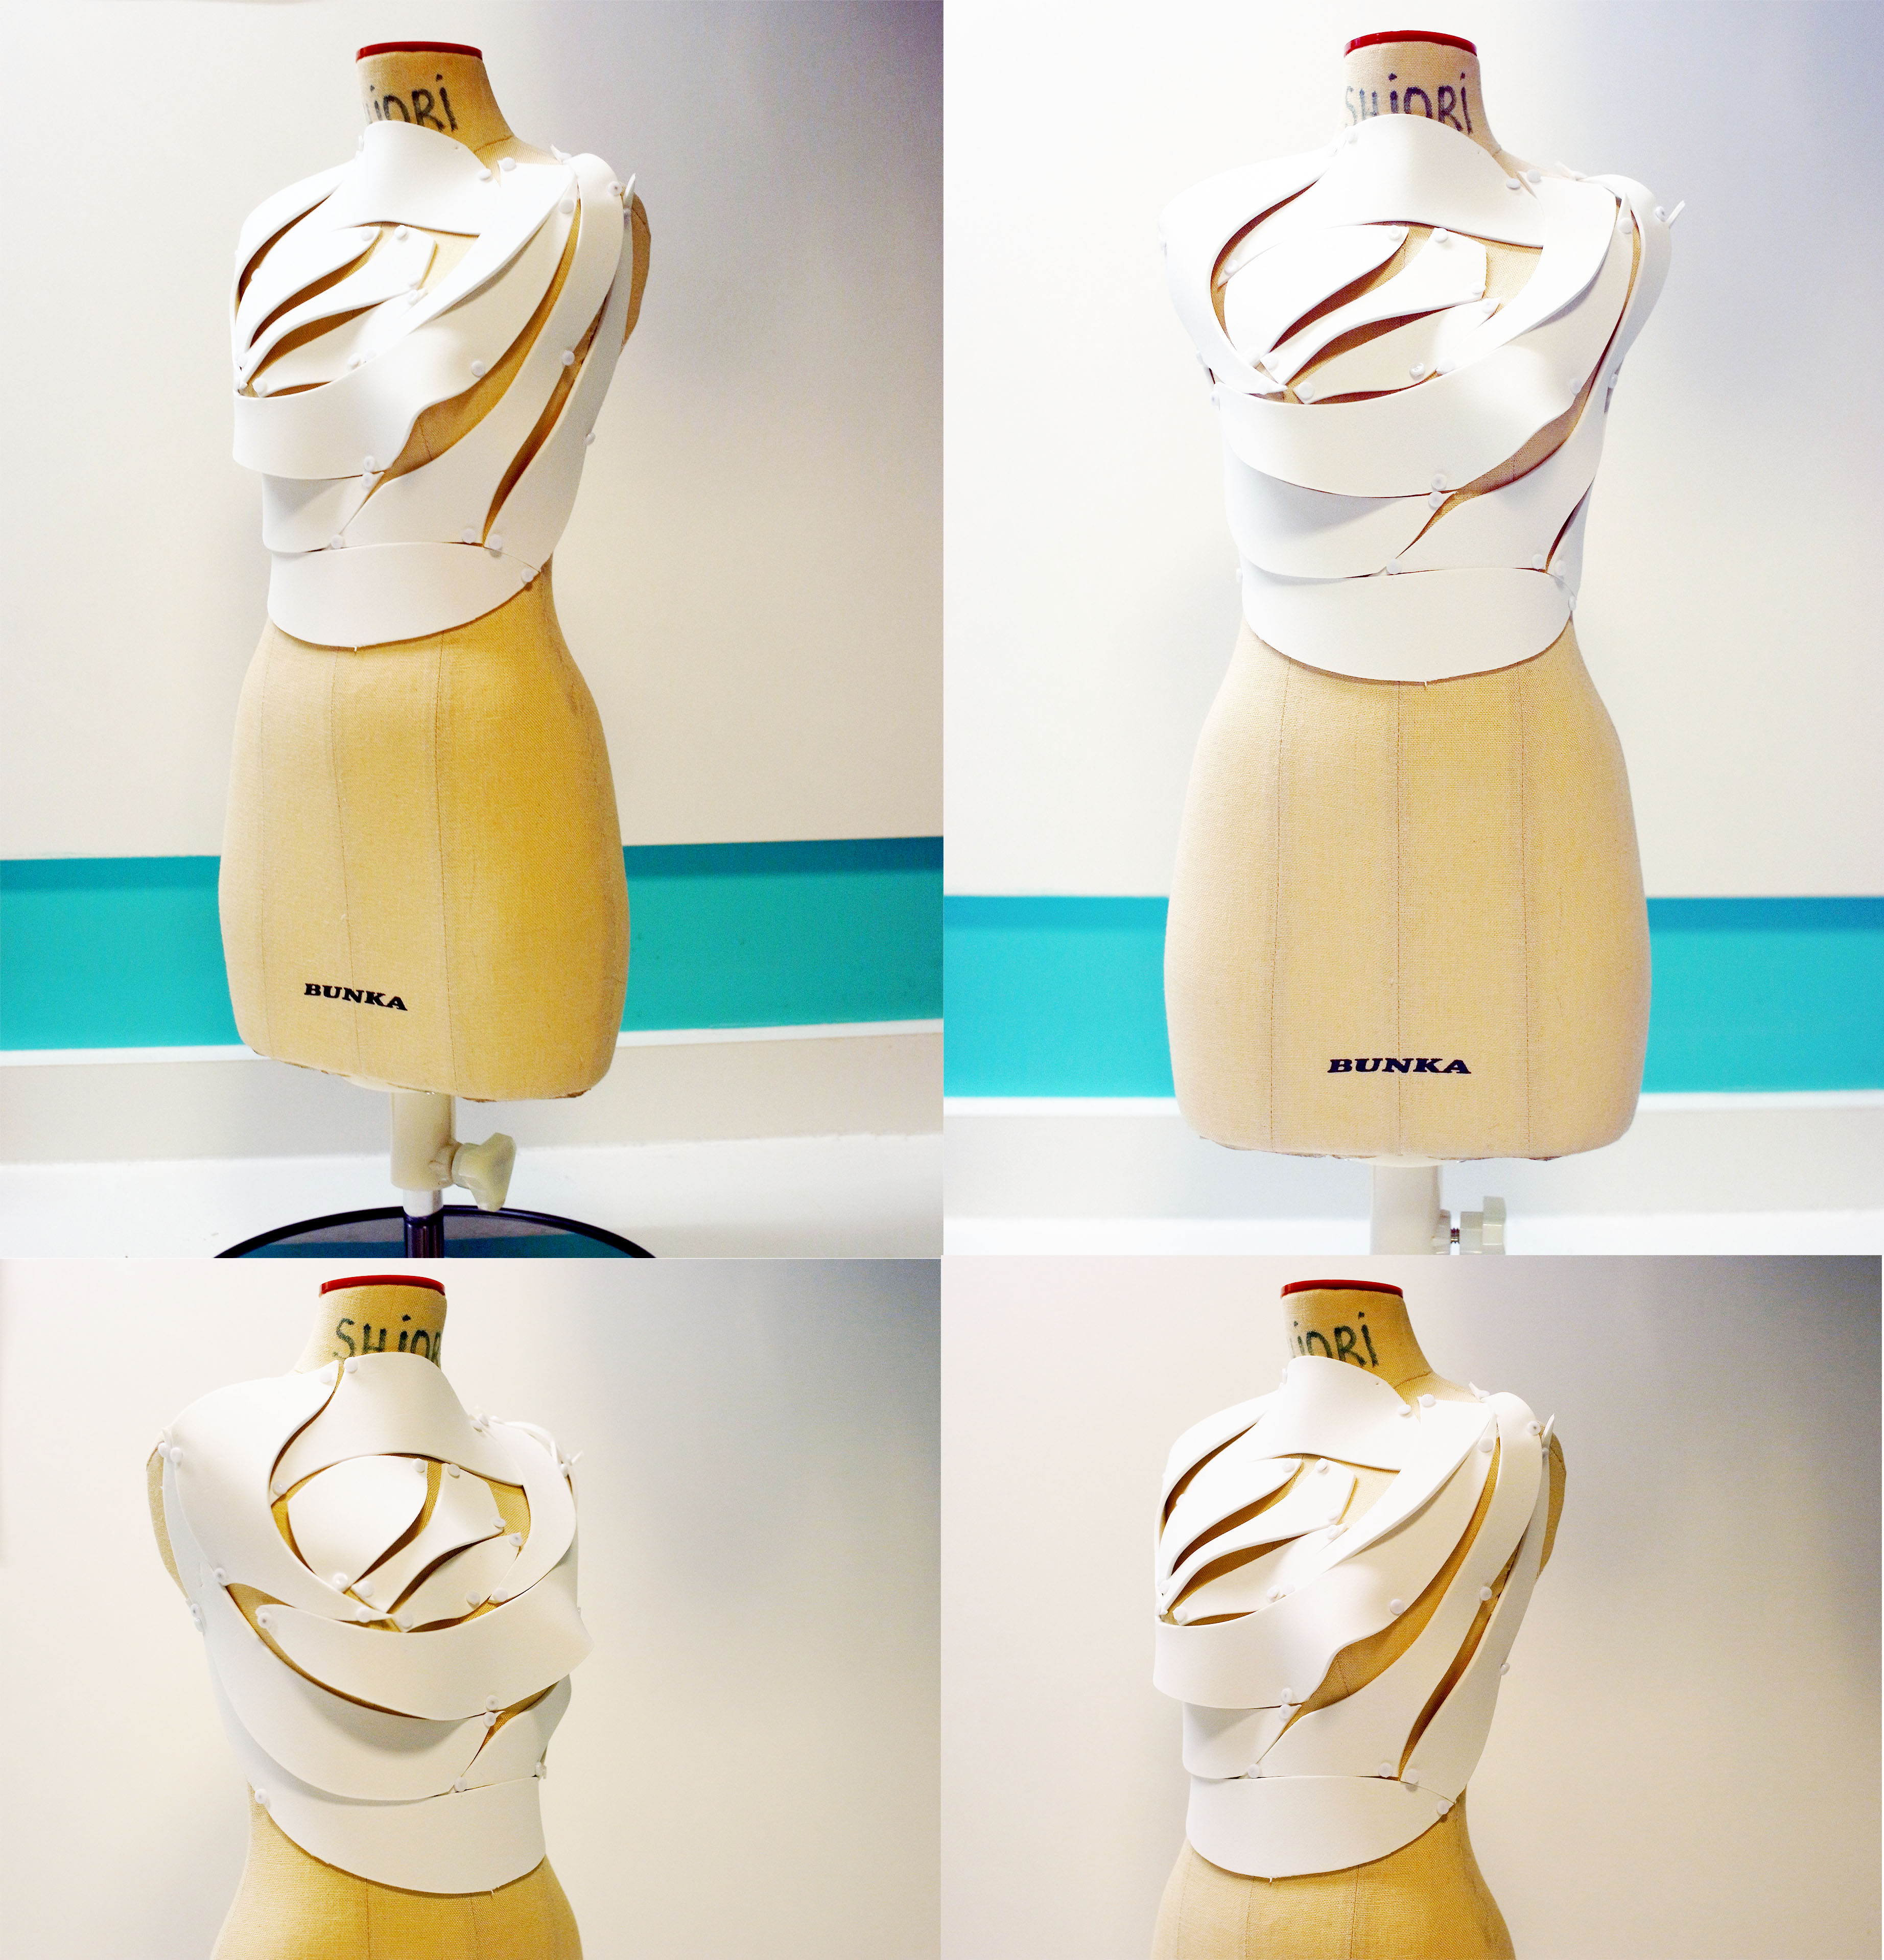
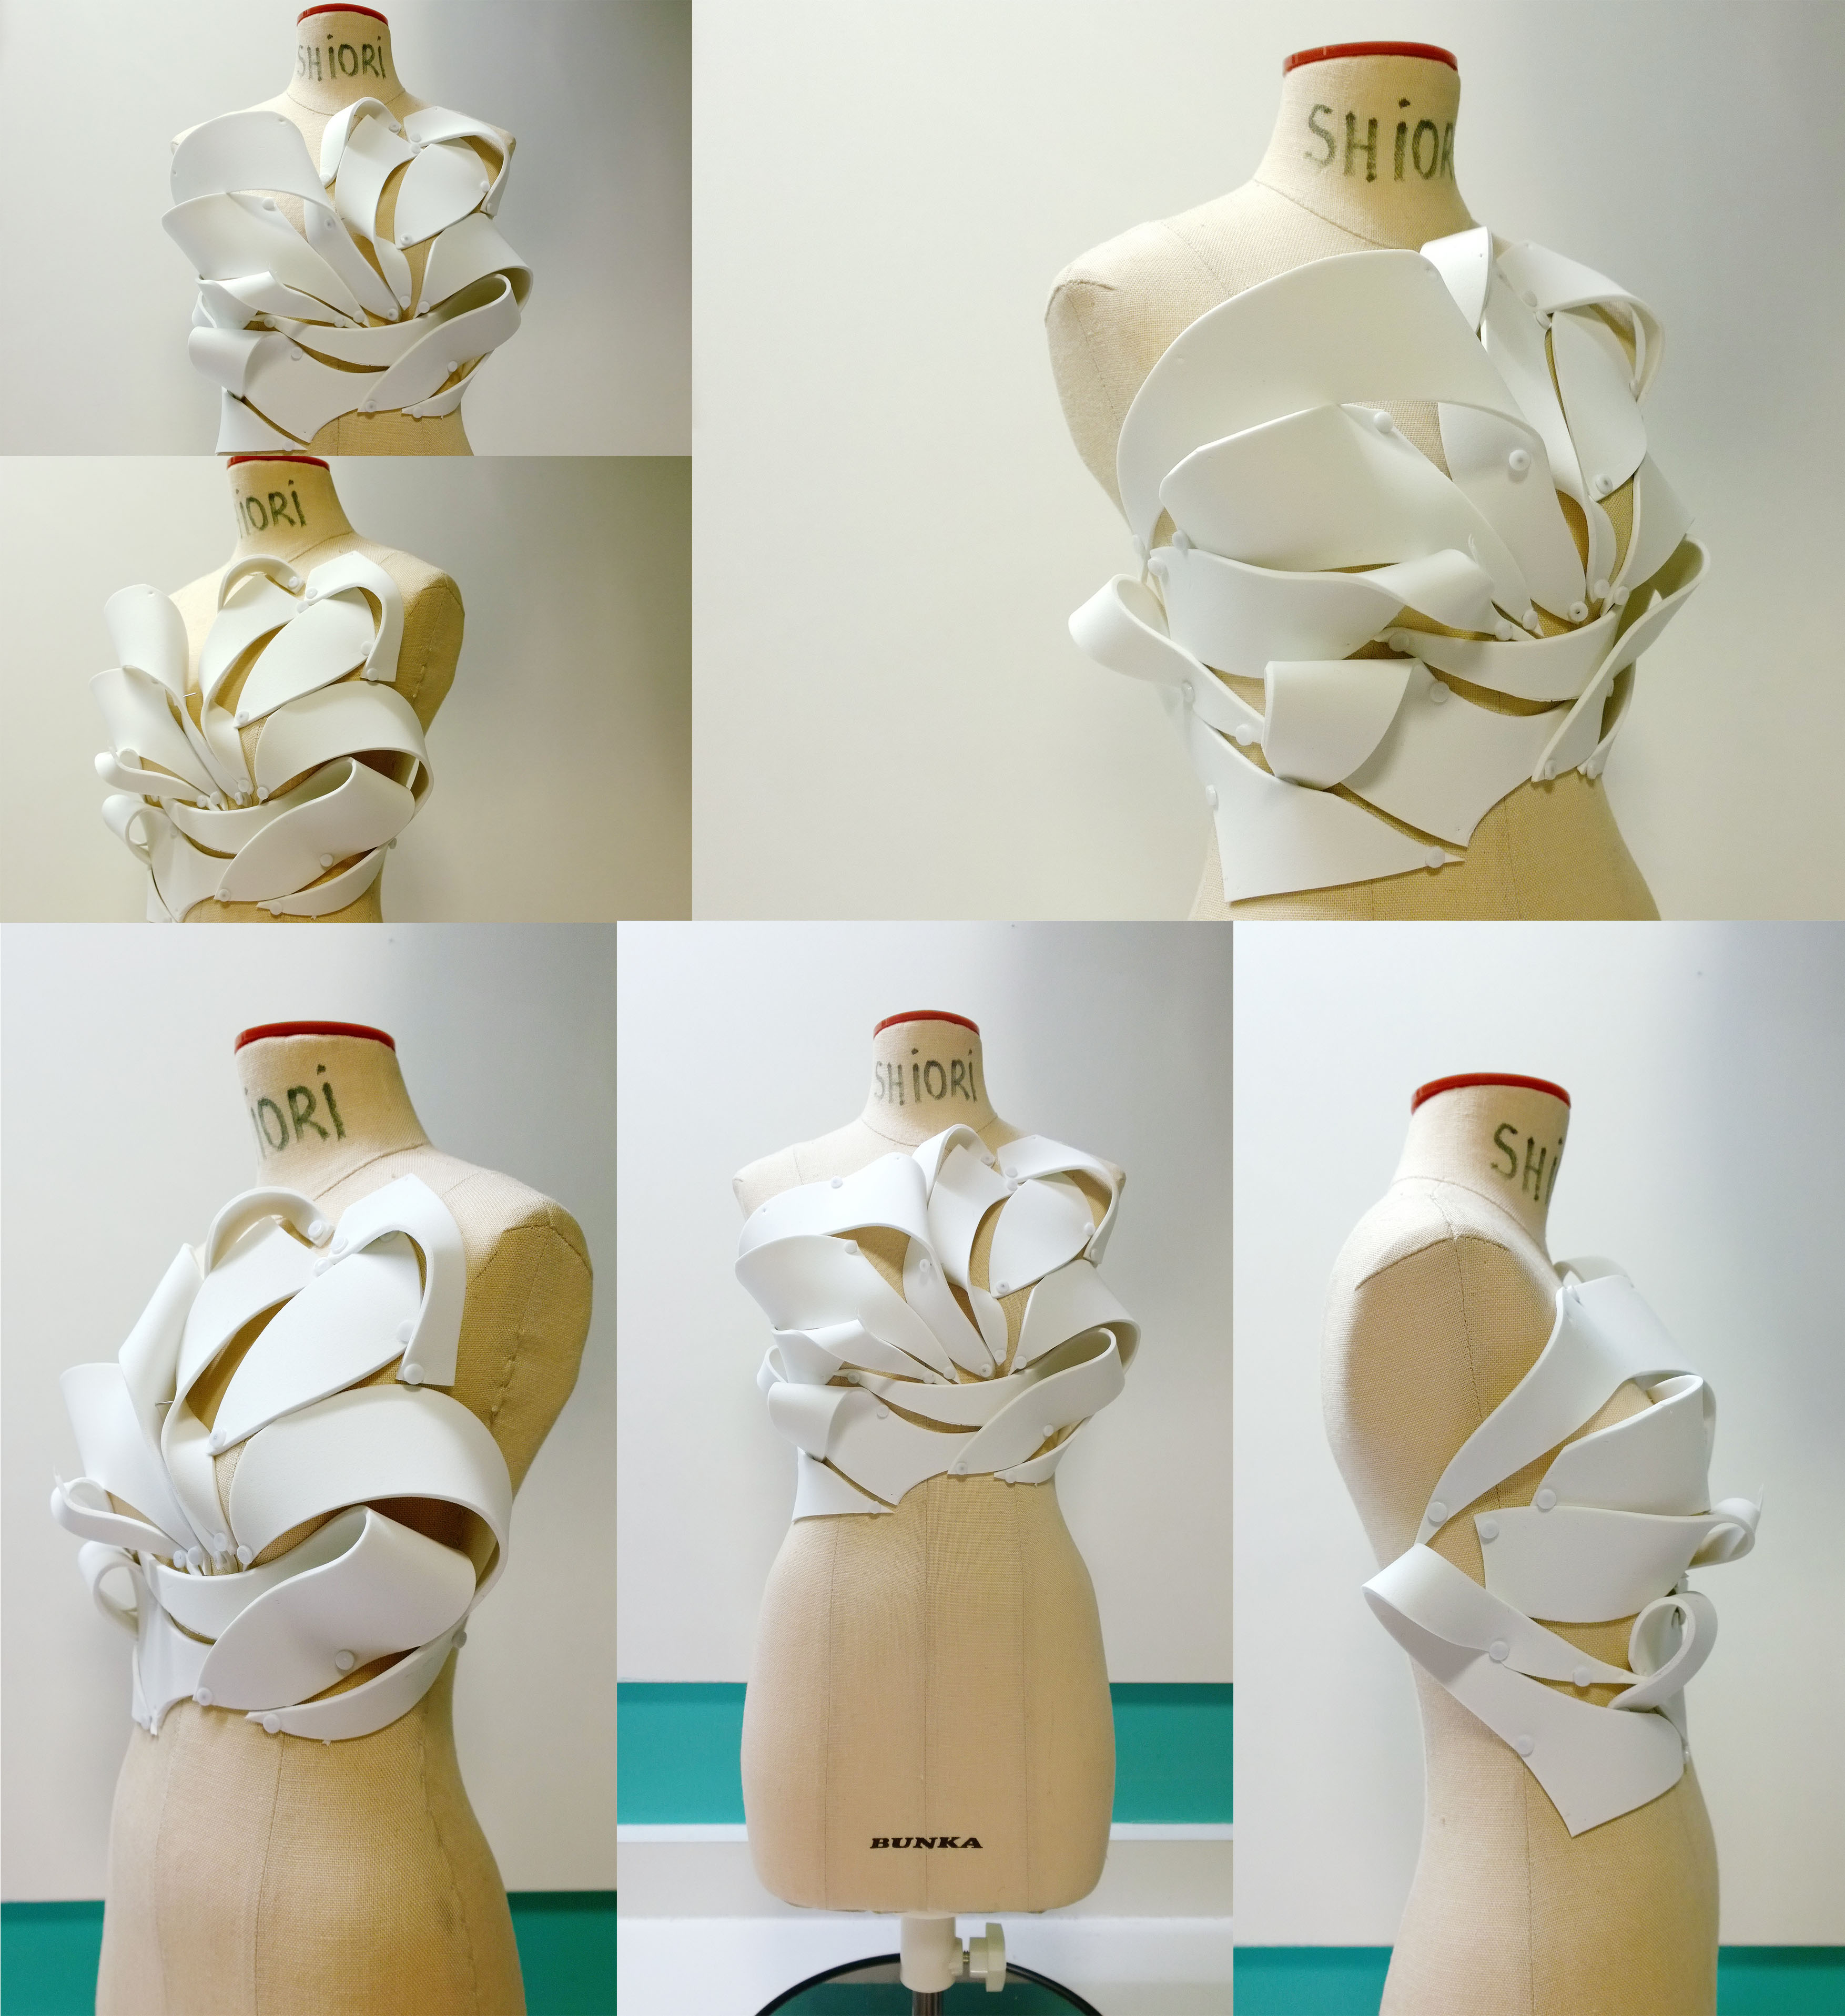
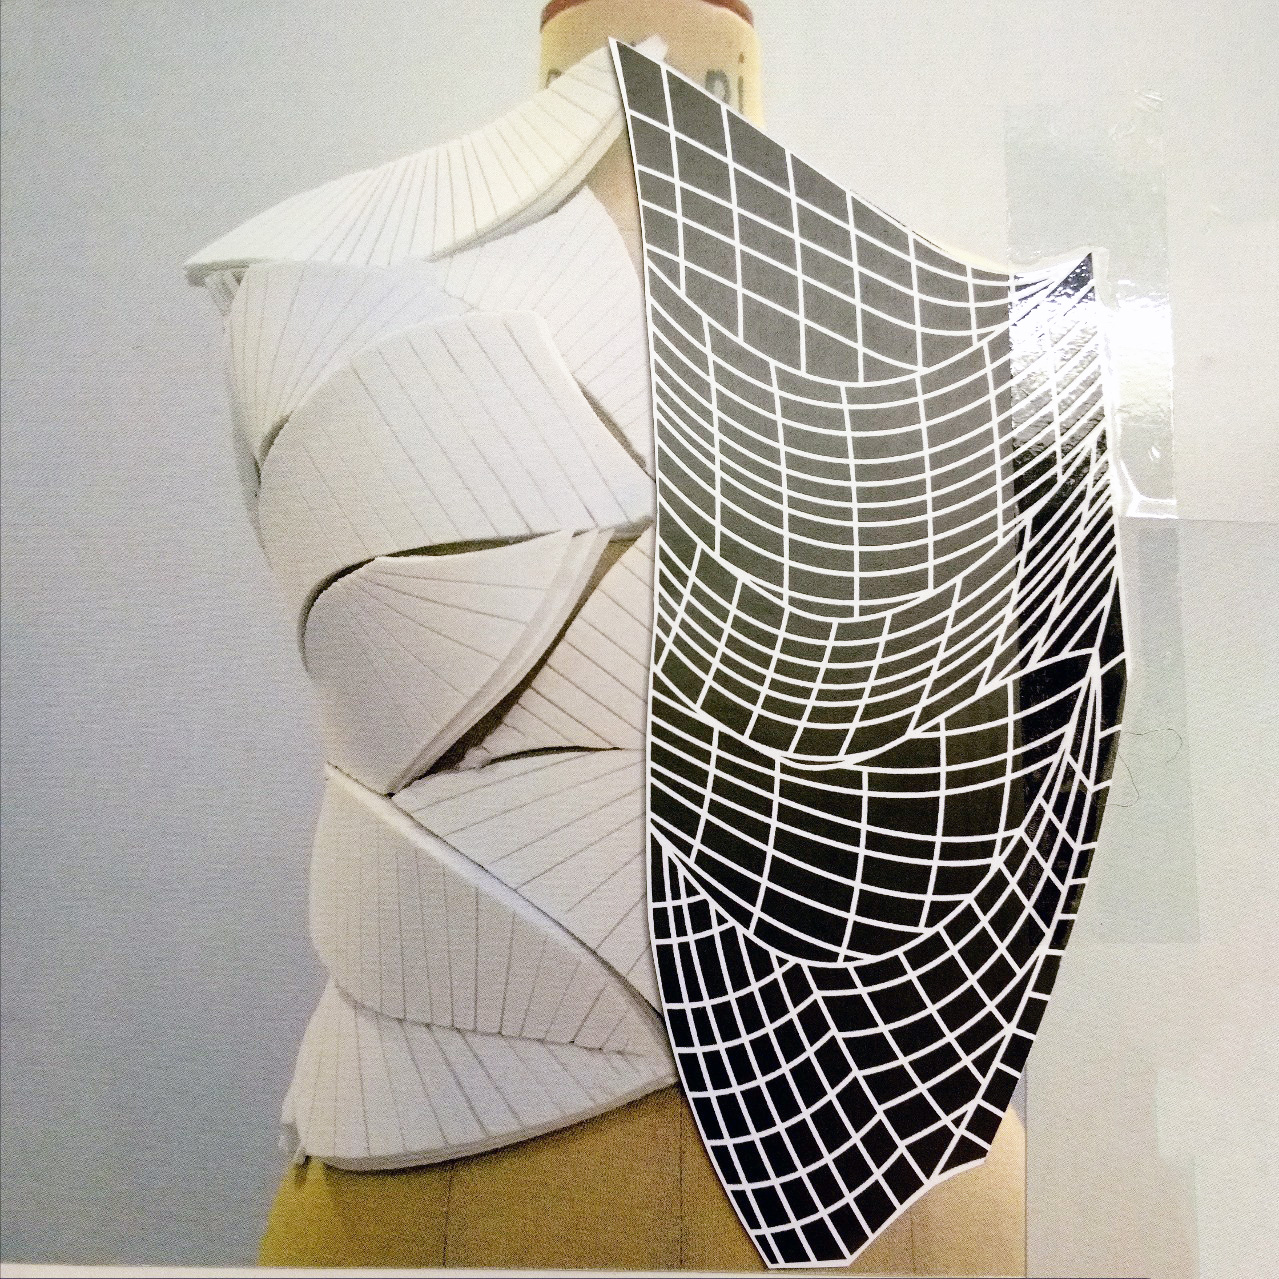
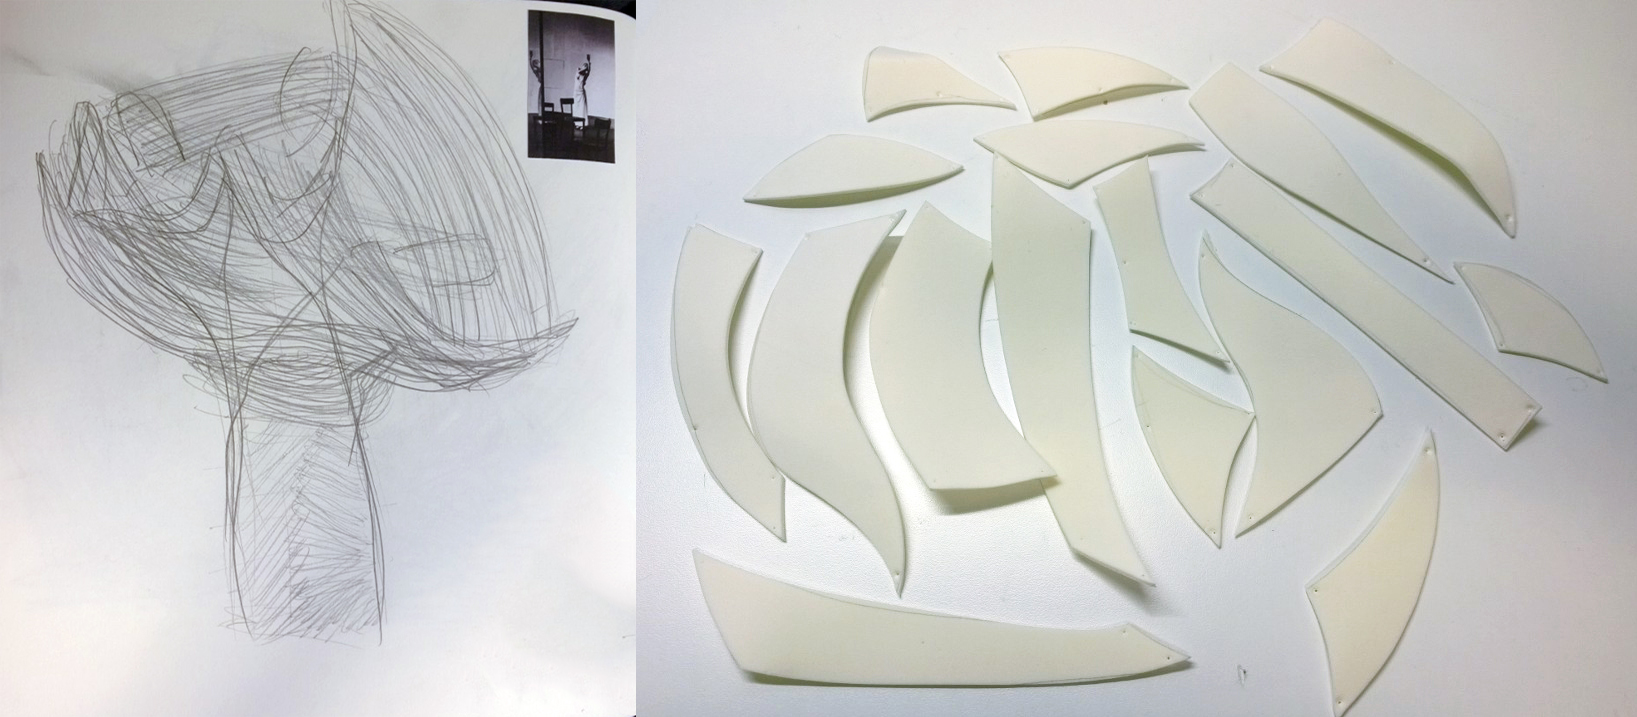
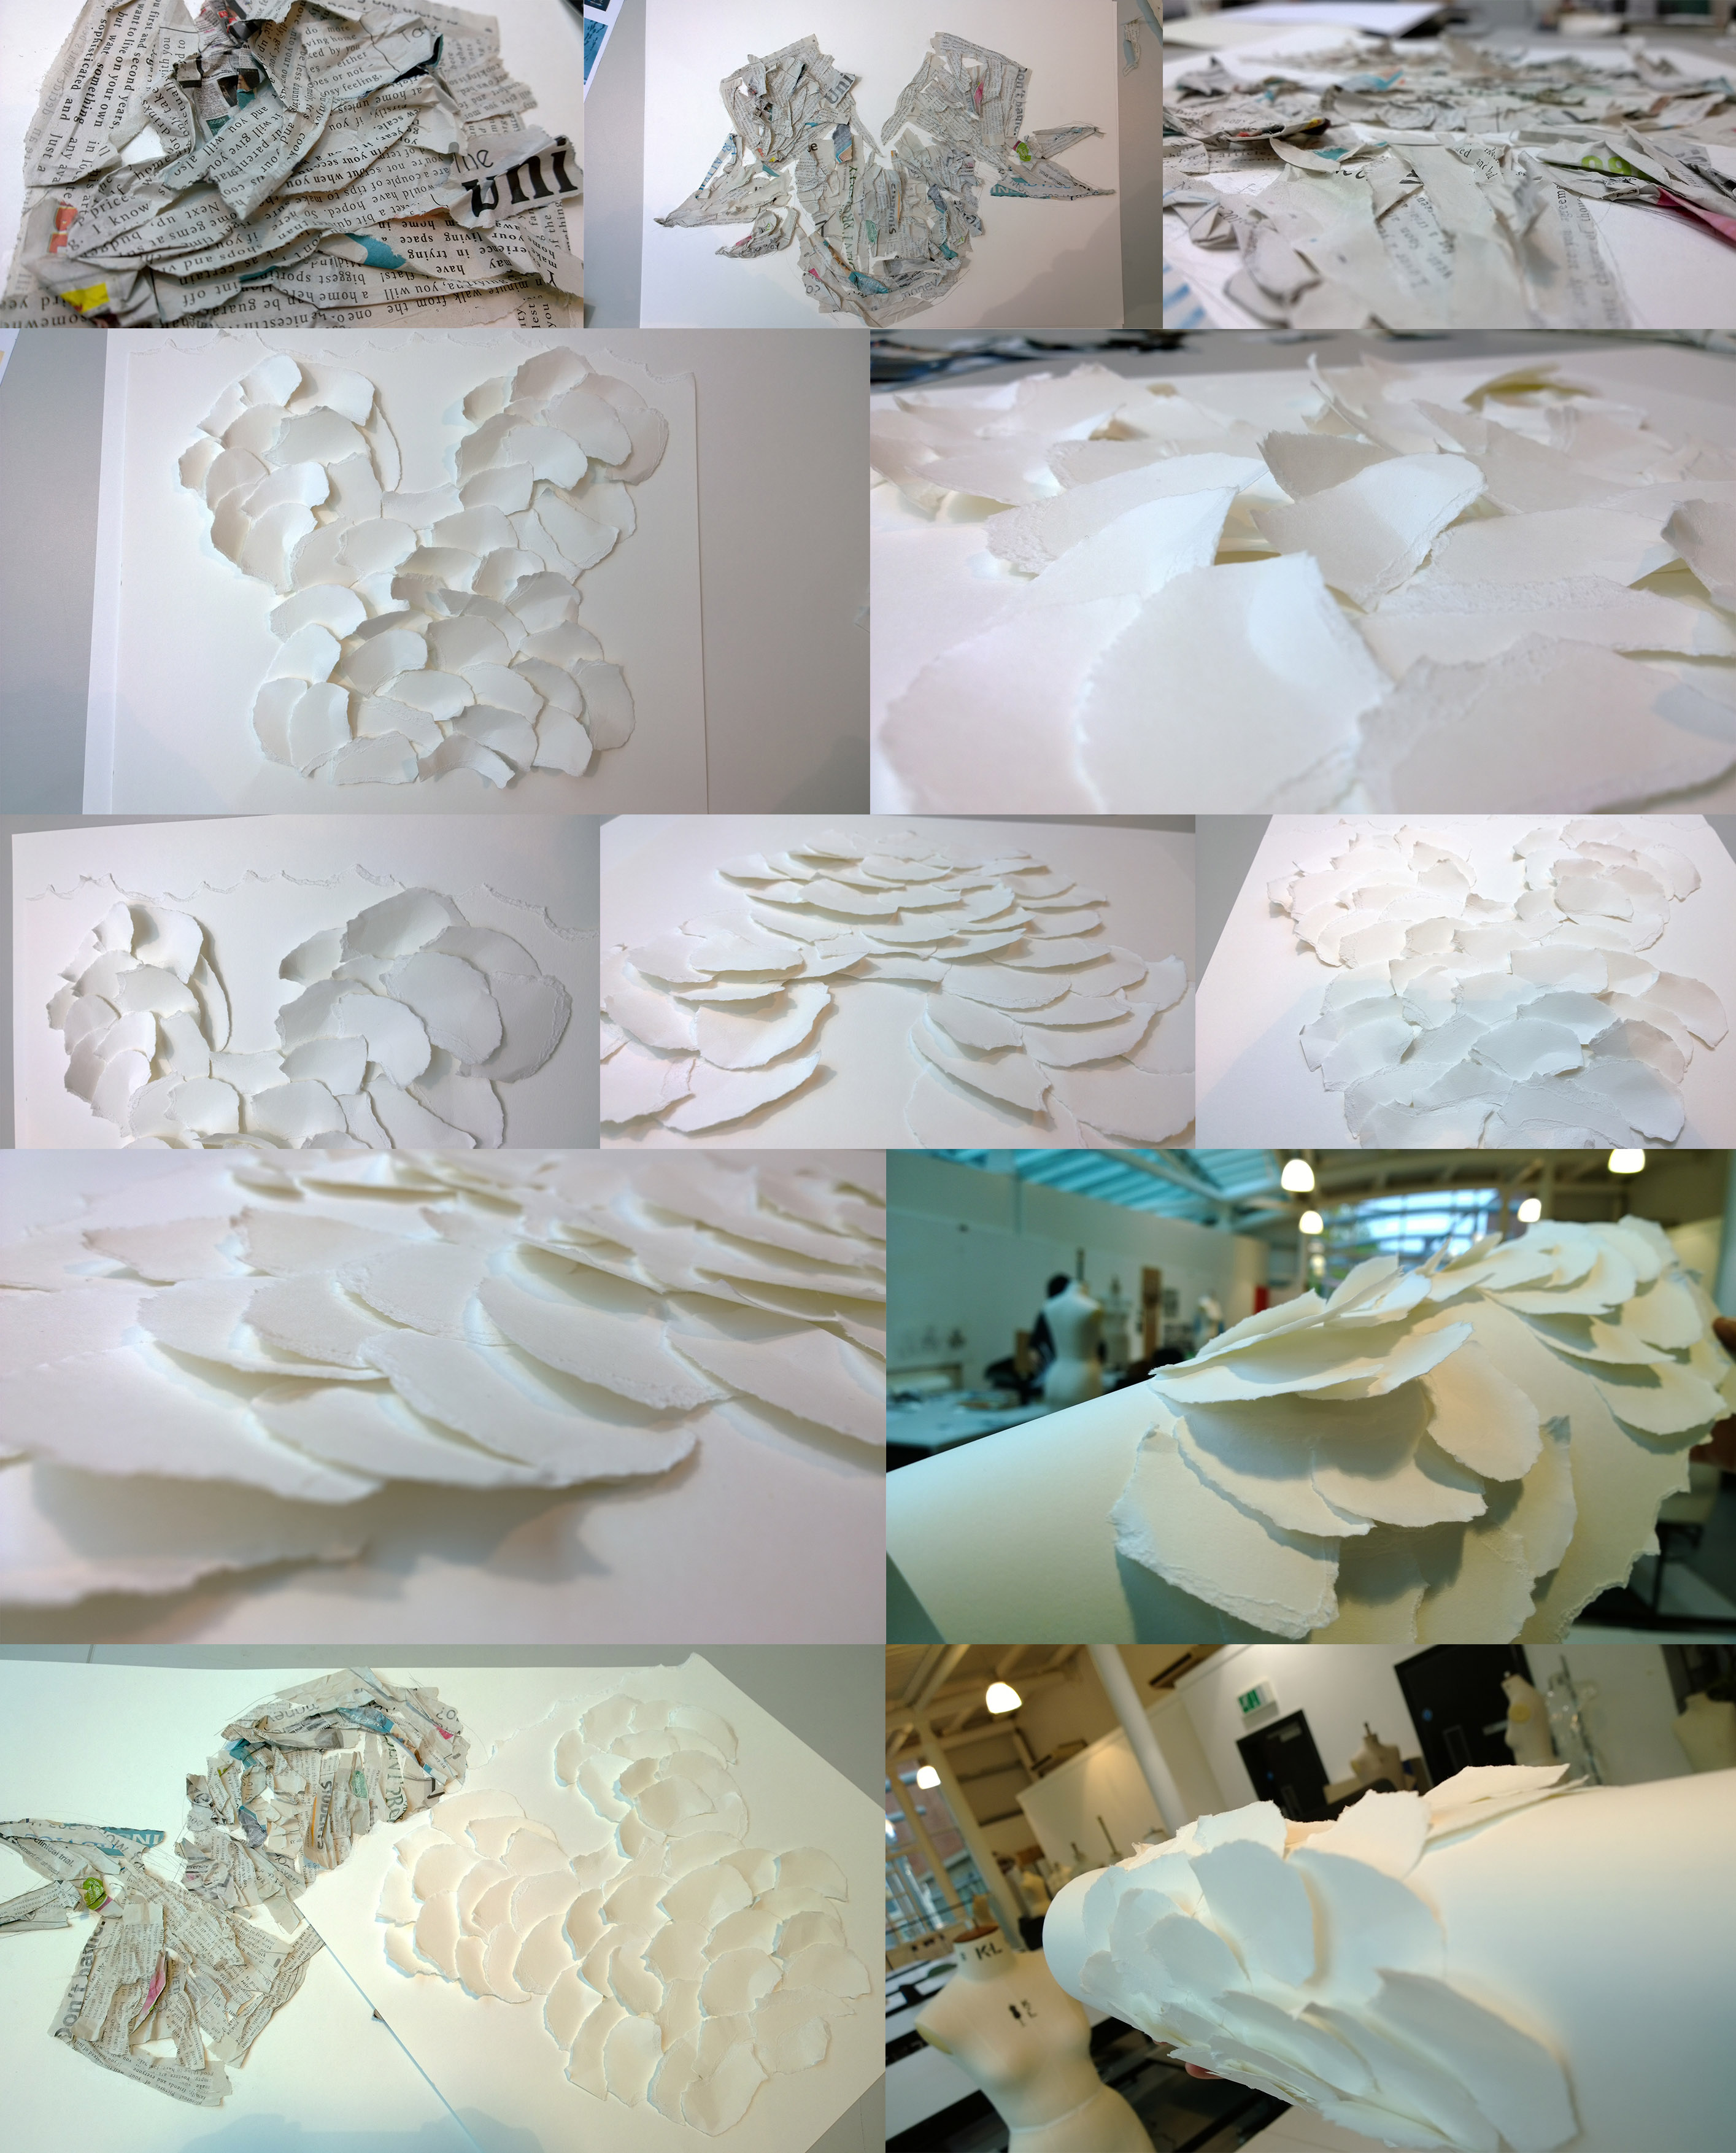
One and most inspired me is a Dutch fashion designer named” Iris Van Herpen”. In her early stage of design, she used lacer cutting combining with multi-material to design her garments, and later she 
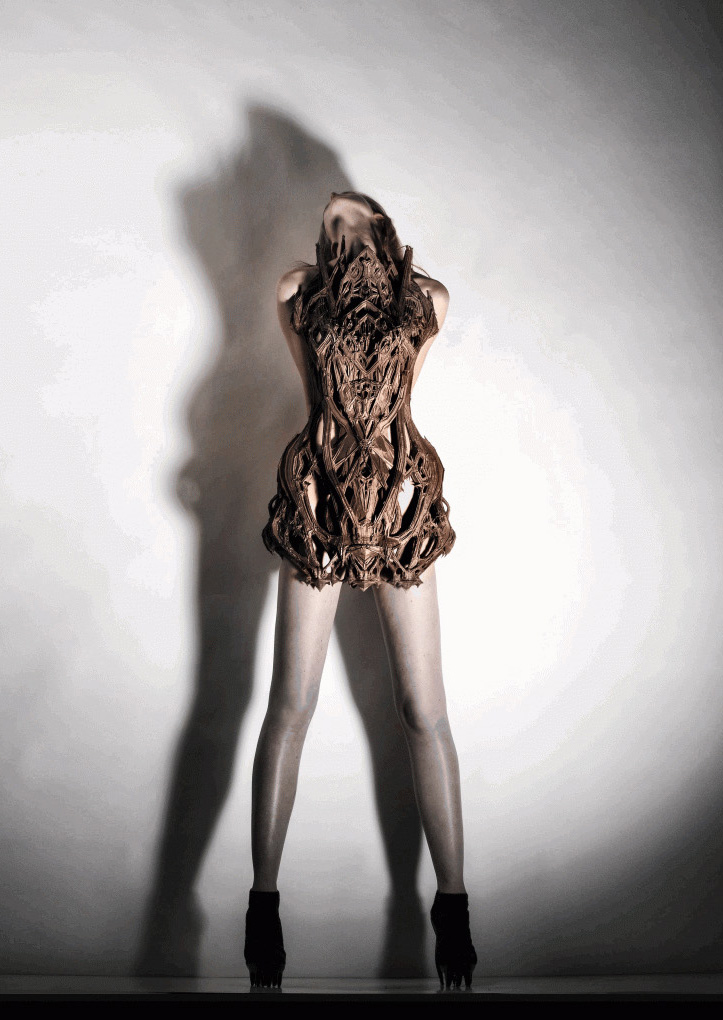
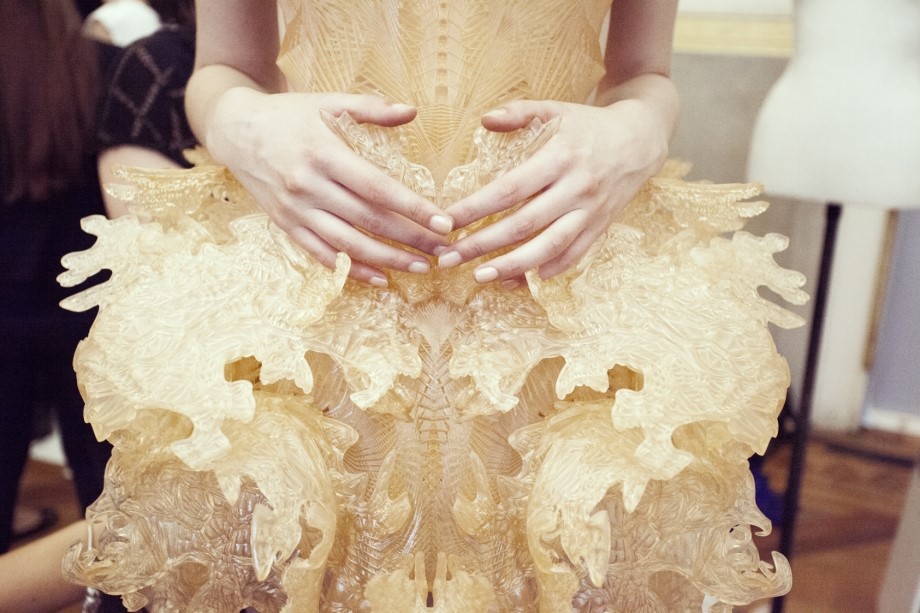
began to create her garment with 3-dimensional printing technology also multi-material. And when I researched into her garments, except she created all of her works from her own experiences or childhood dreams, she also try to figure out what reflects to herself. Besides, in her 3-dimensional pieces of 
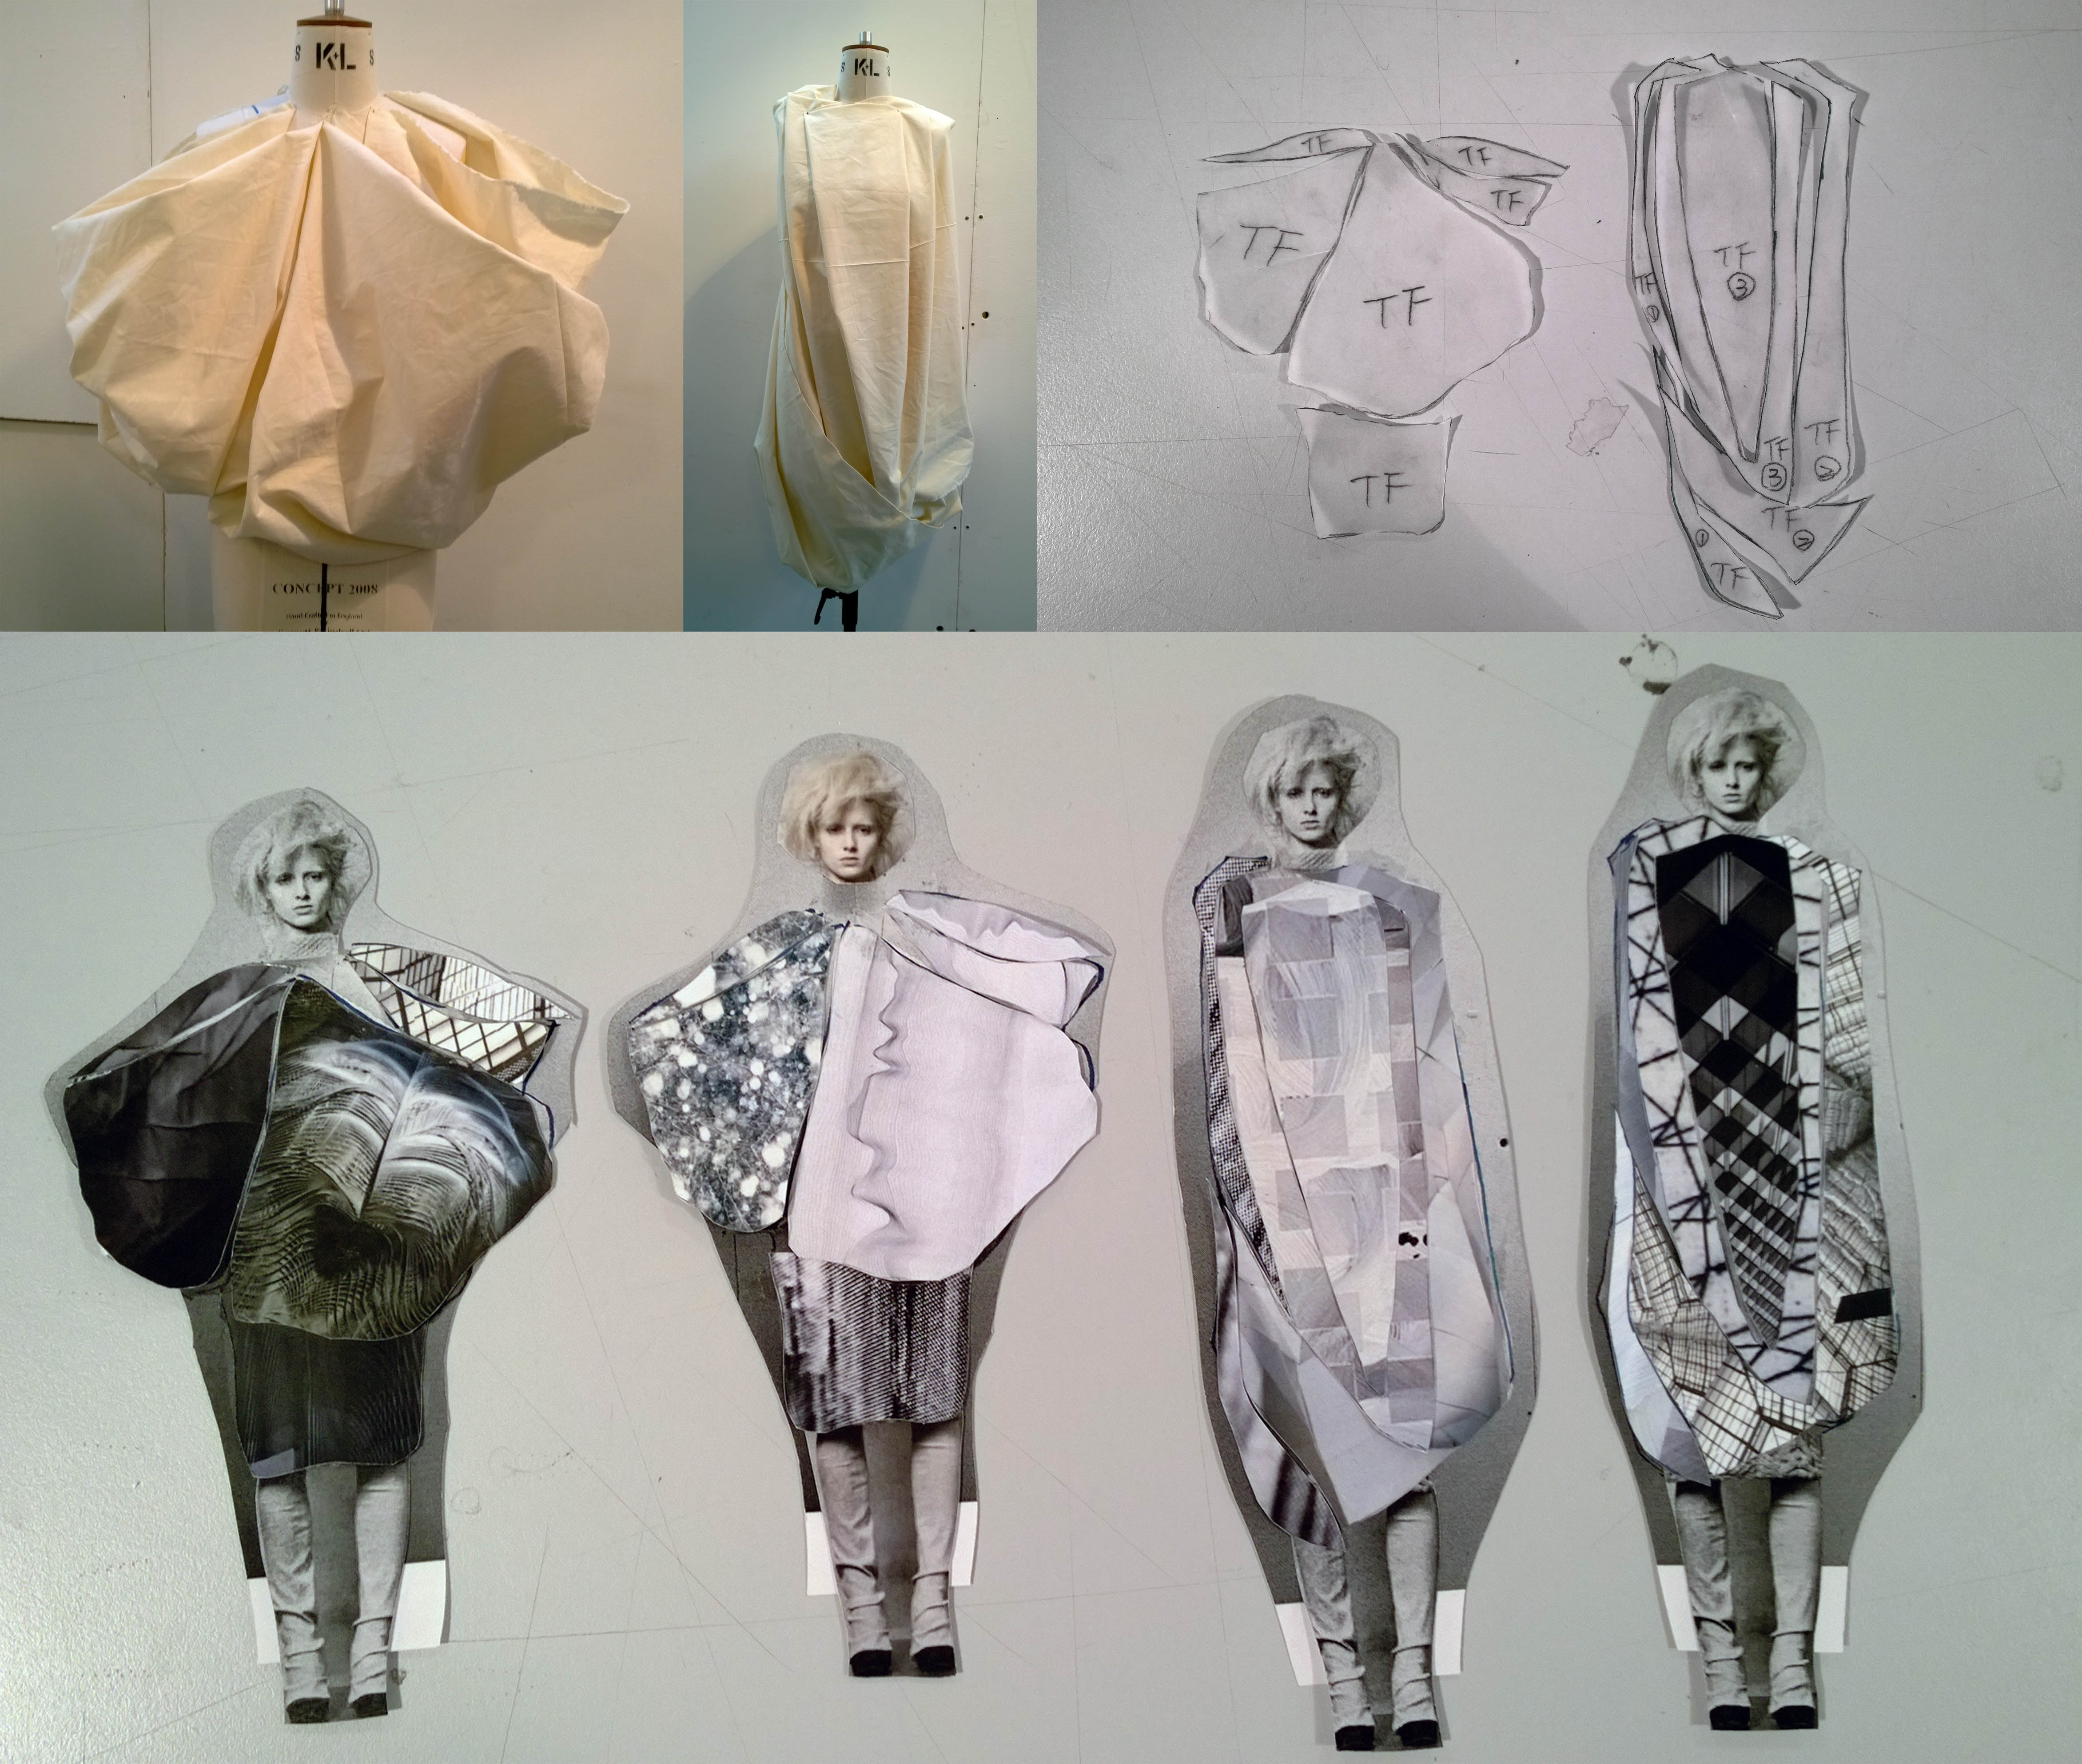
design, she collaborated with different artists and architects to construct 3d model and that strongly influenced her designs.

Following is her collection from recent years that combined with 3-dimensional  printing technology and briefing:

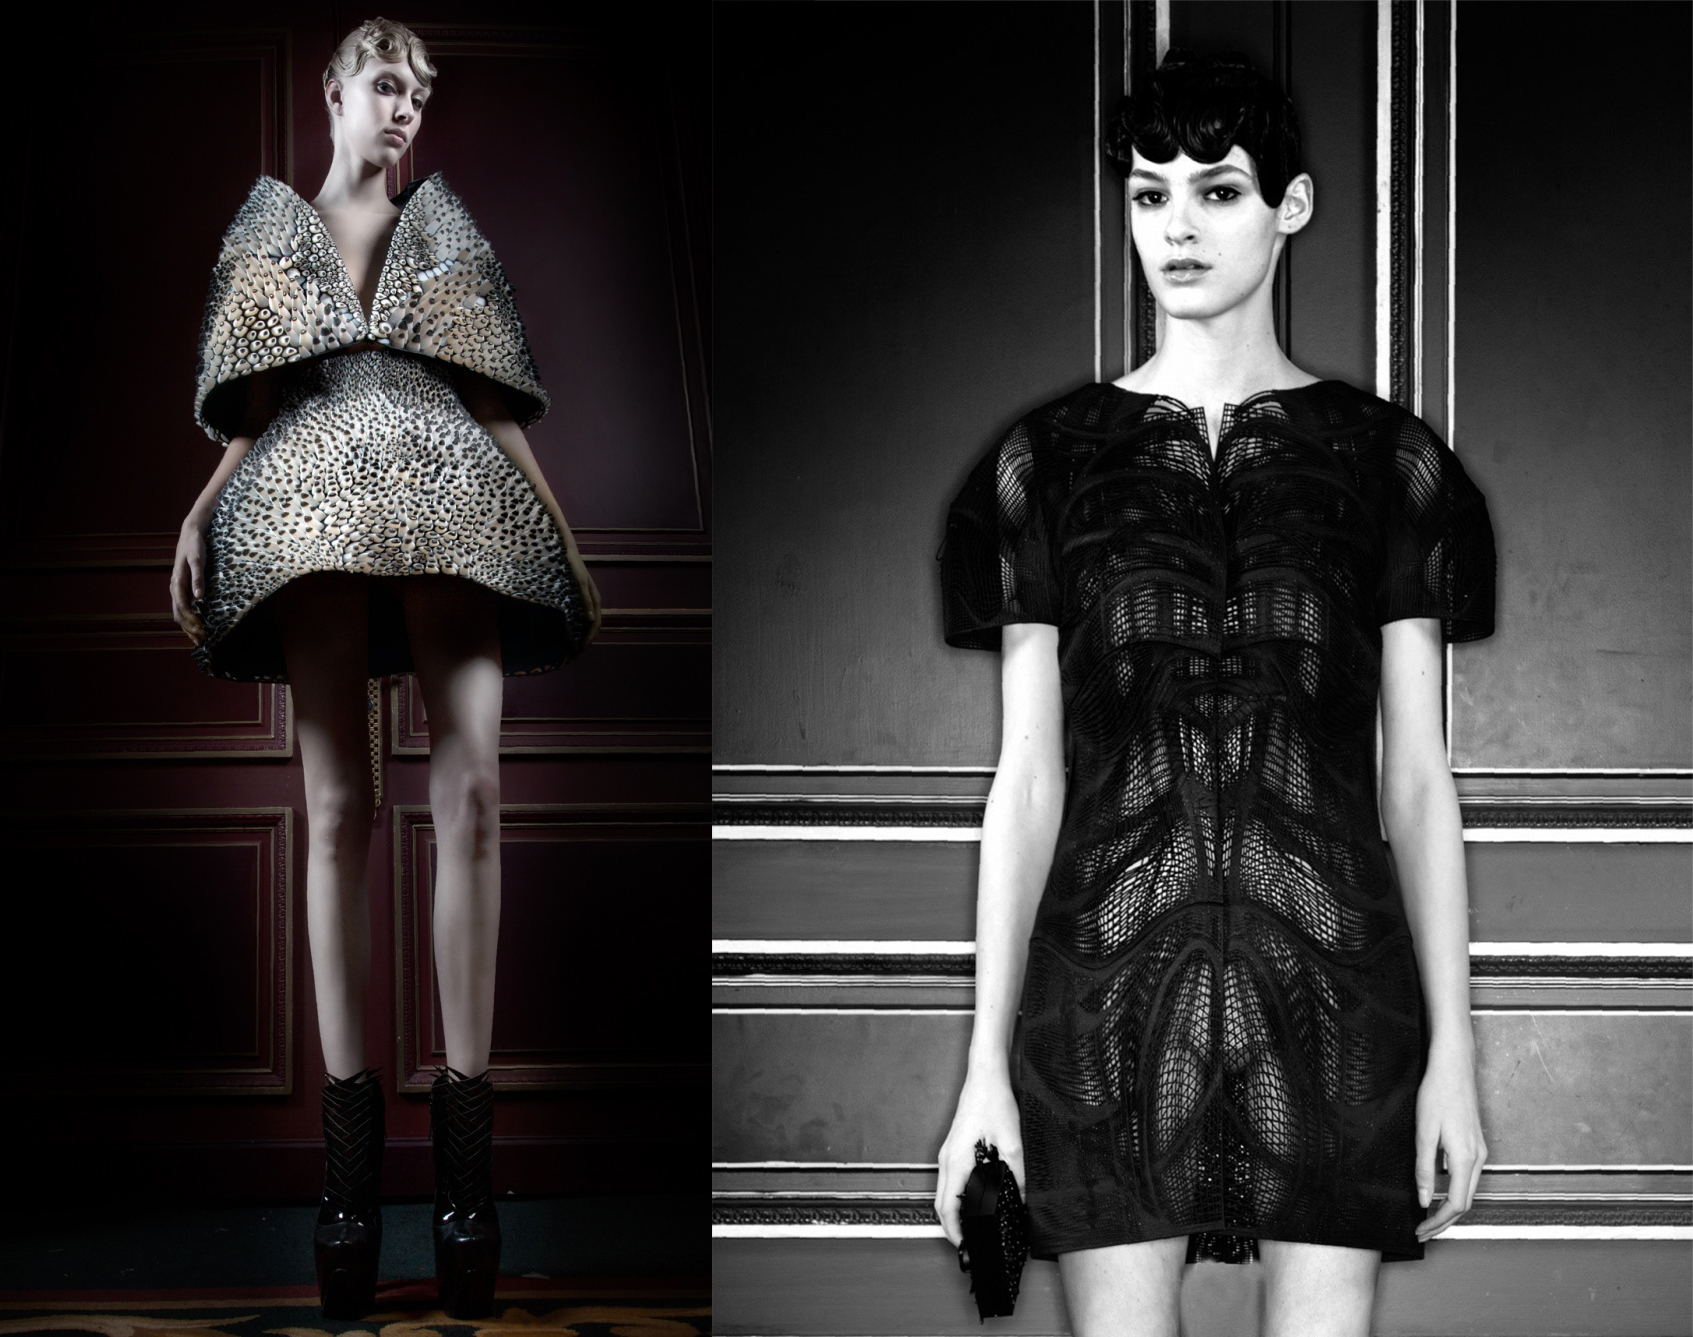
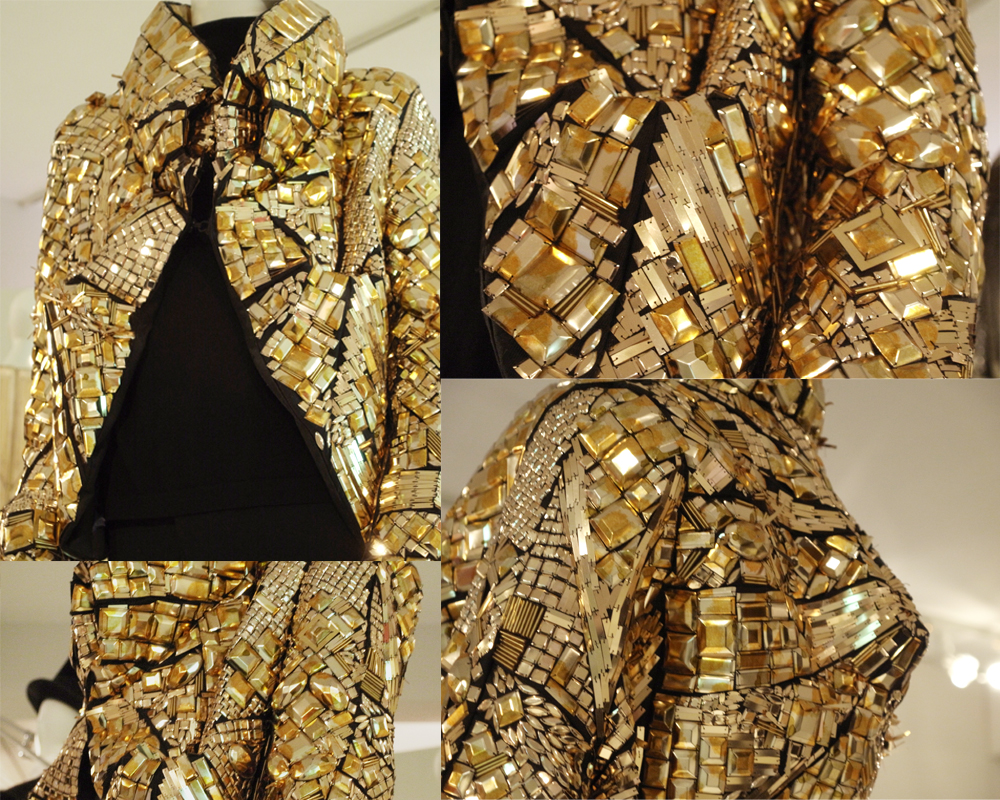
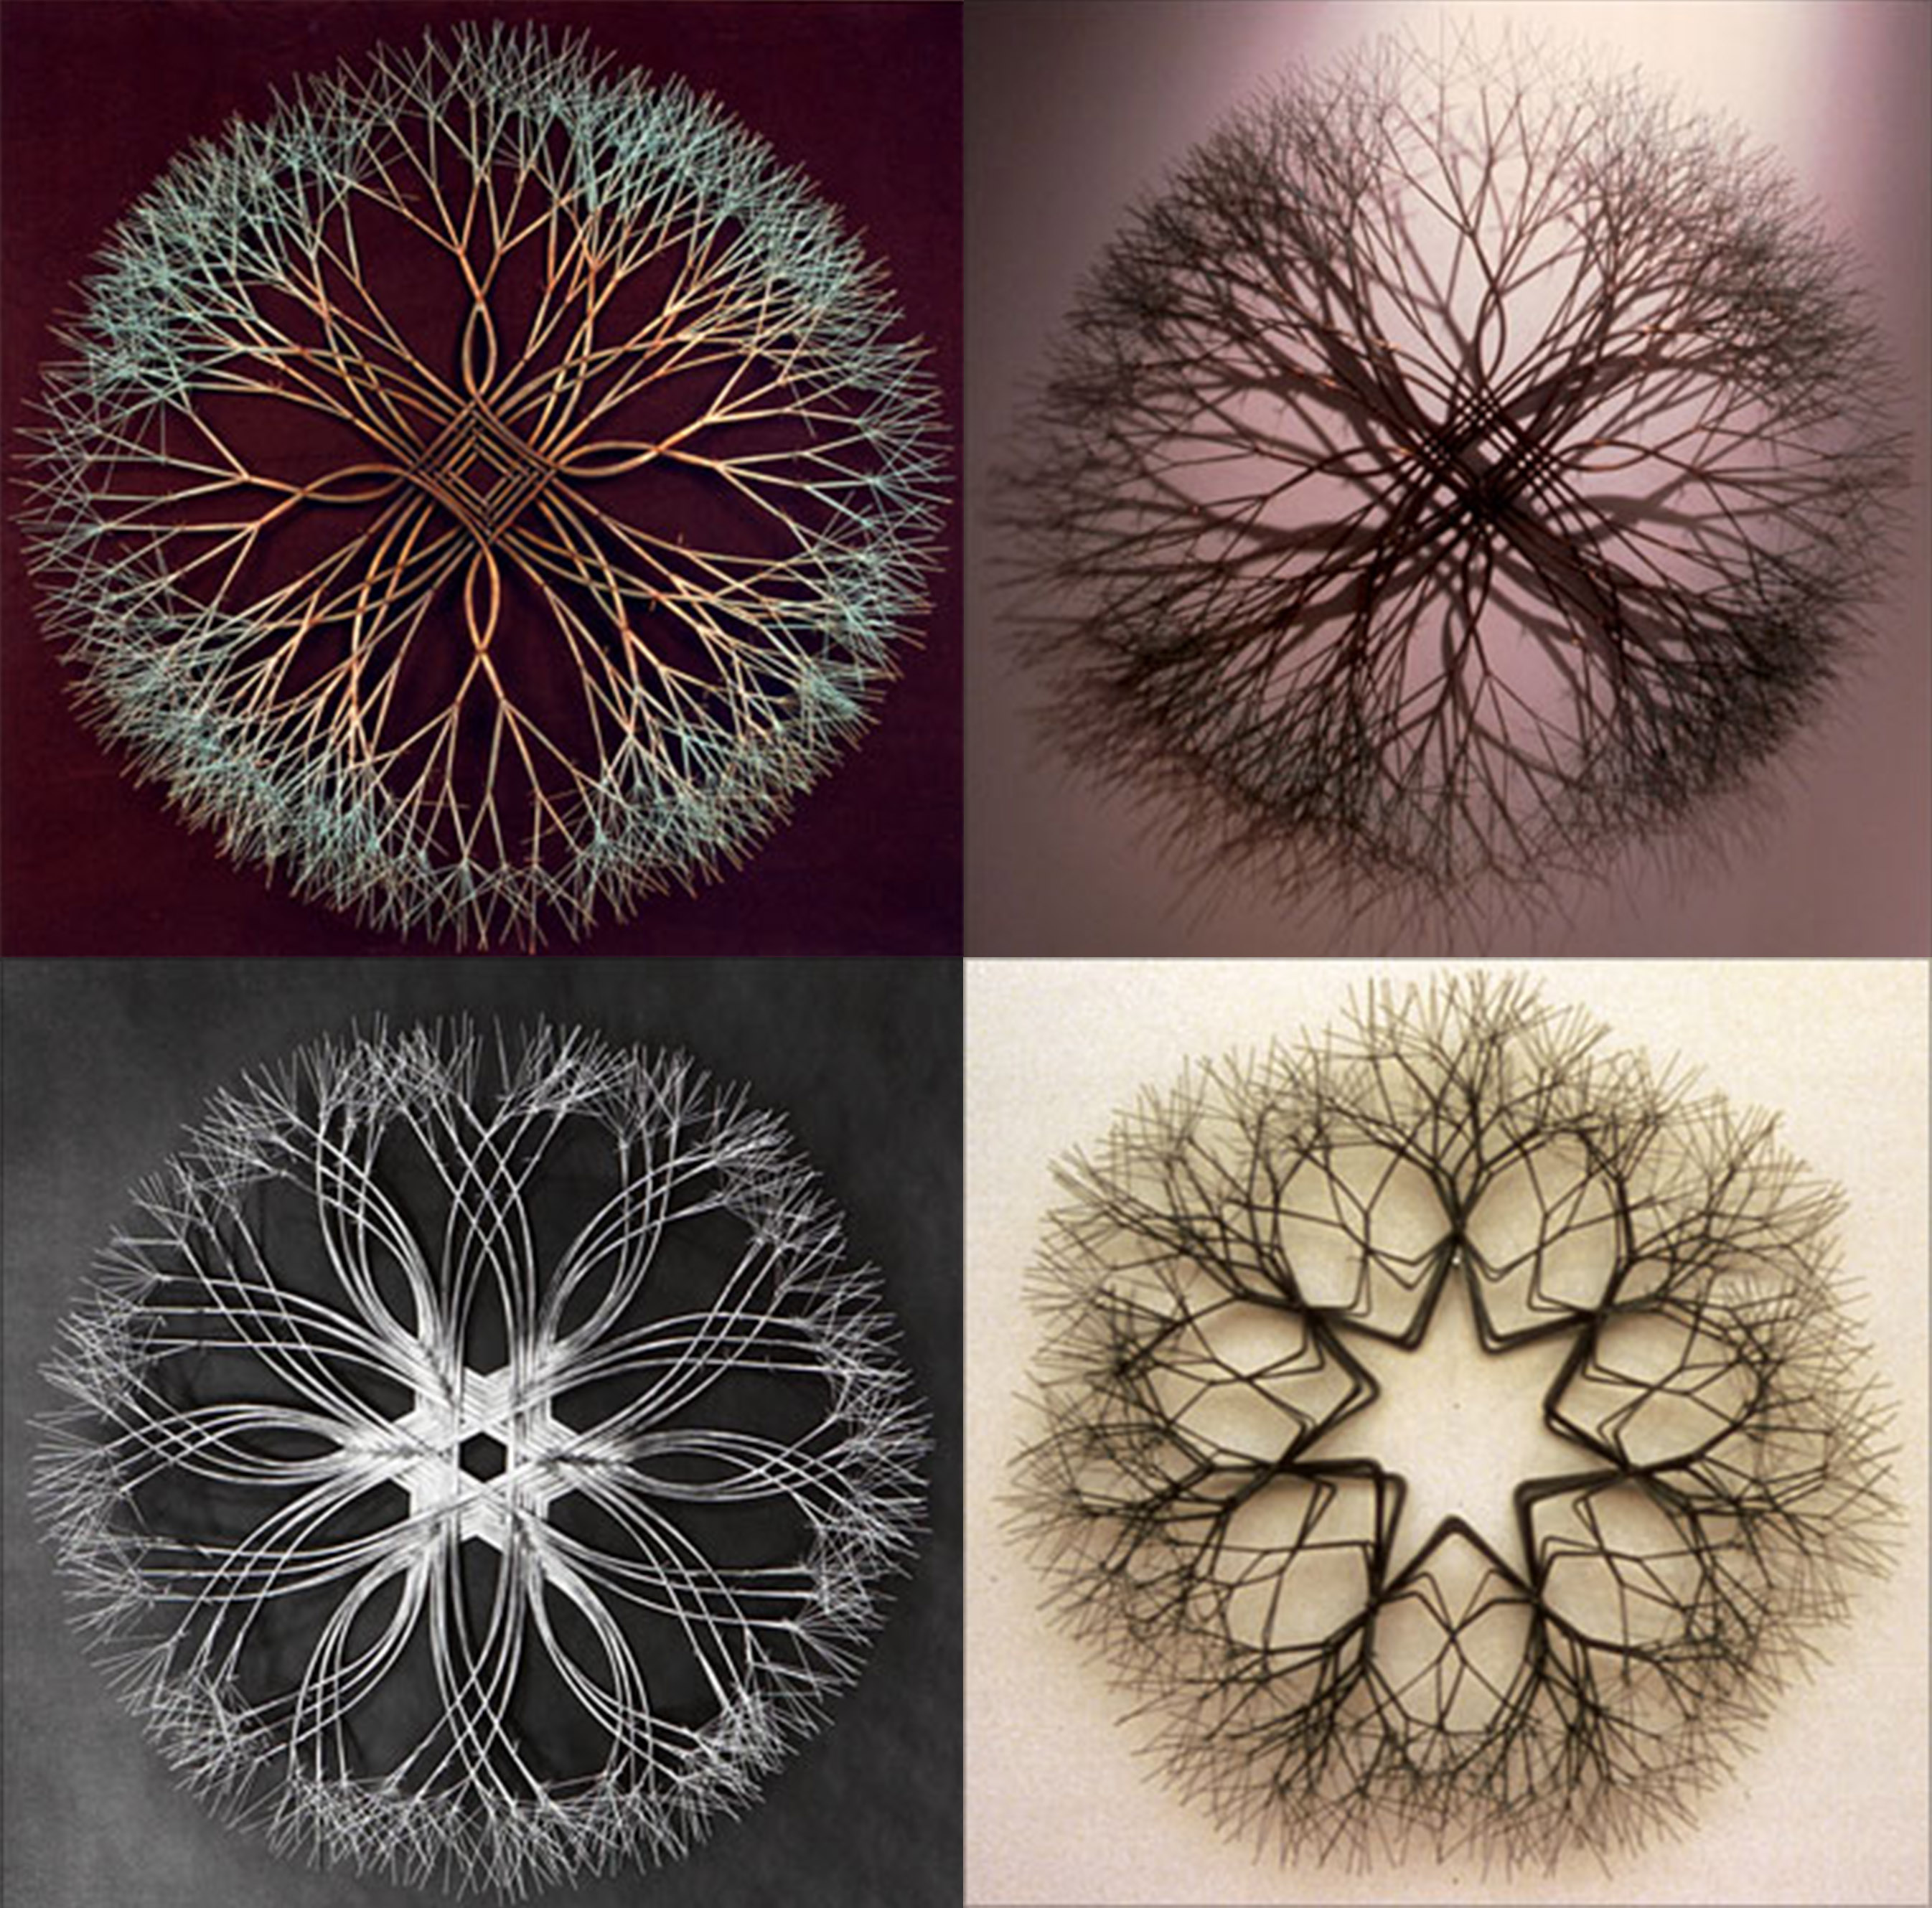
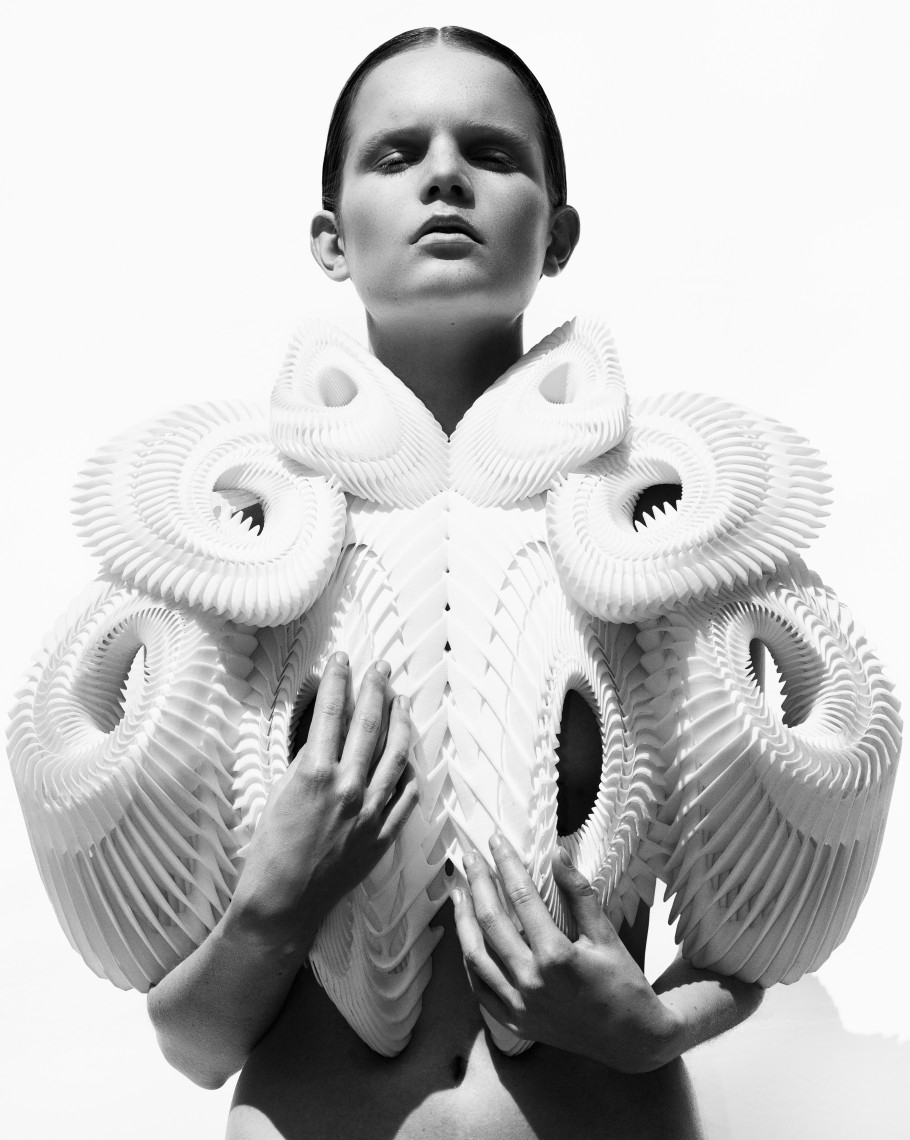
Crystallization, 2010 July 

Recalls that limestone deposits from shells inspired by the severe geometry of ice crystals which was in collaboration with architect. 
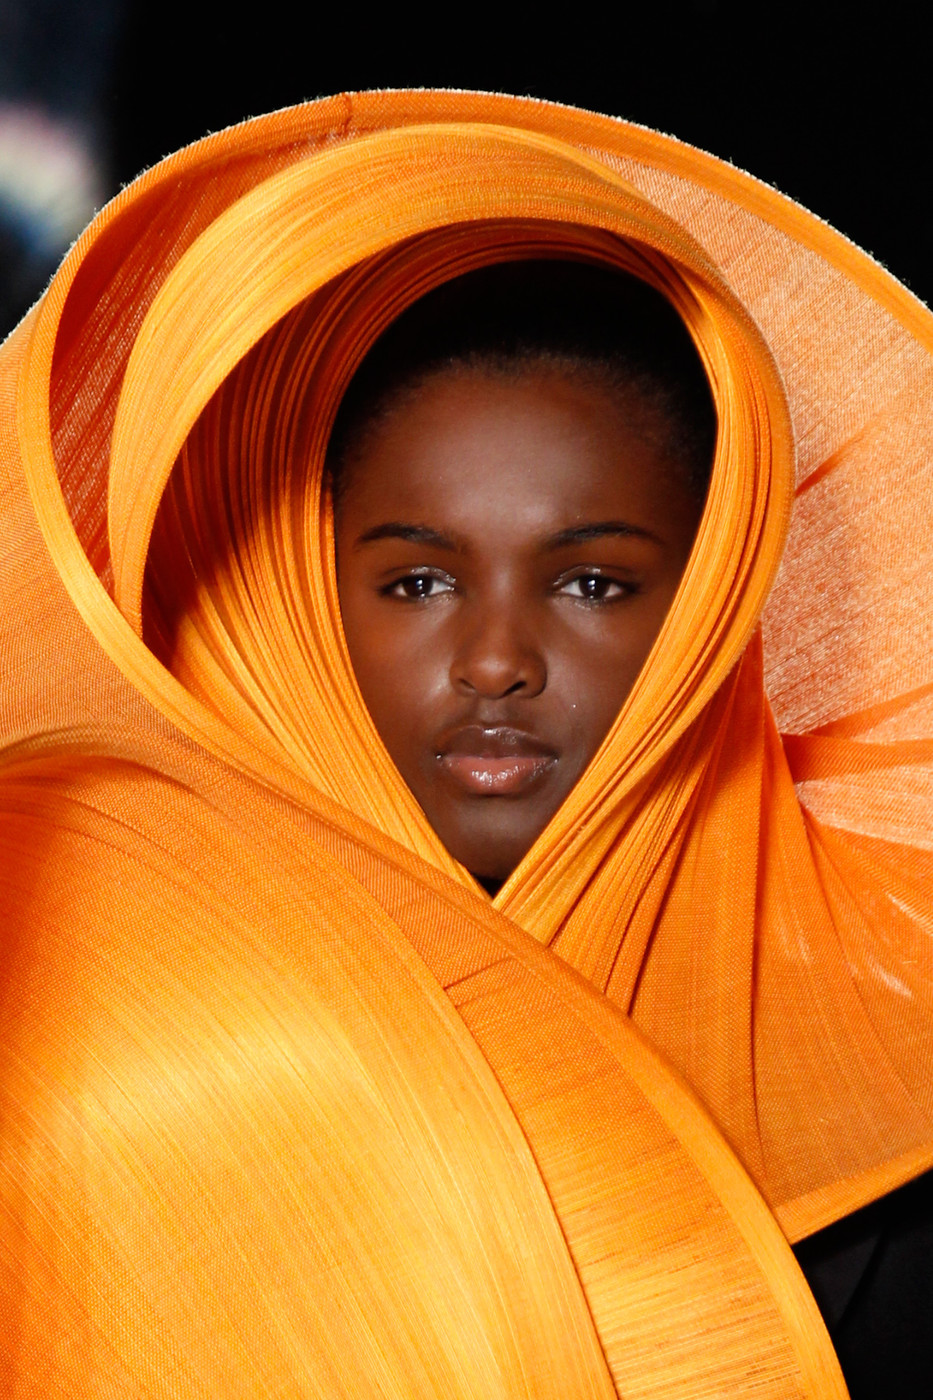
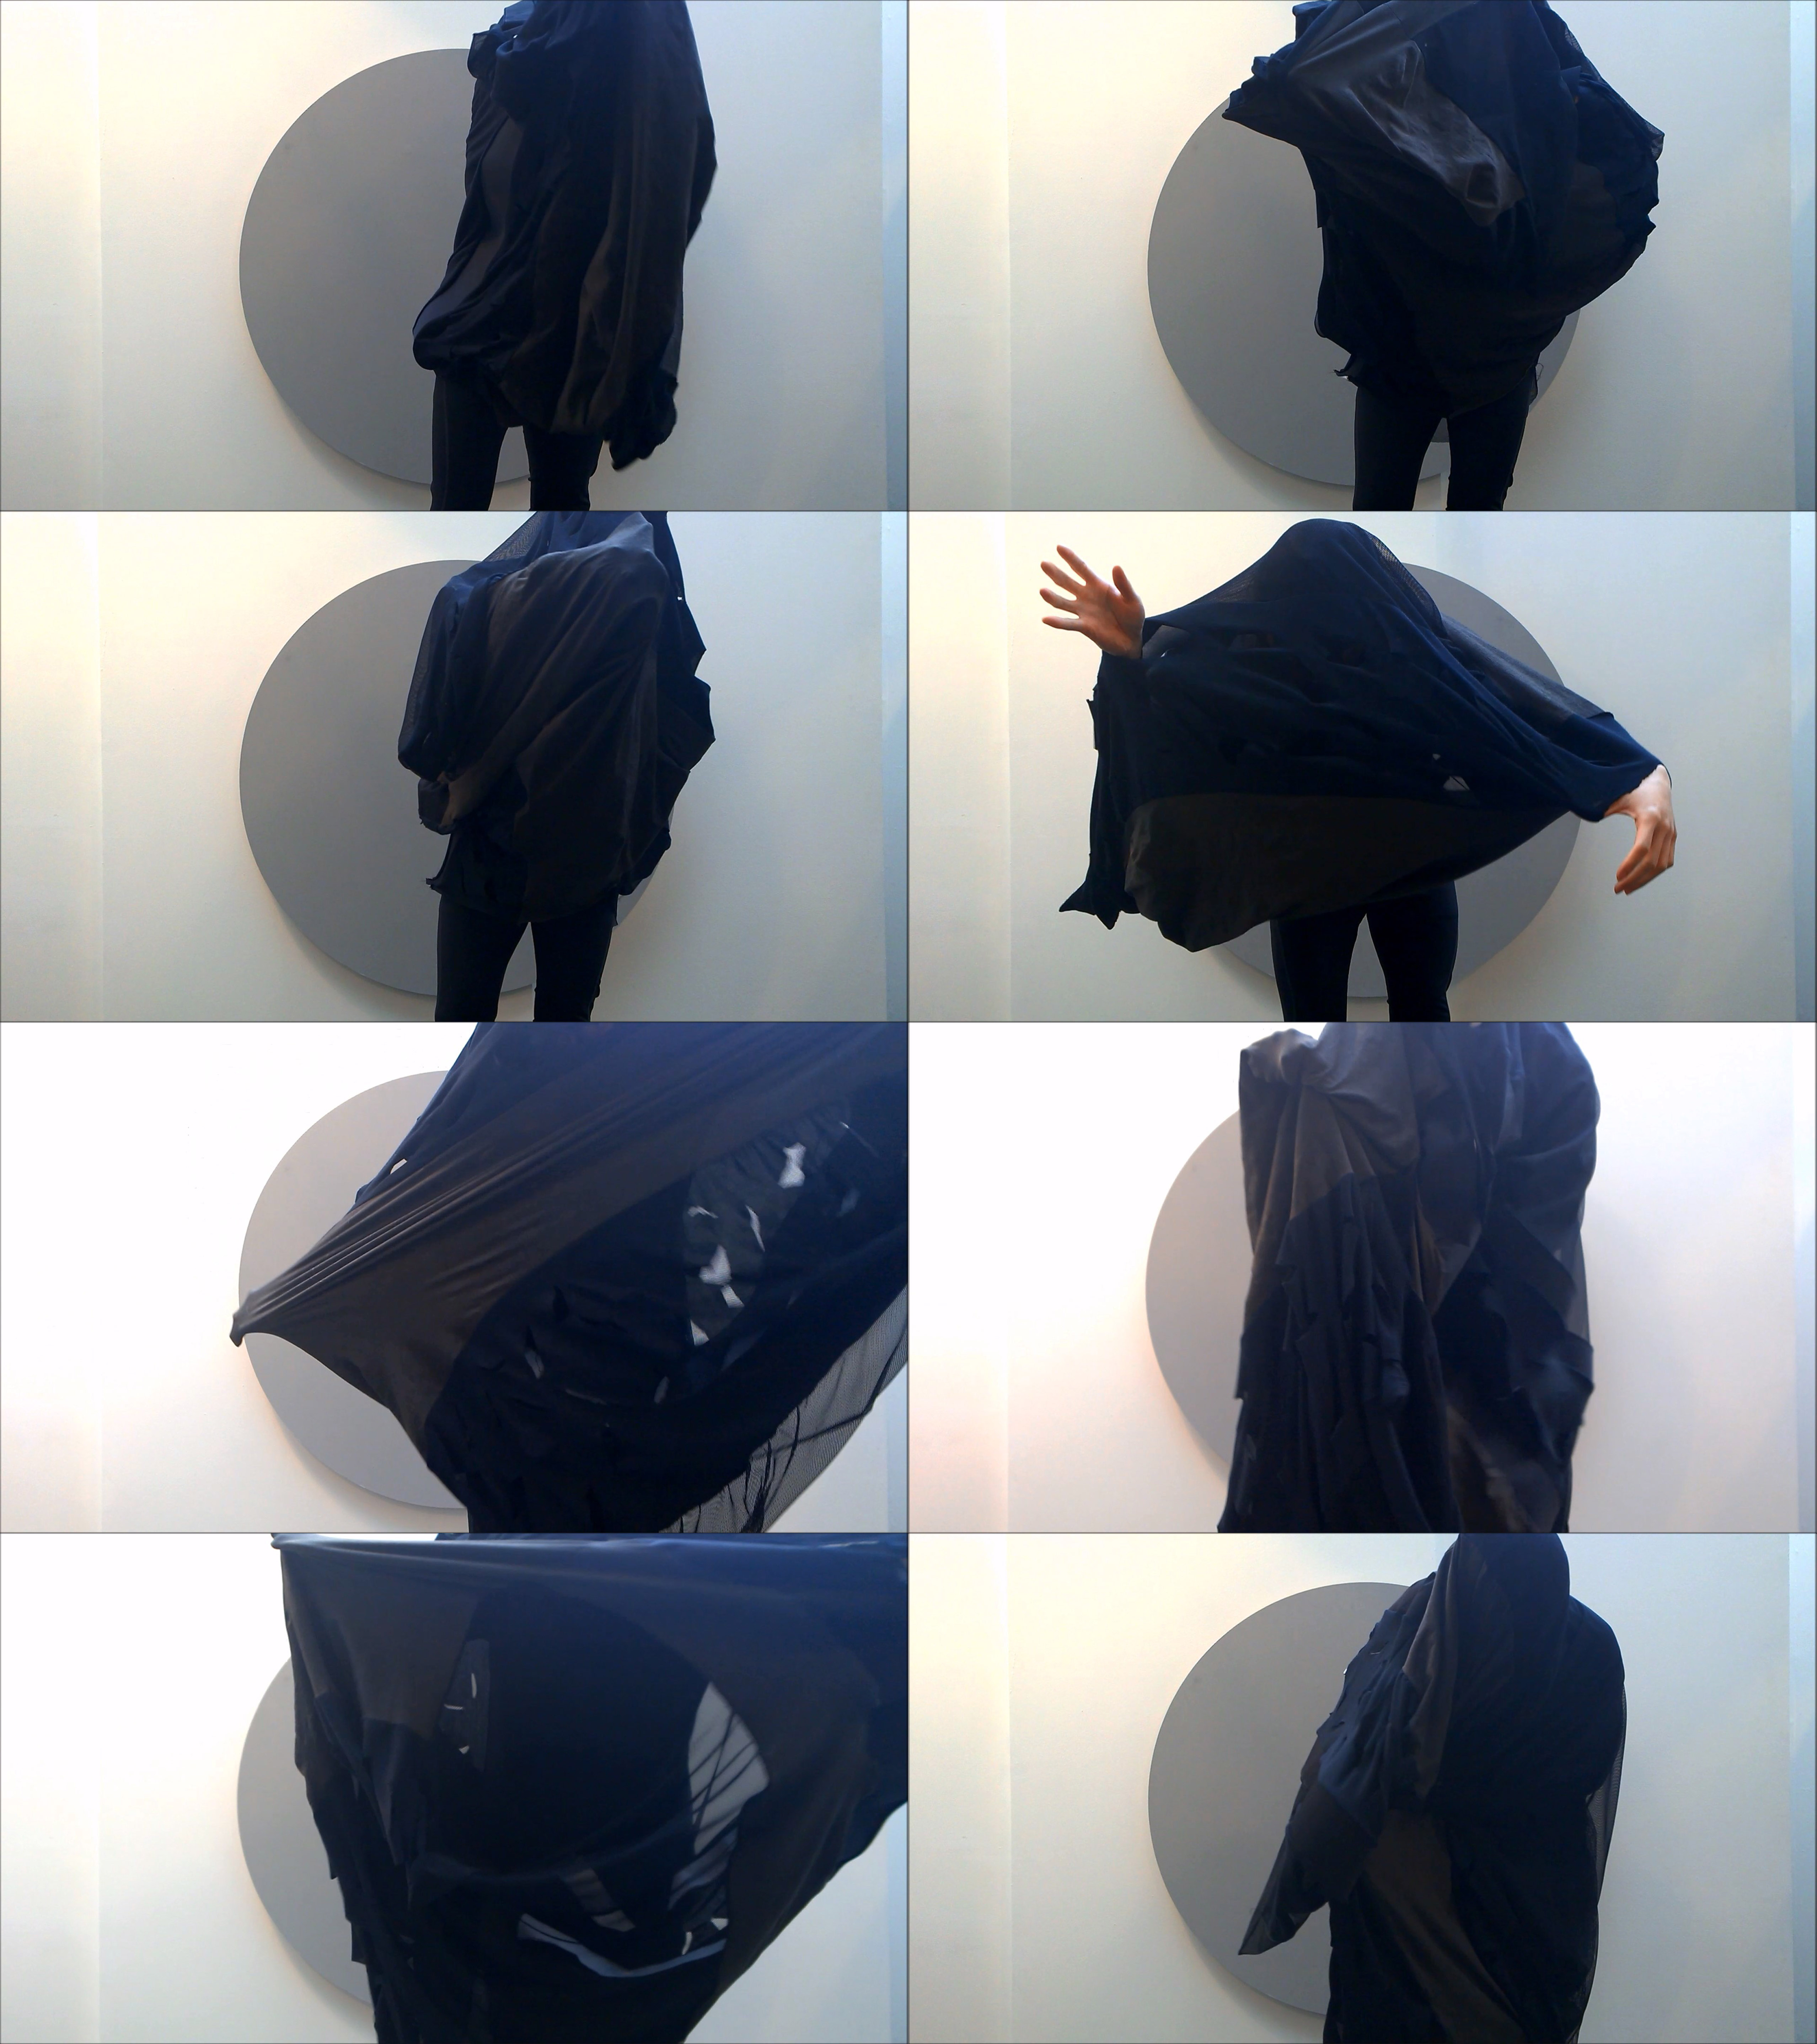
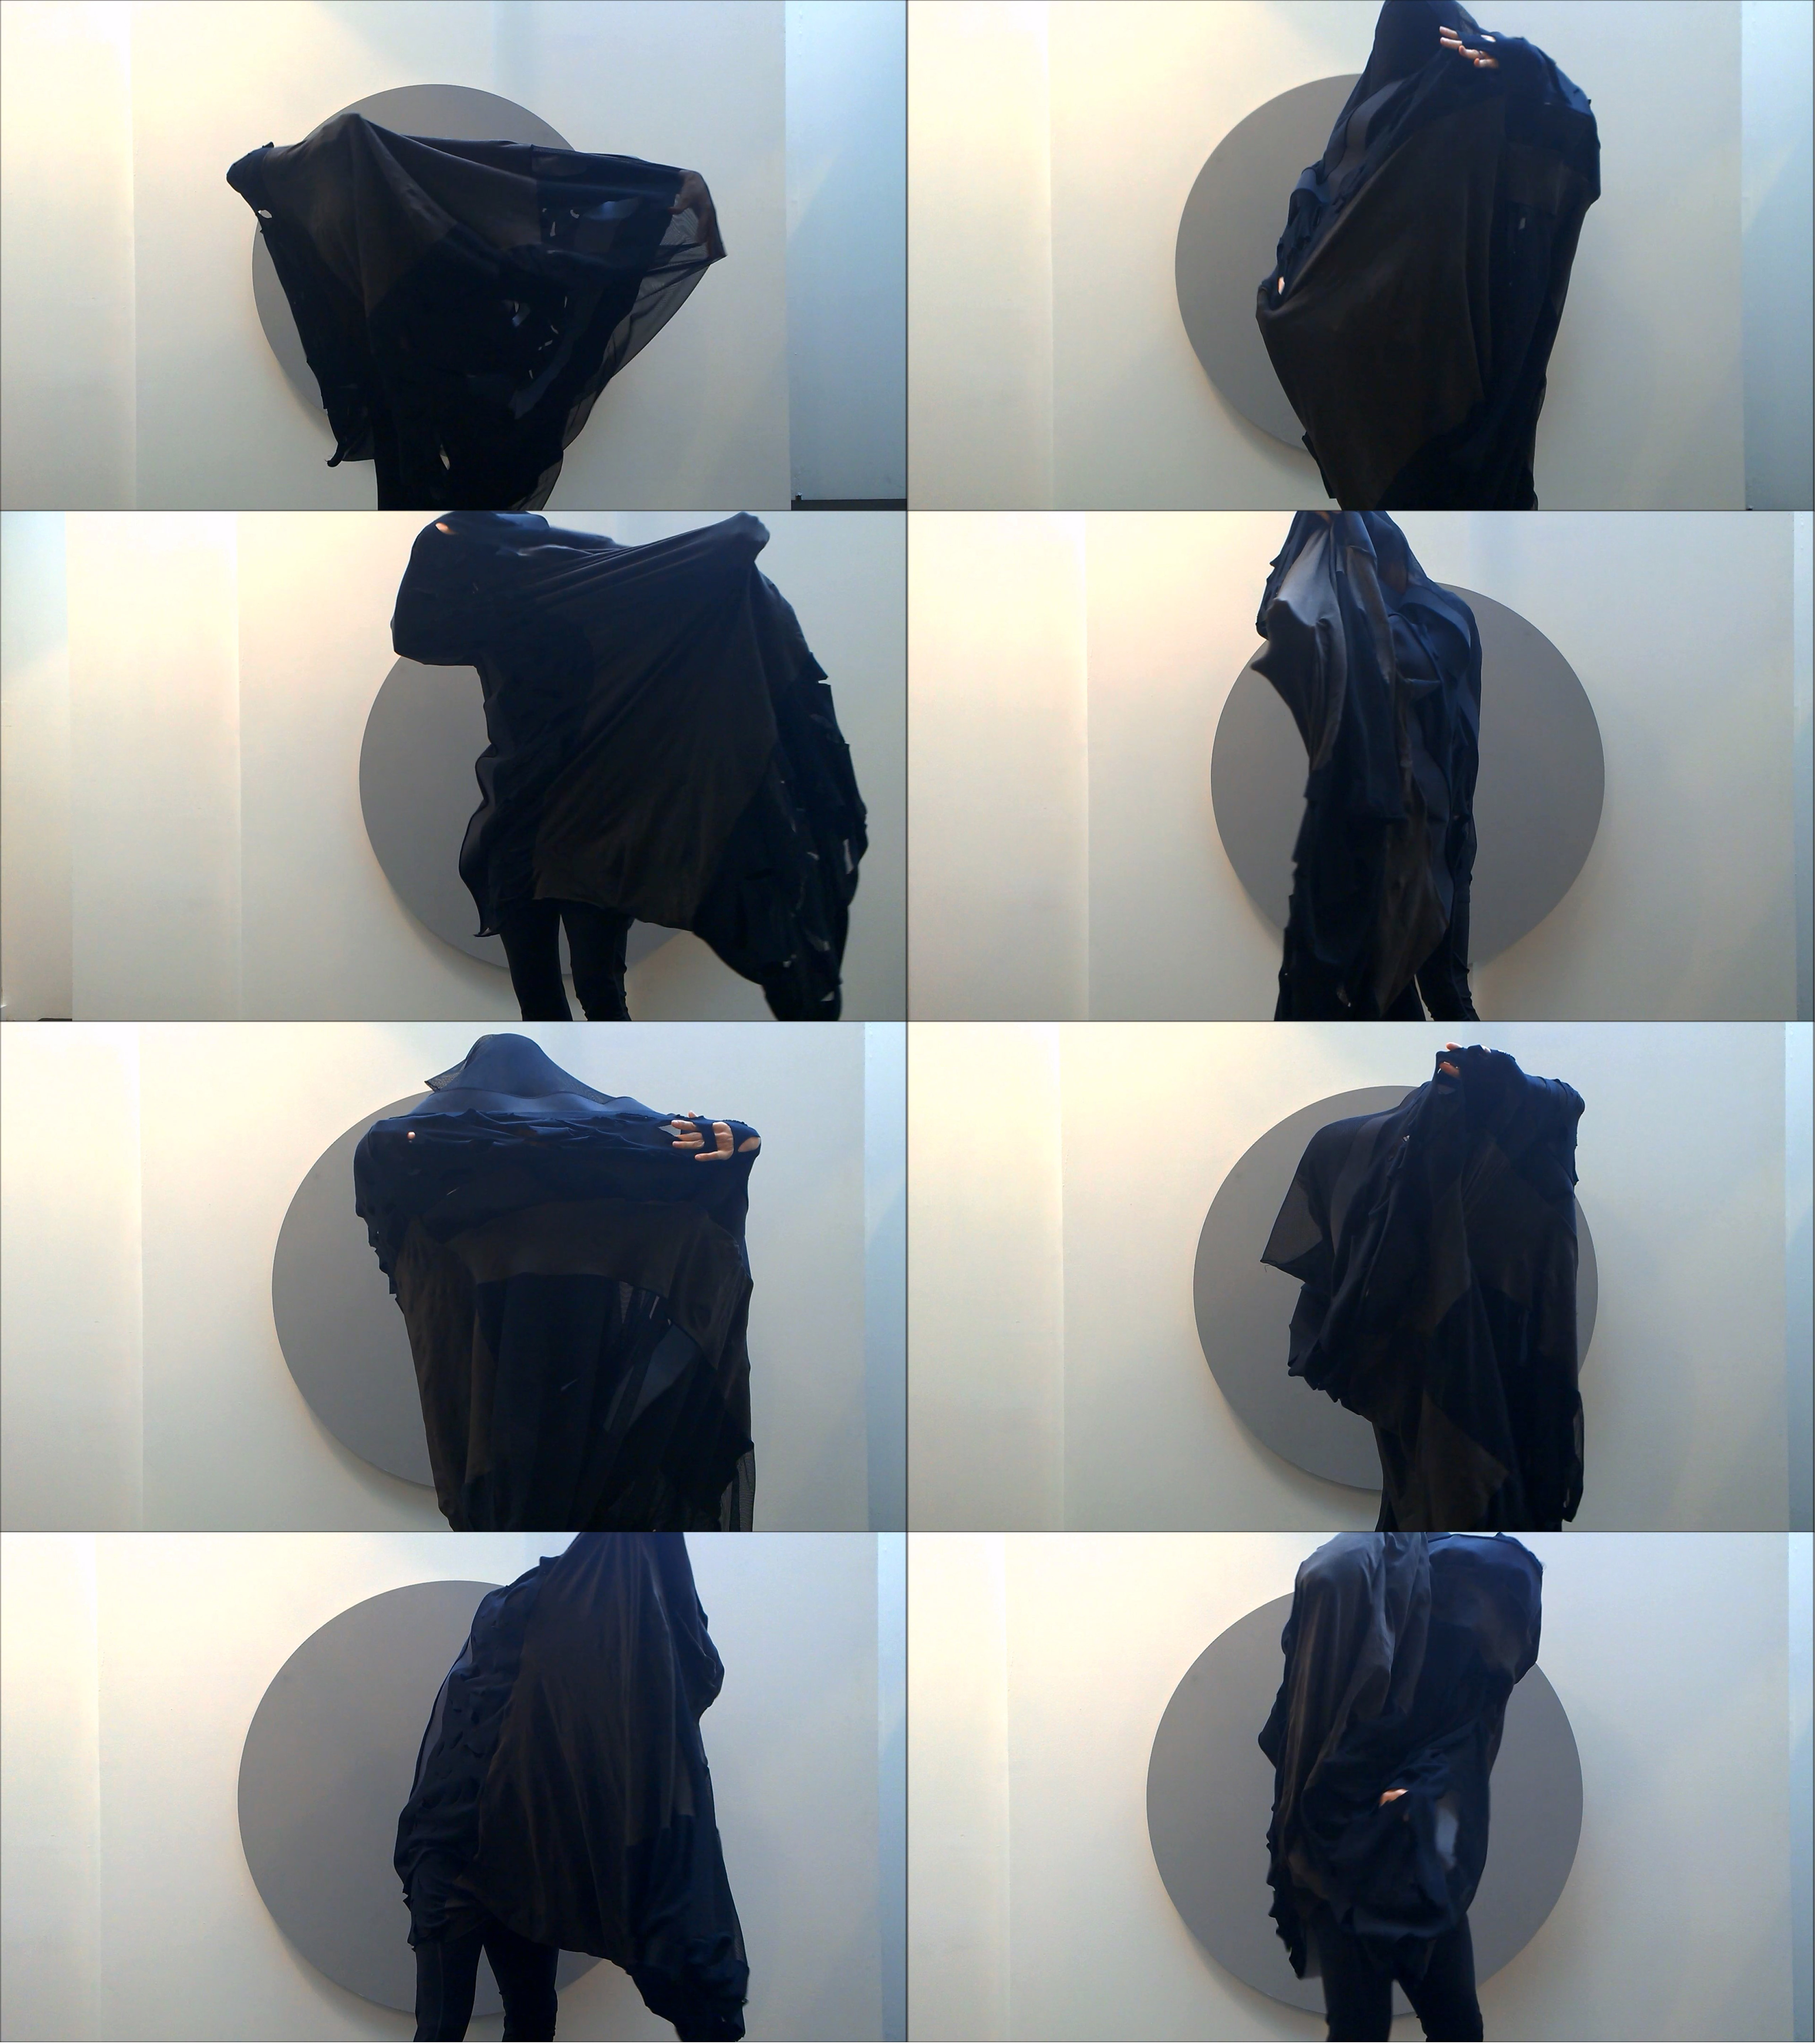
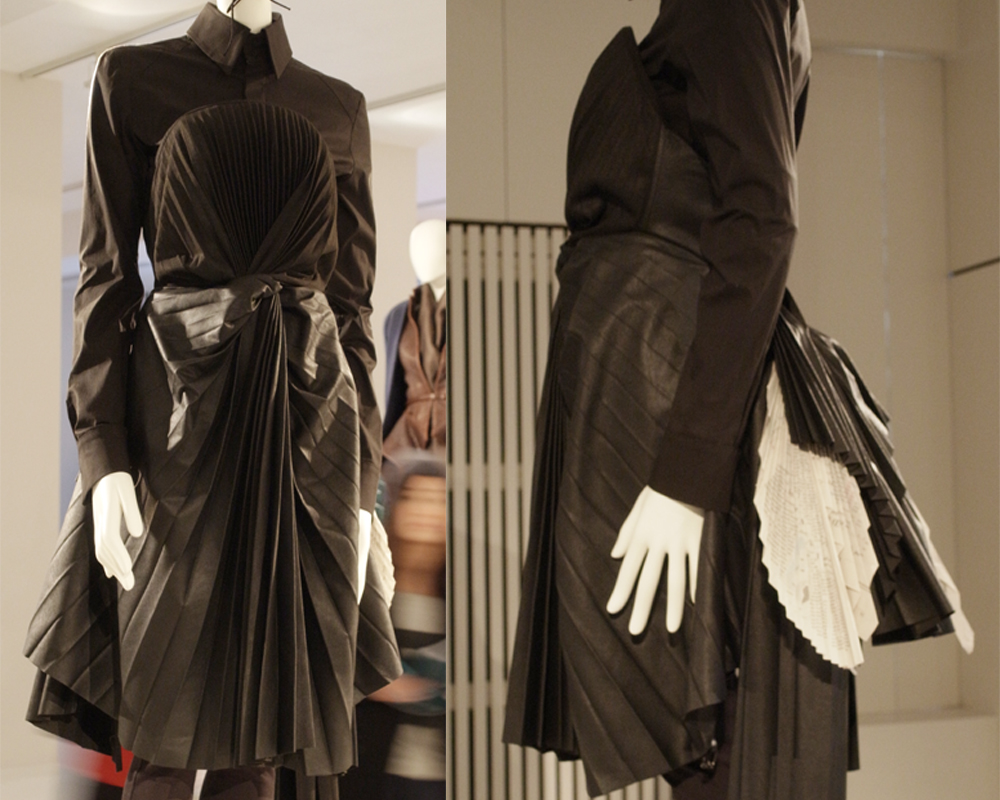
528bda0c636c8a22060001bb_fun-0043-910x1140.jpg

Escapism, 2011 Jan

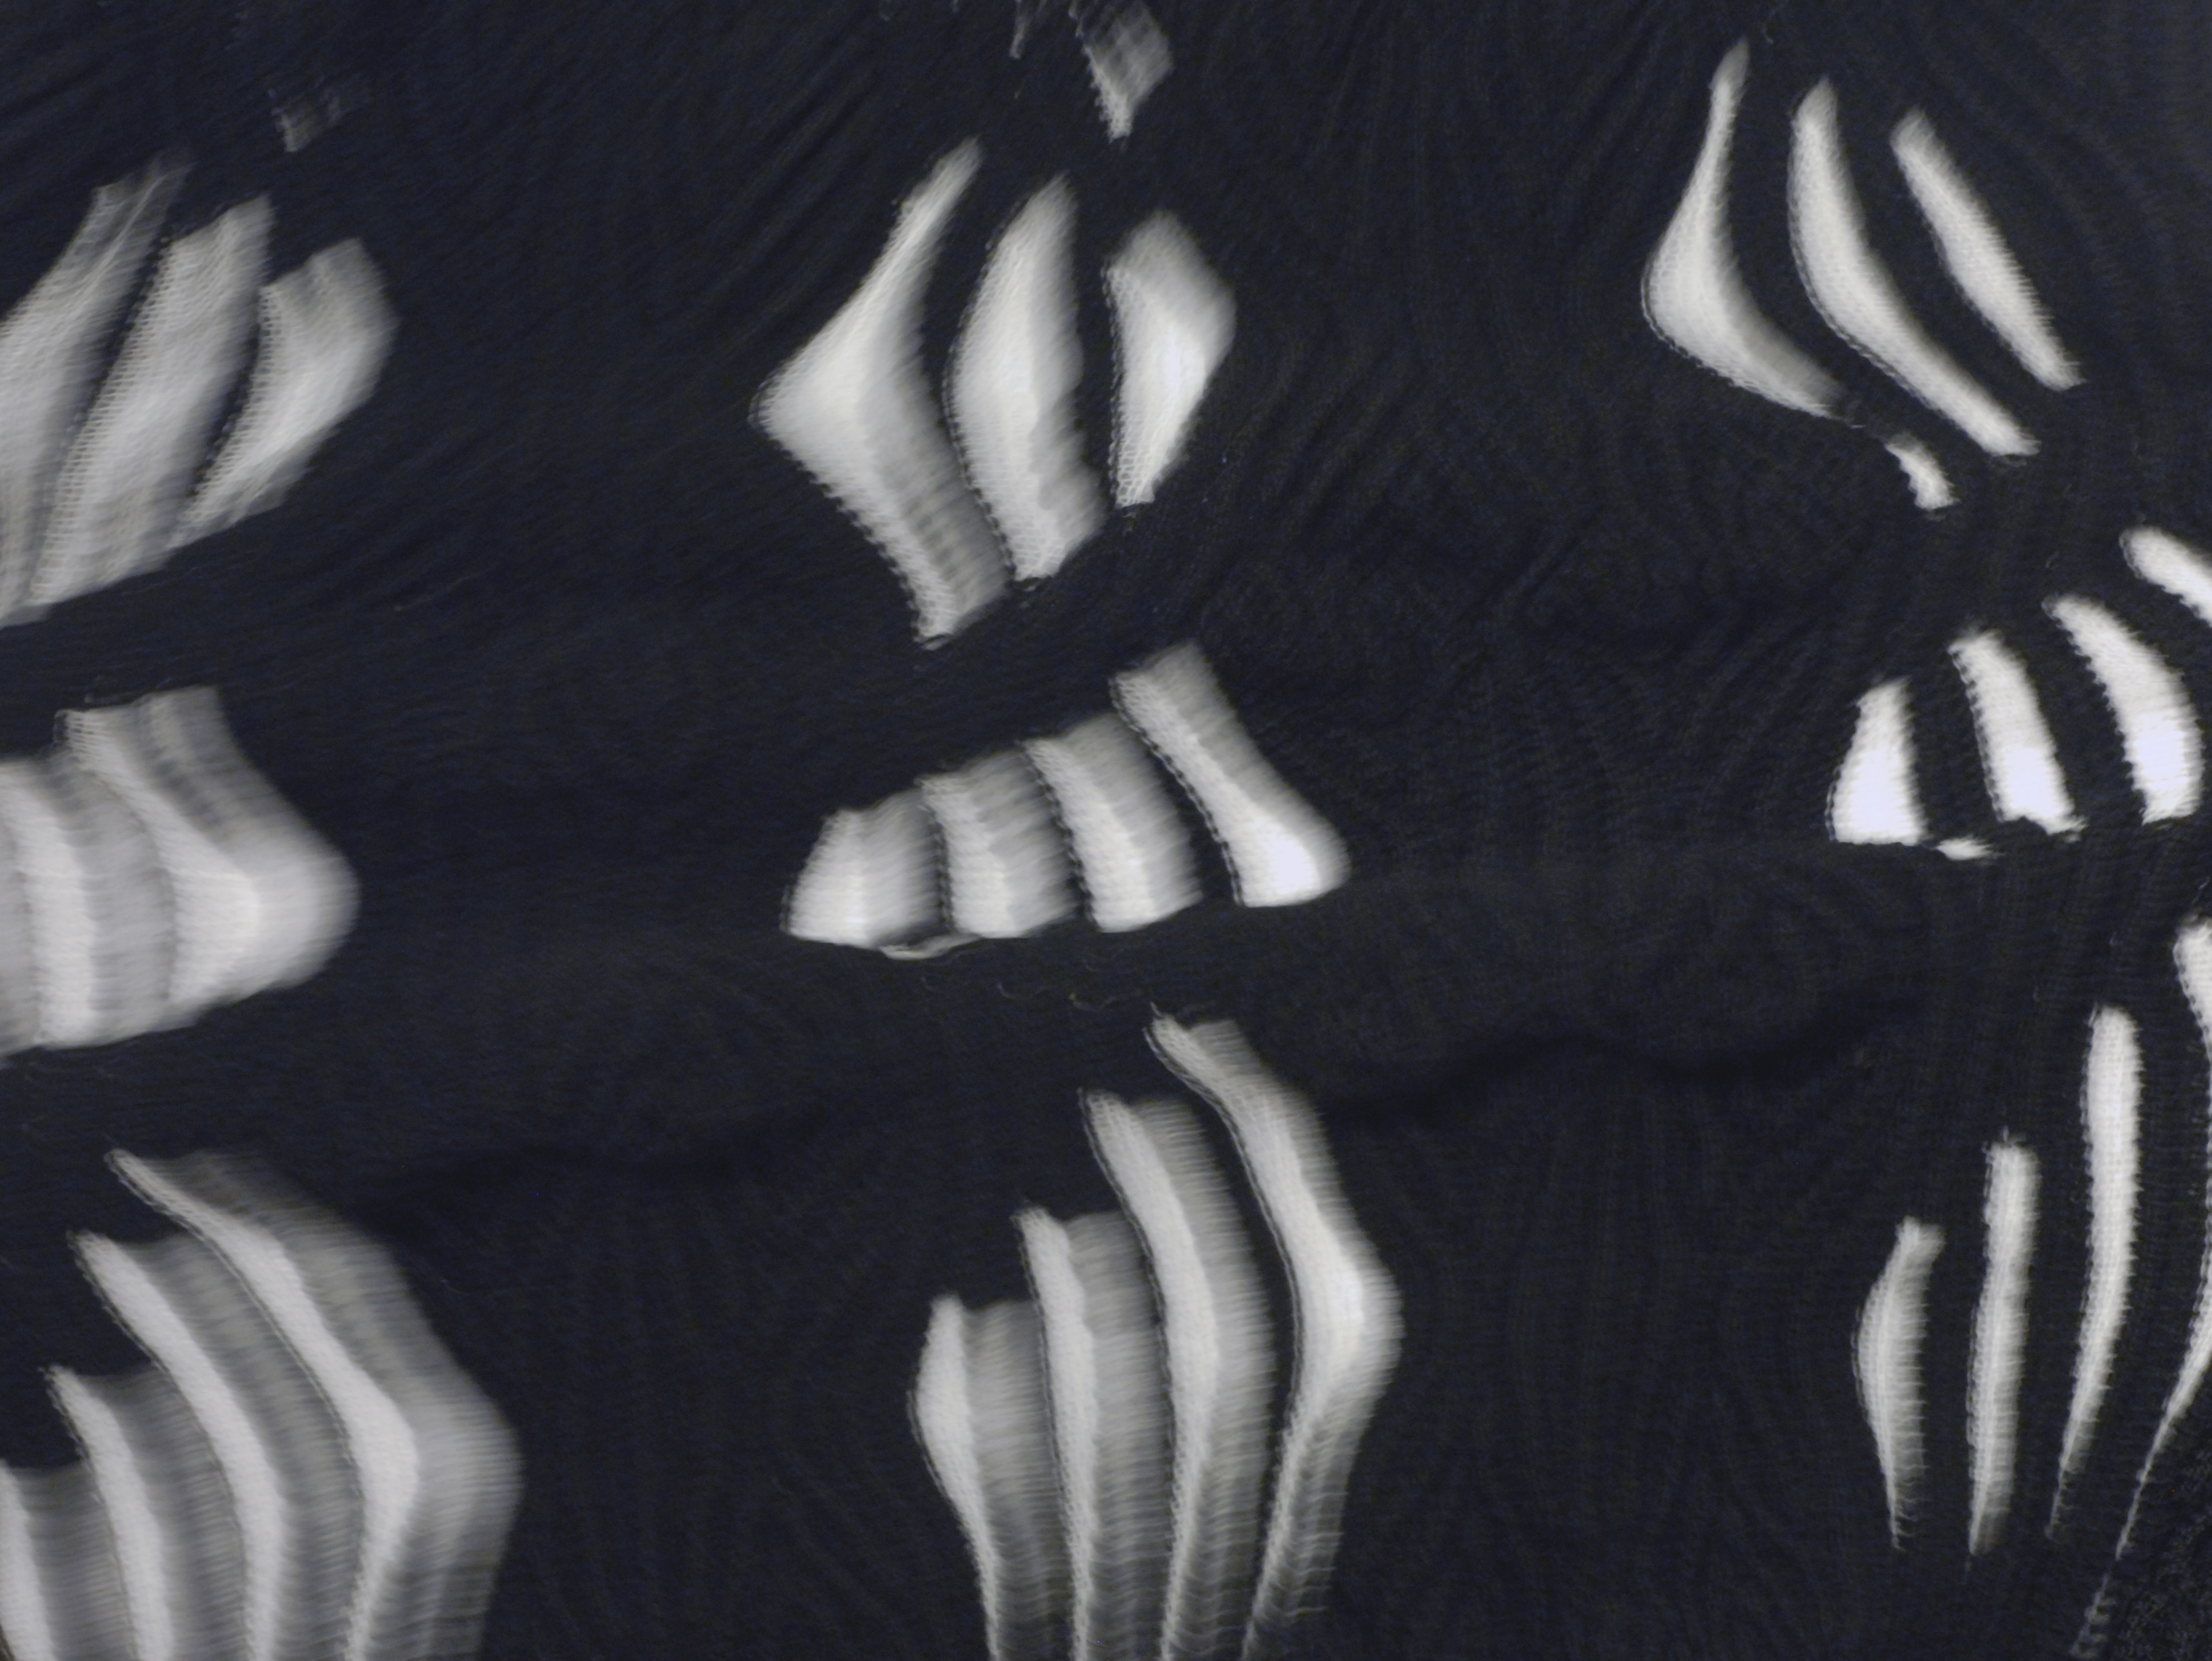
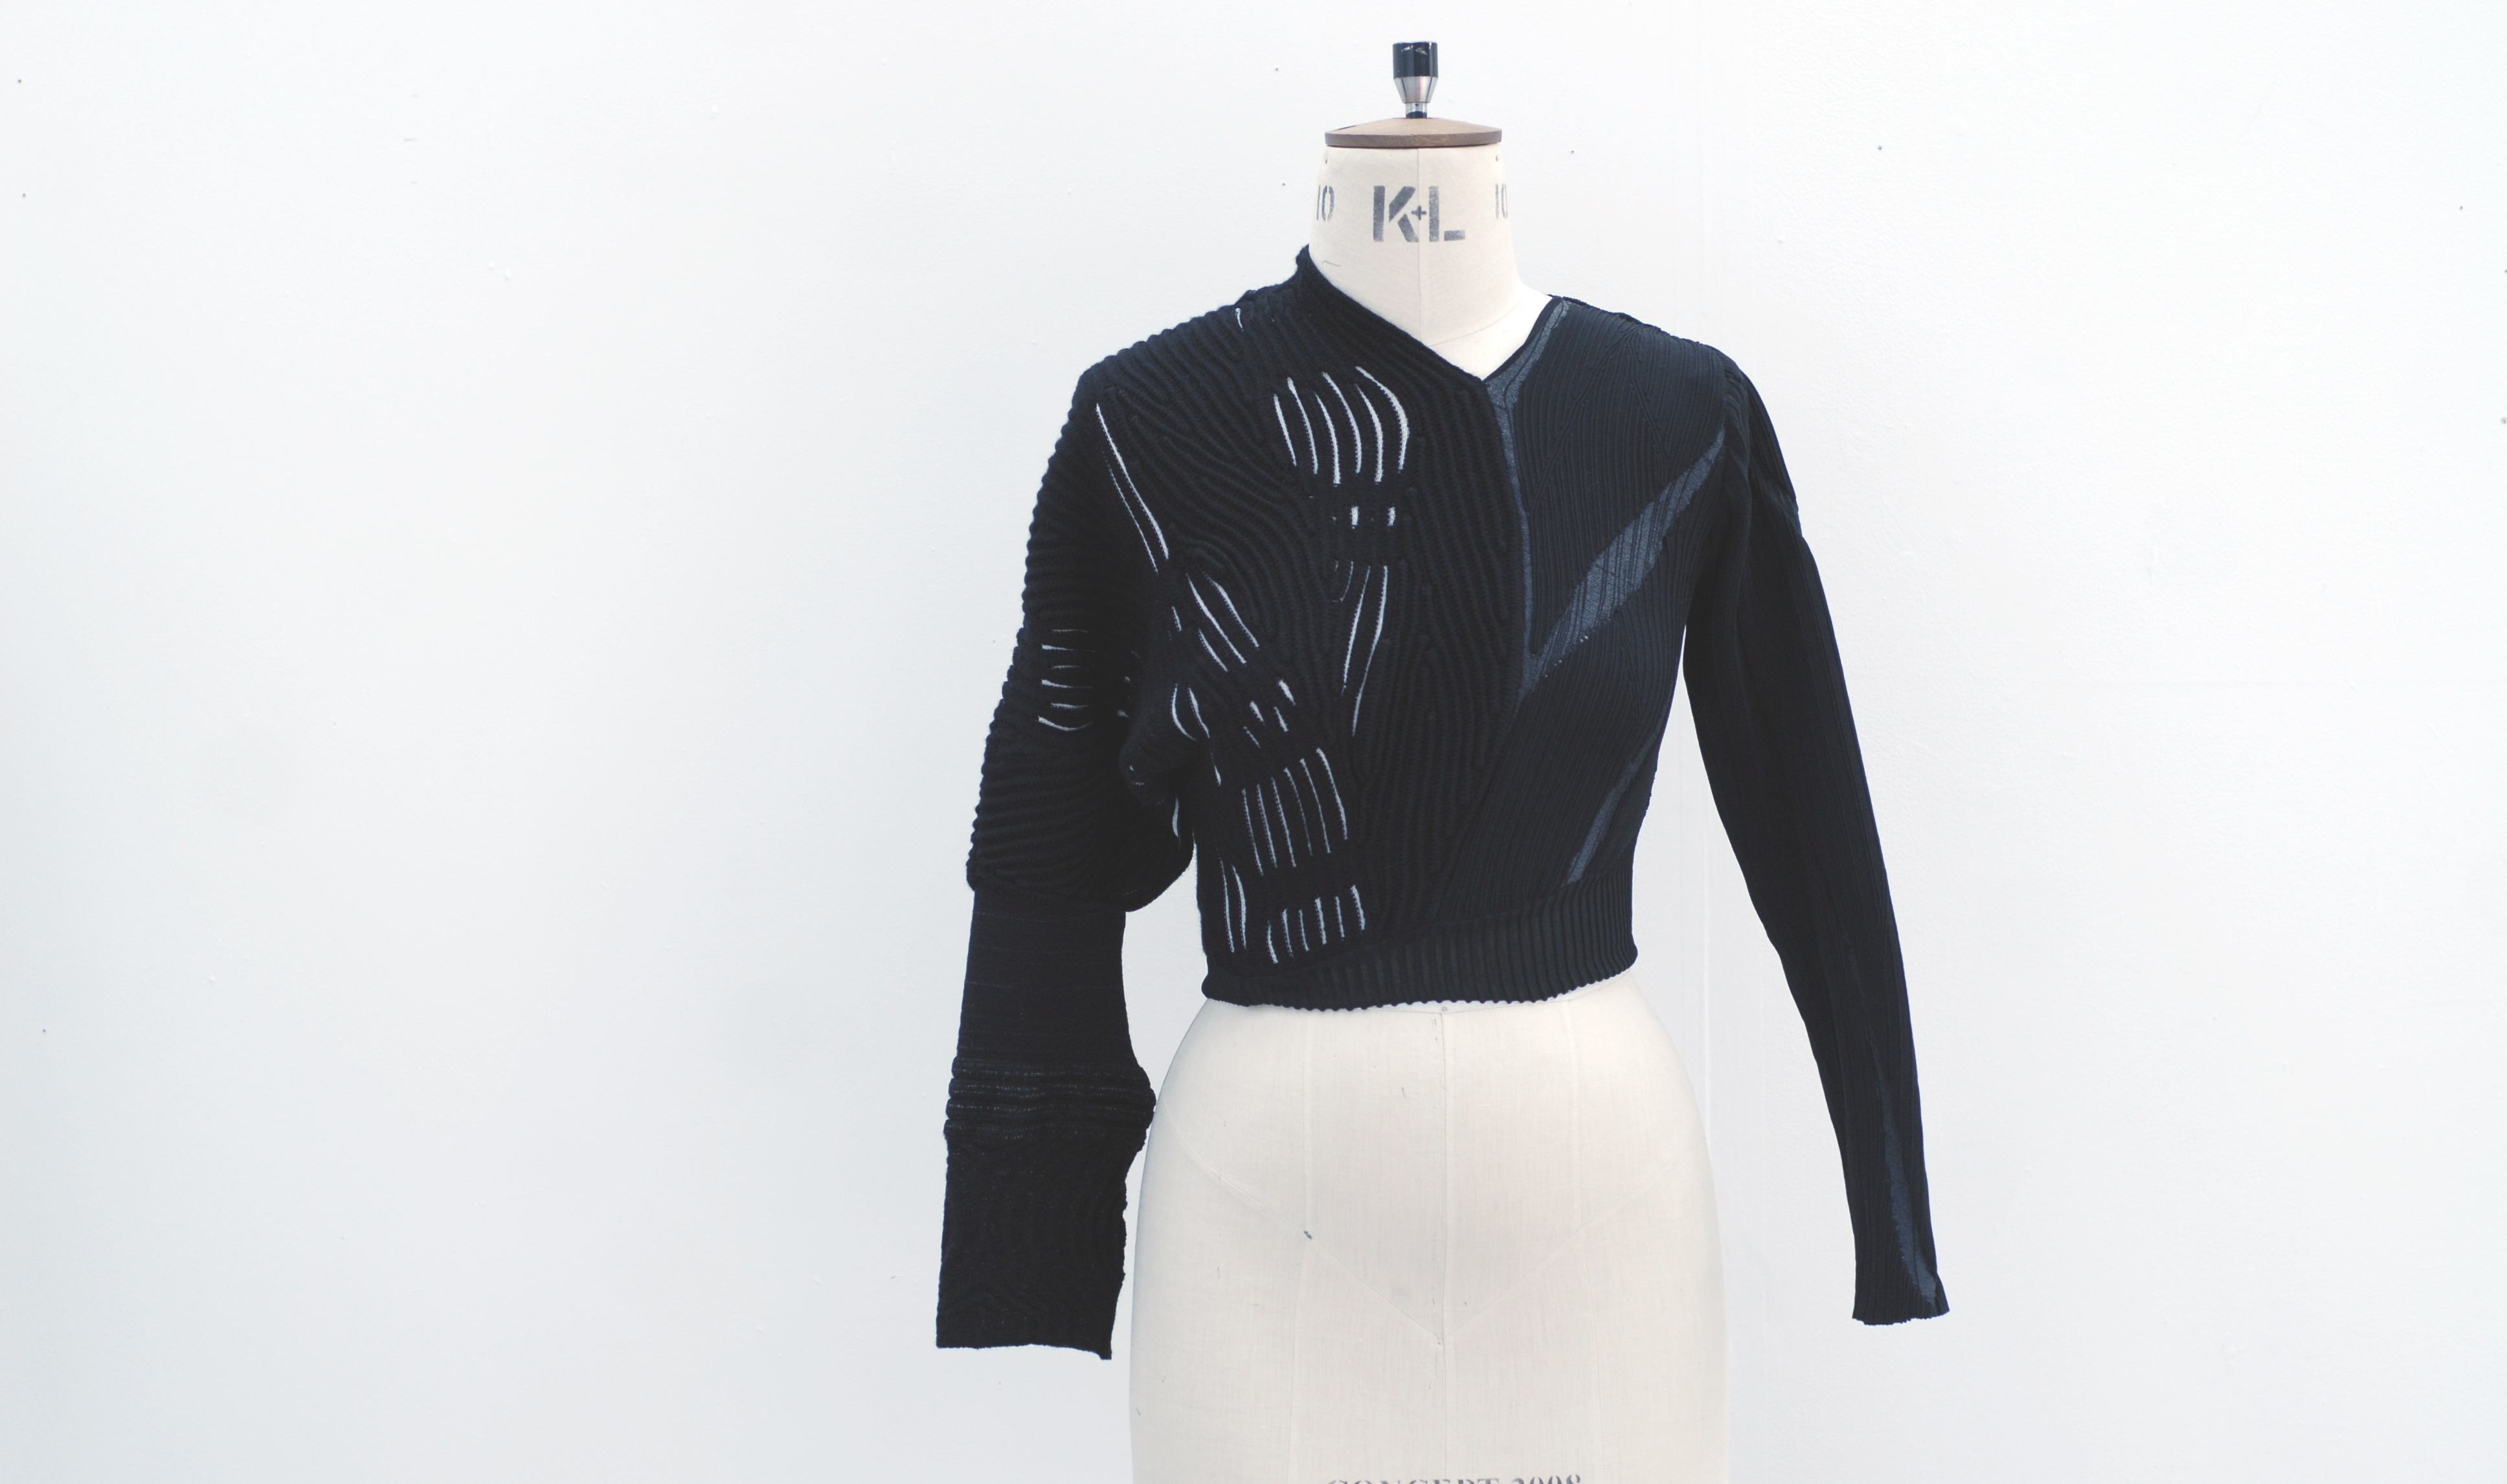
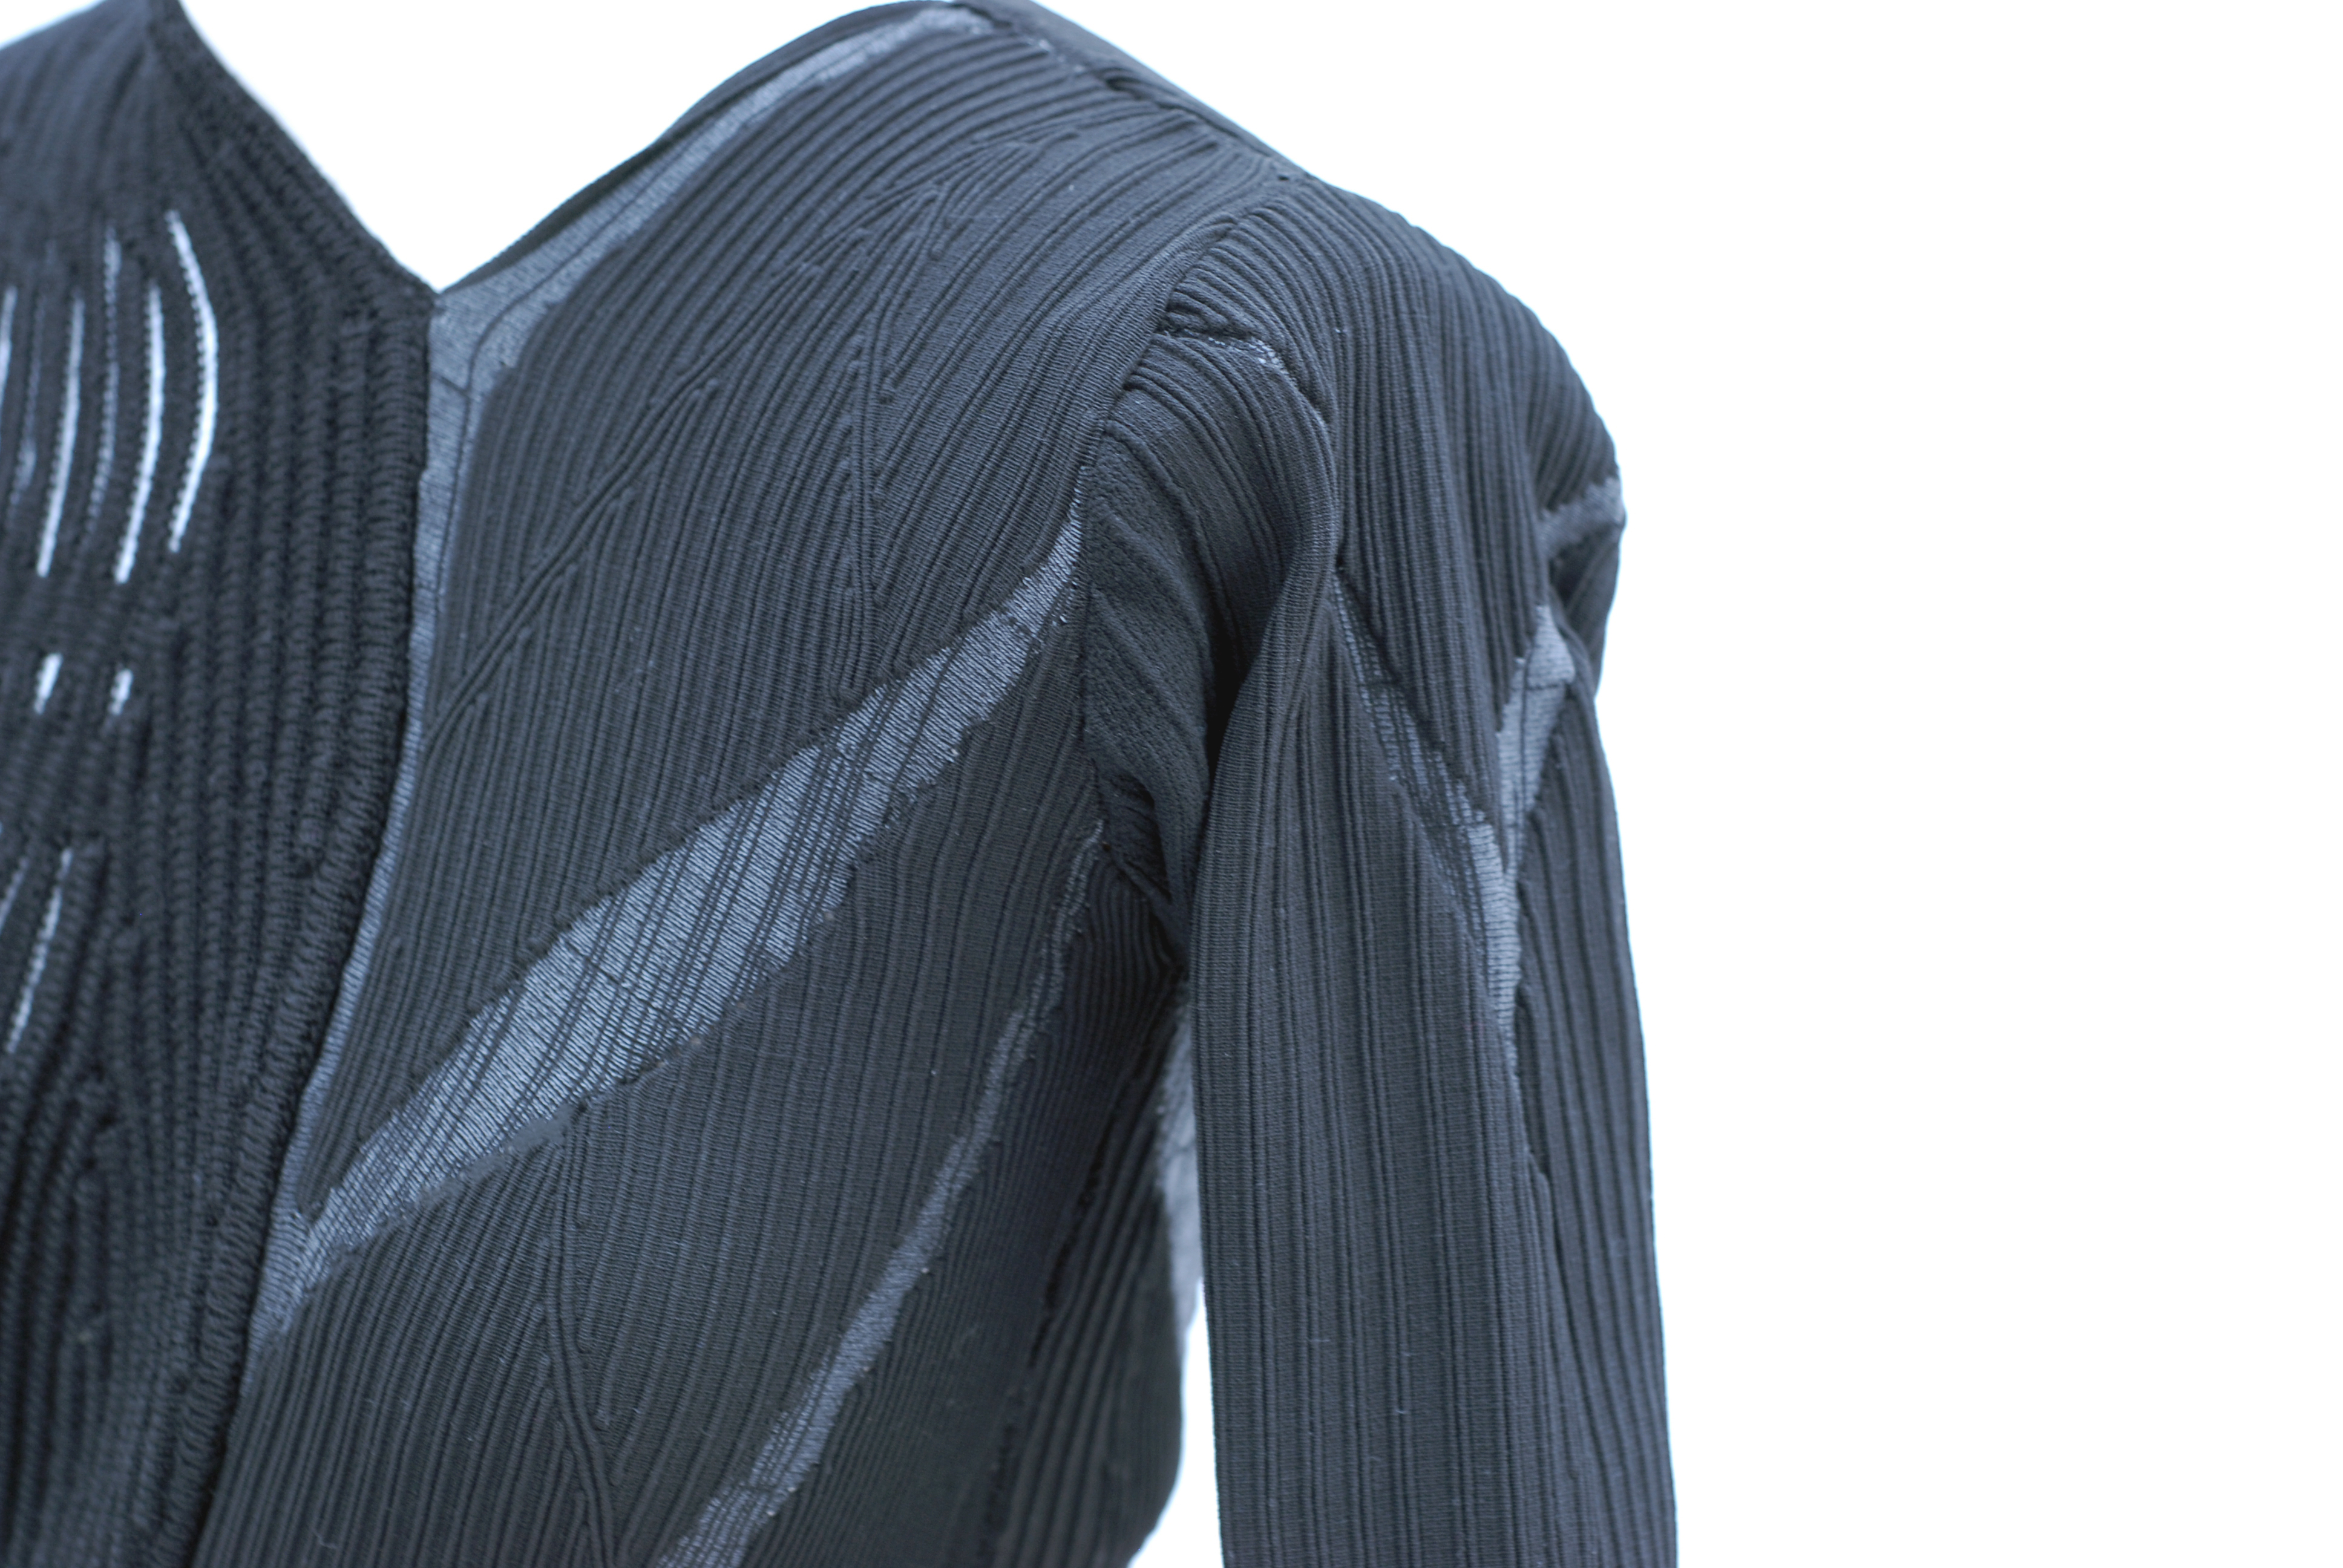
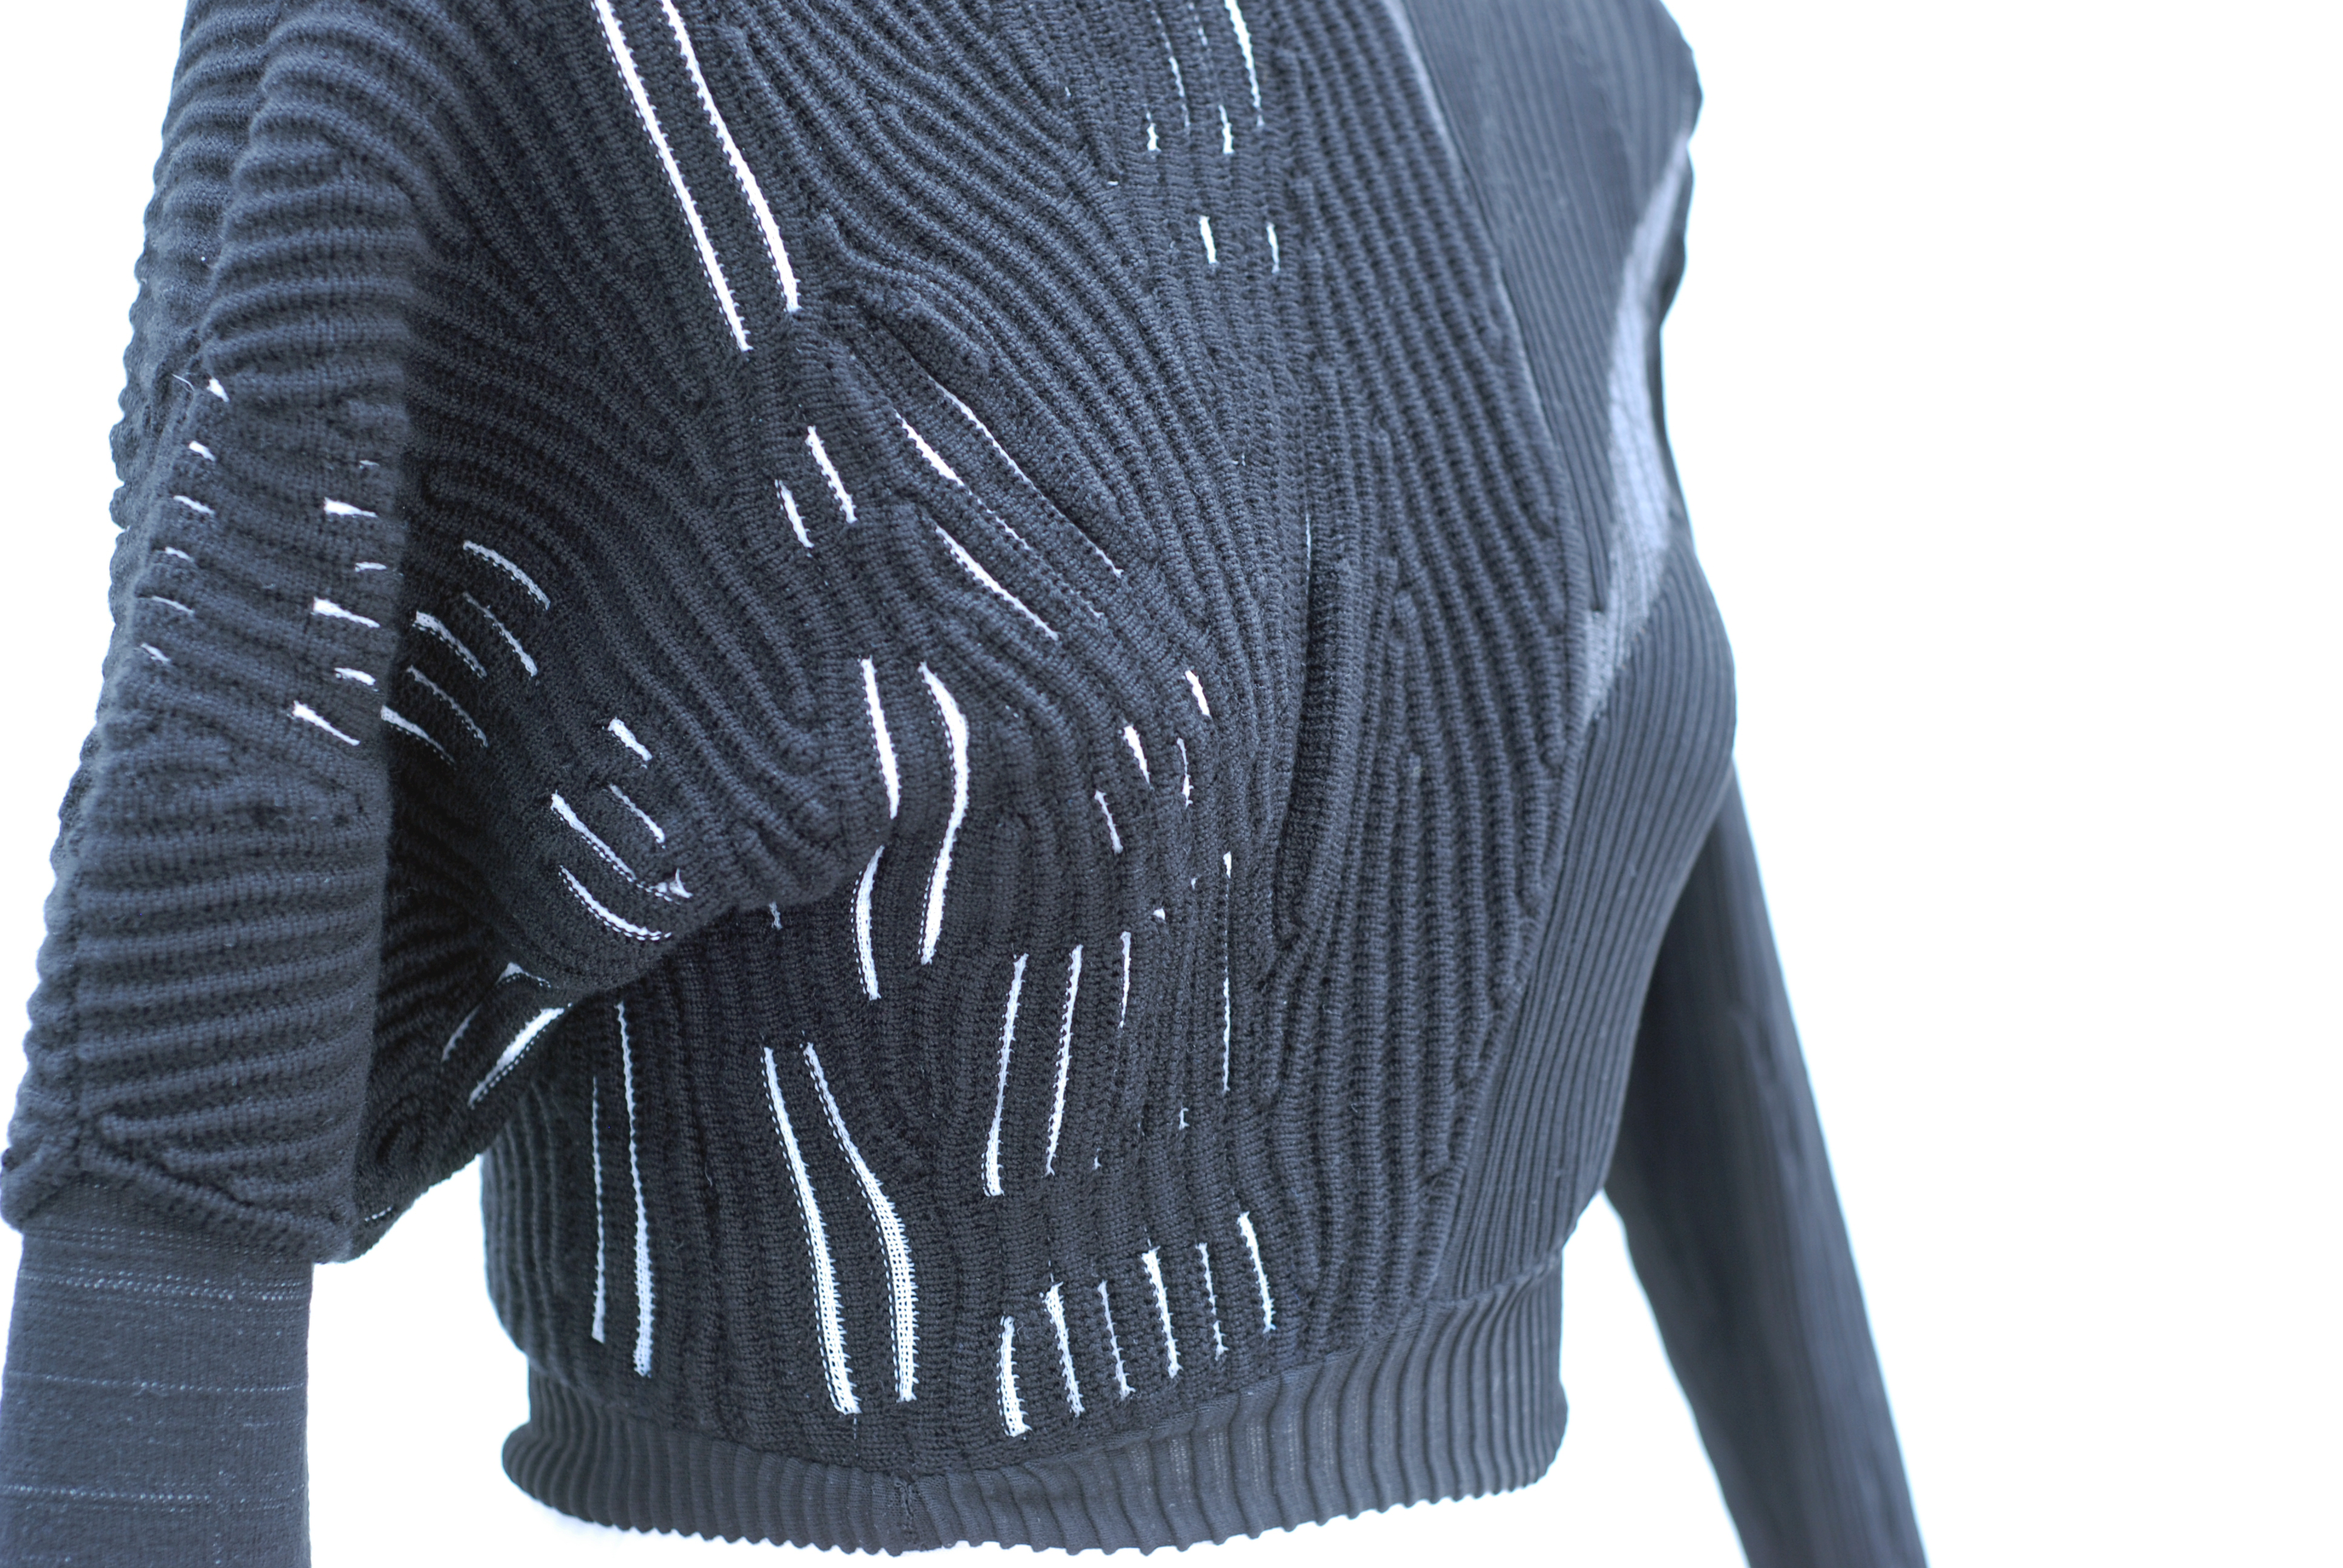
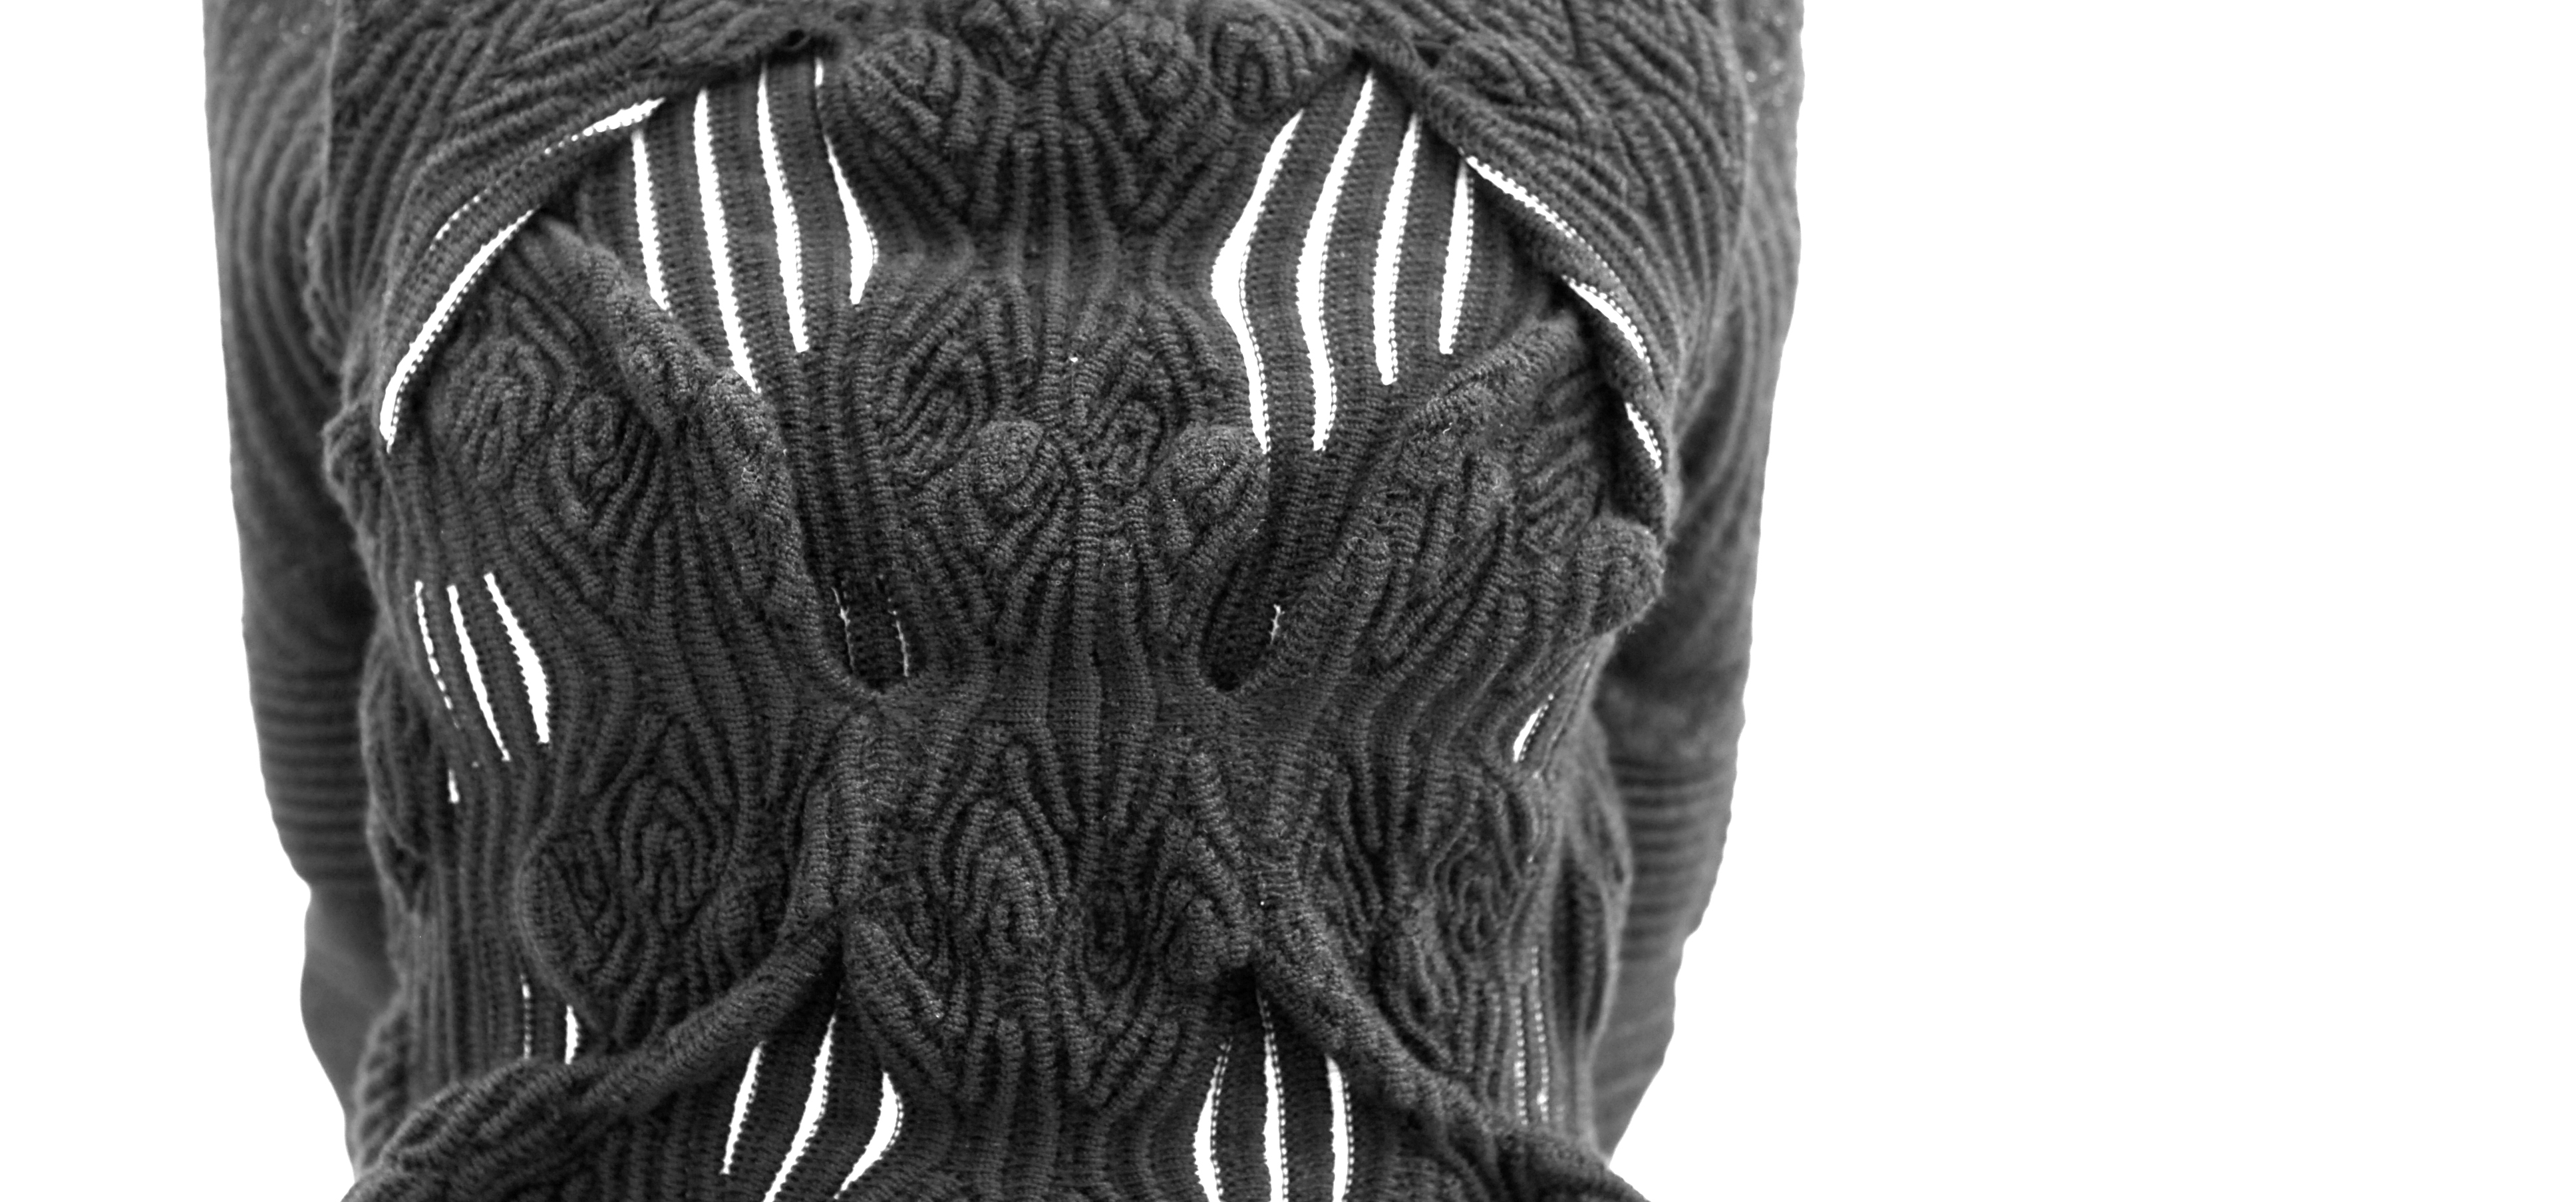
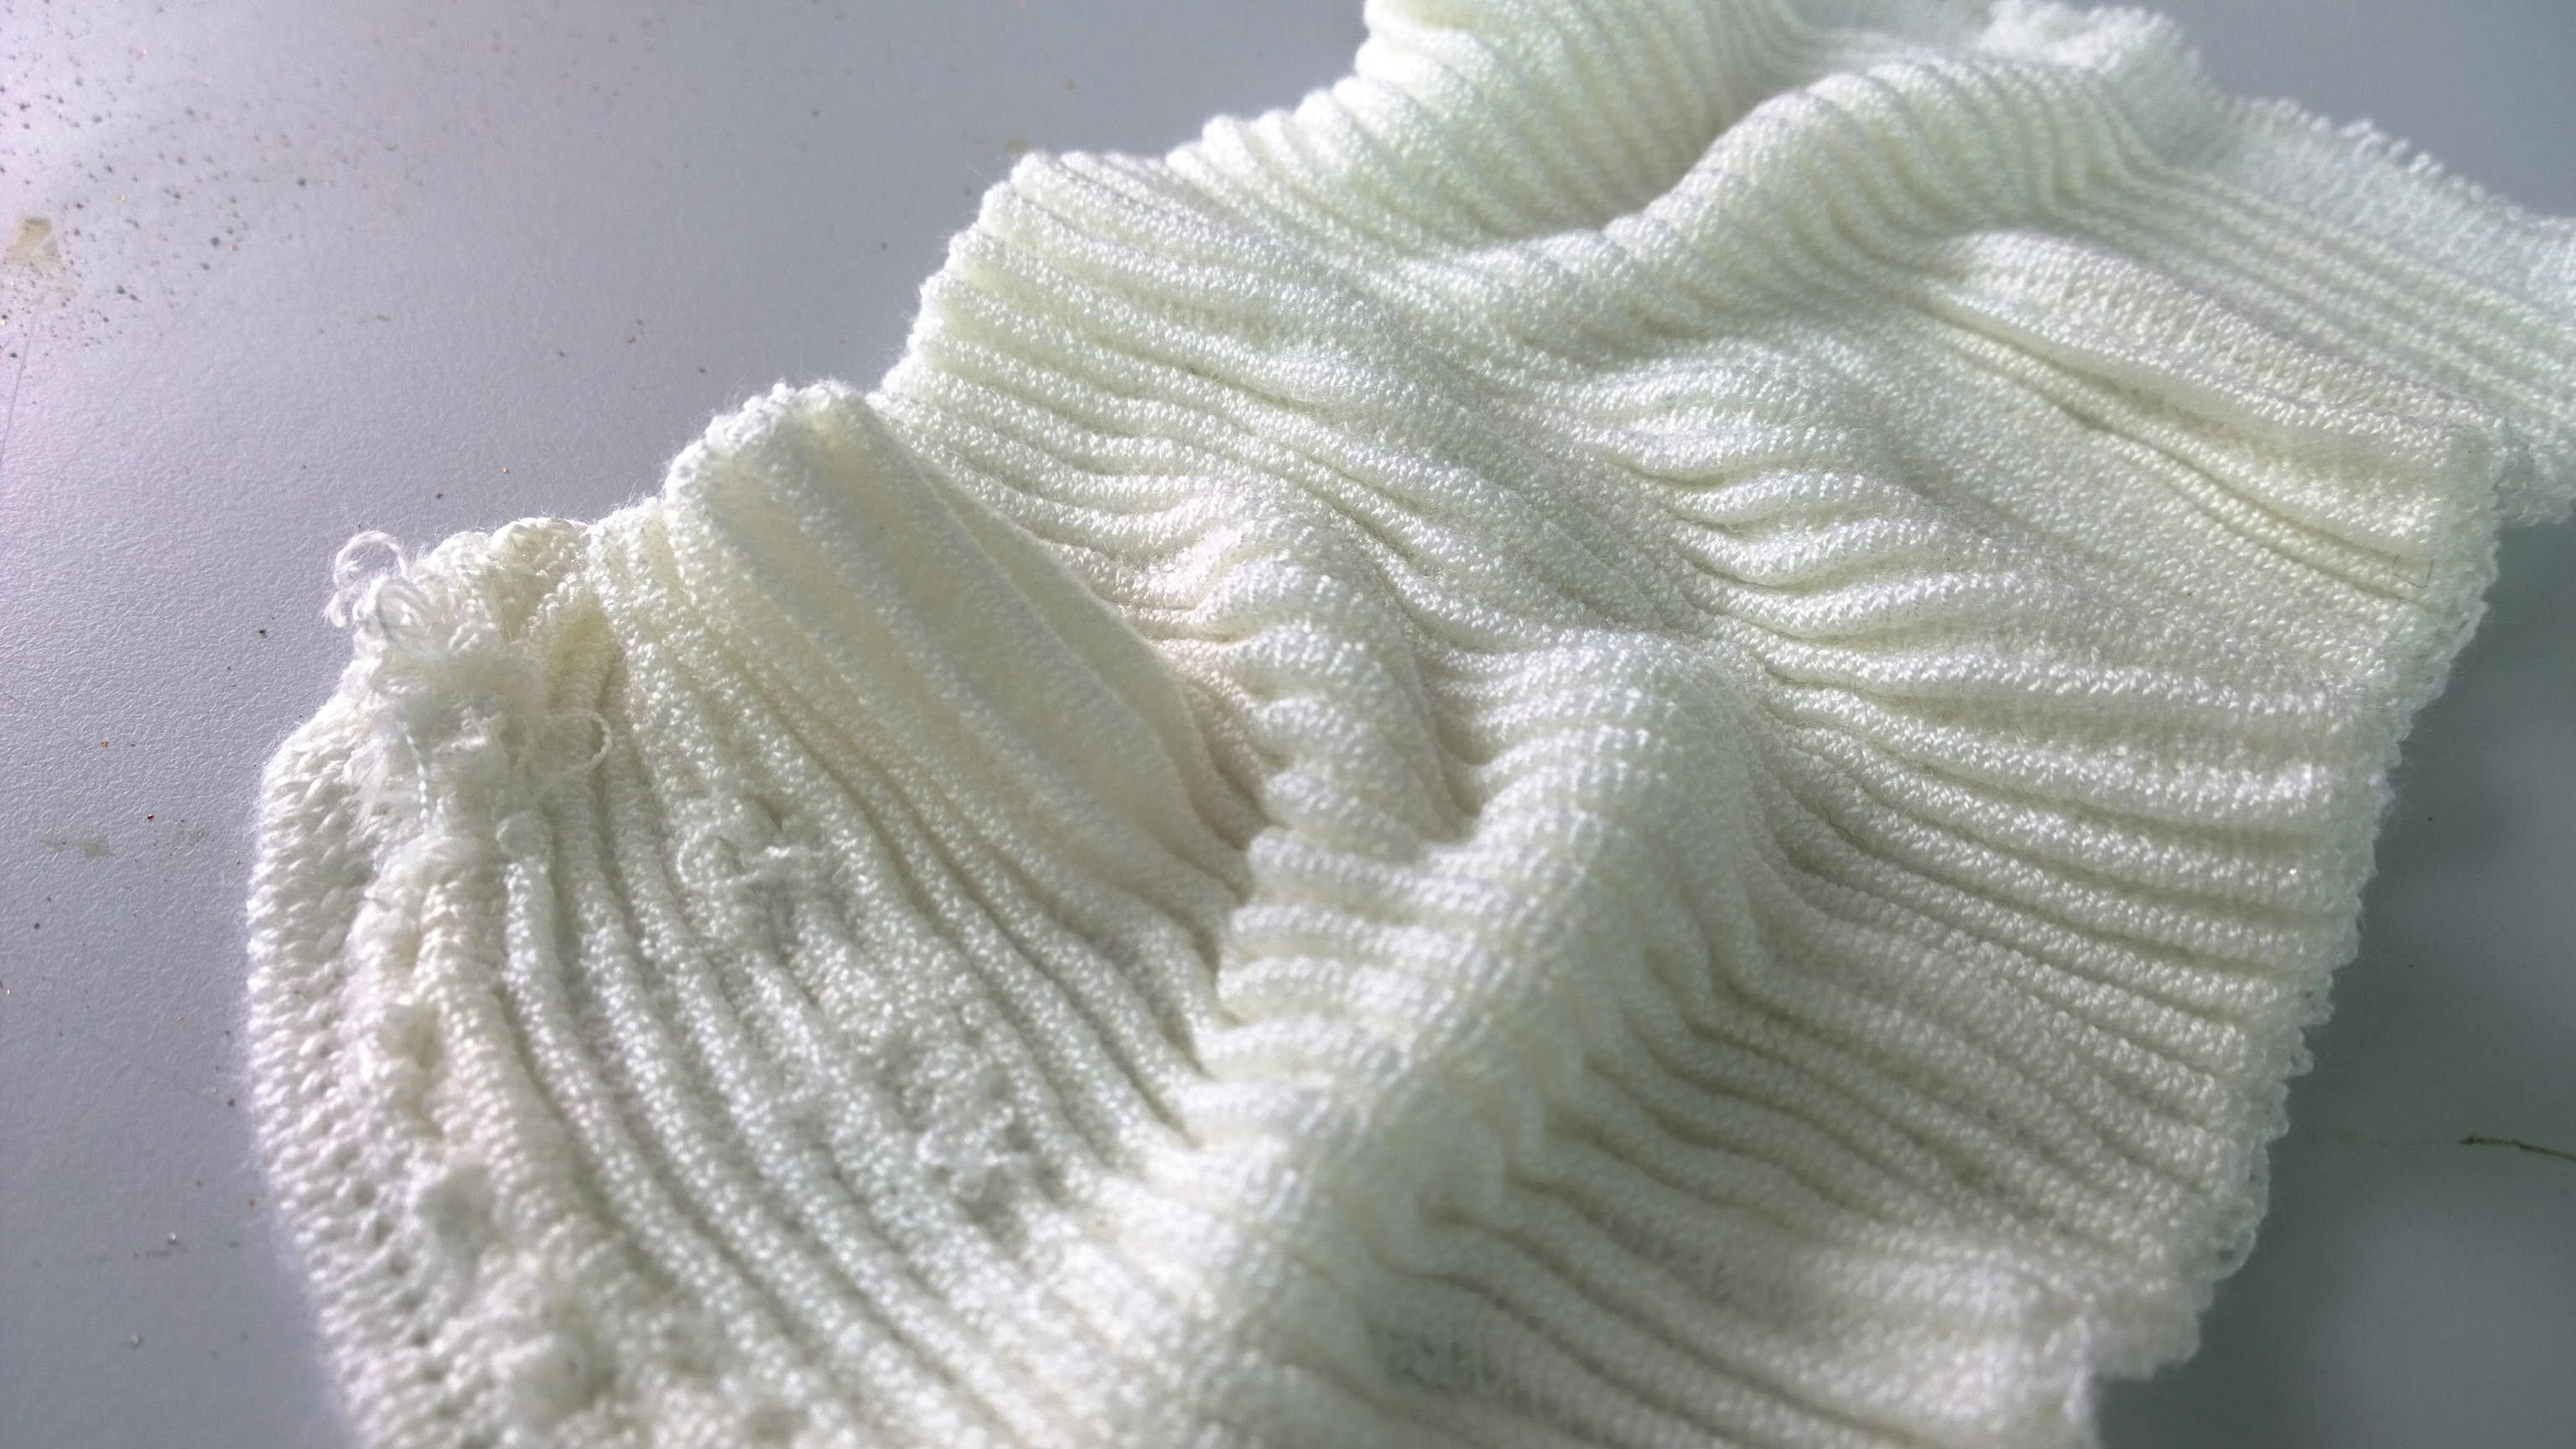
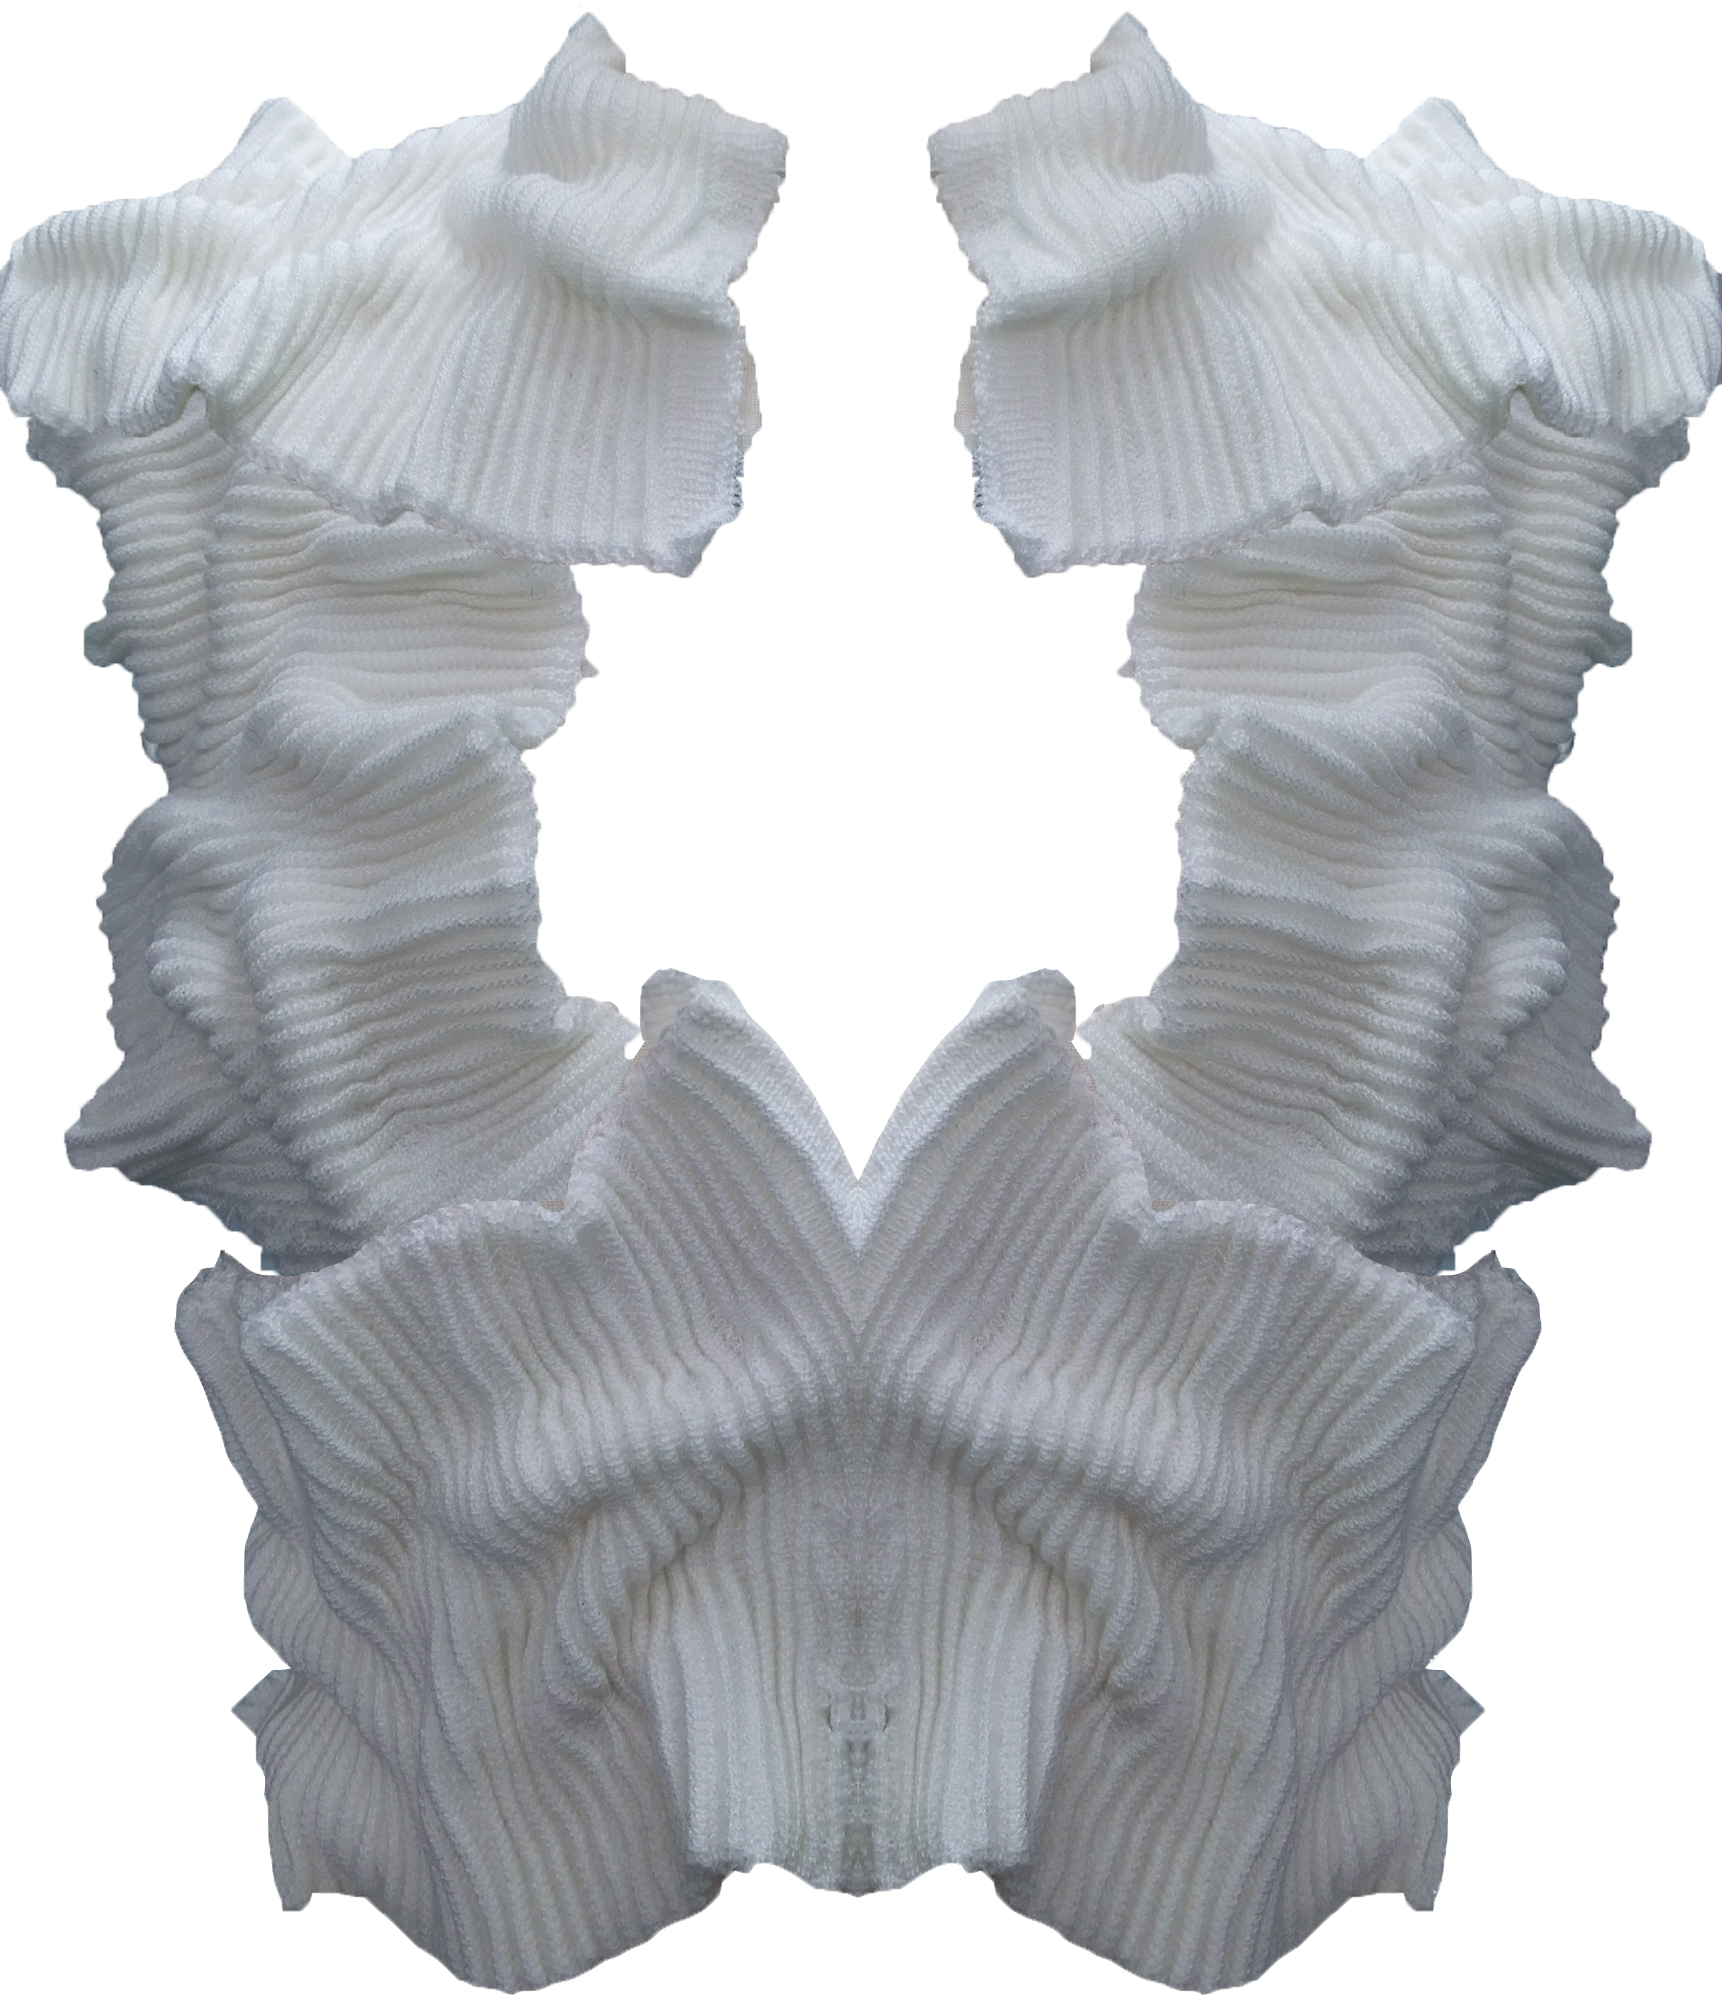
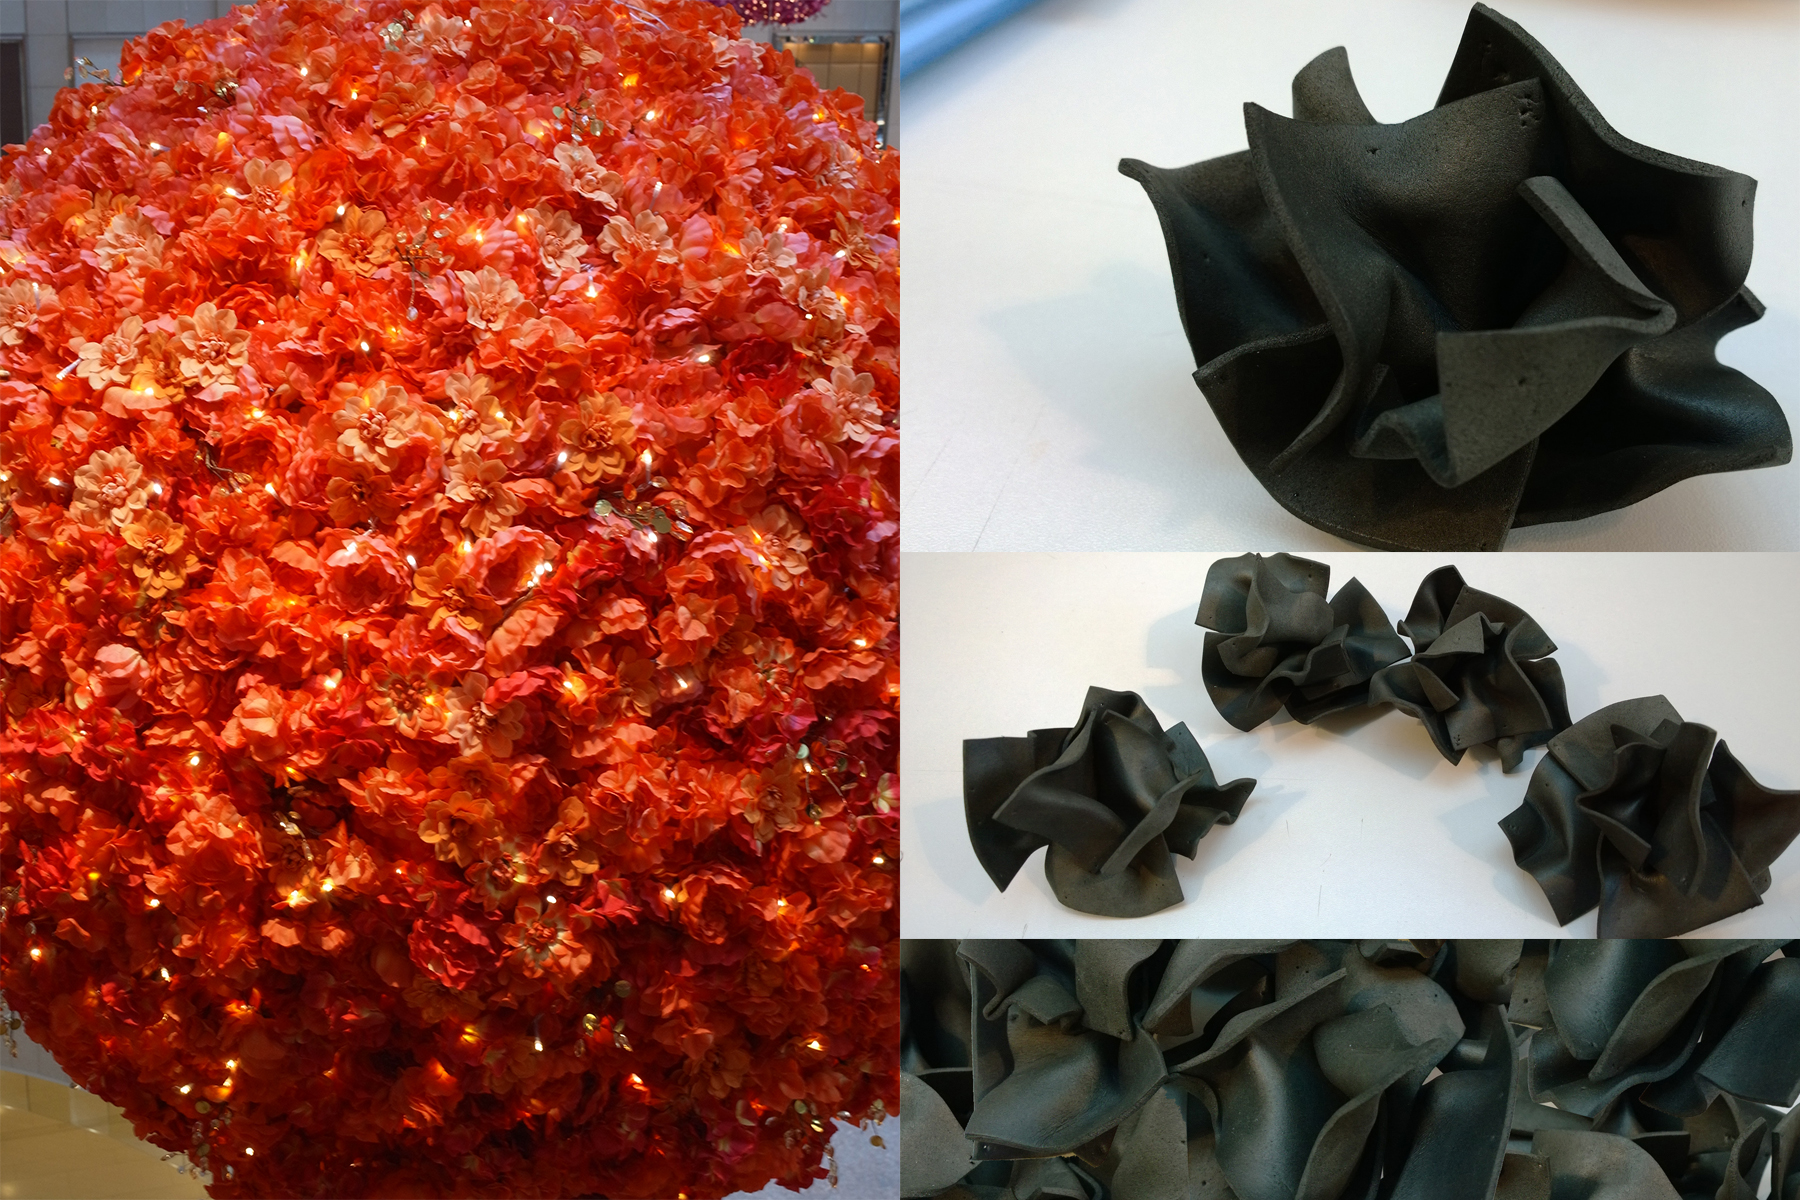
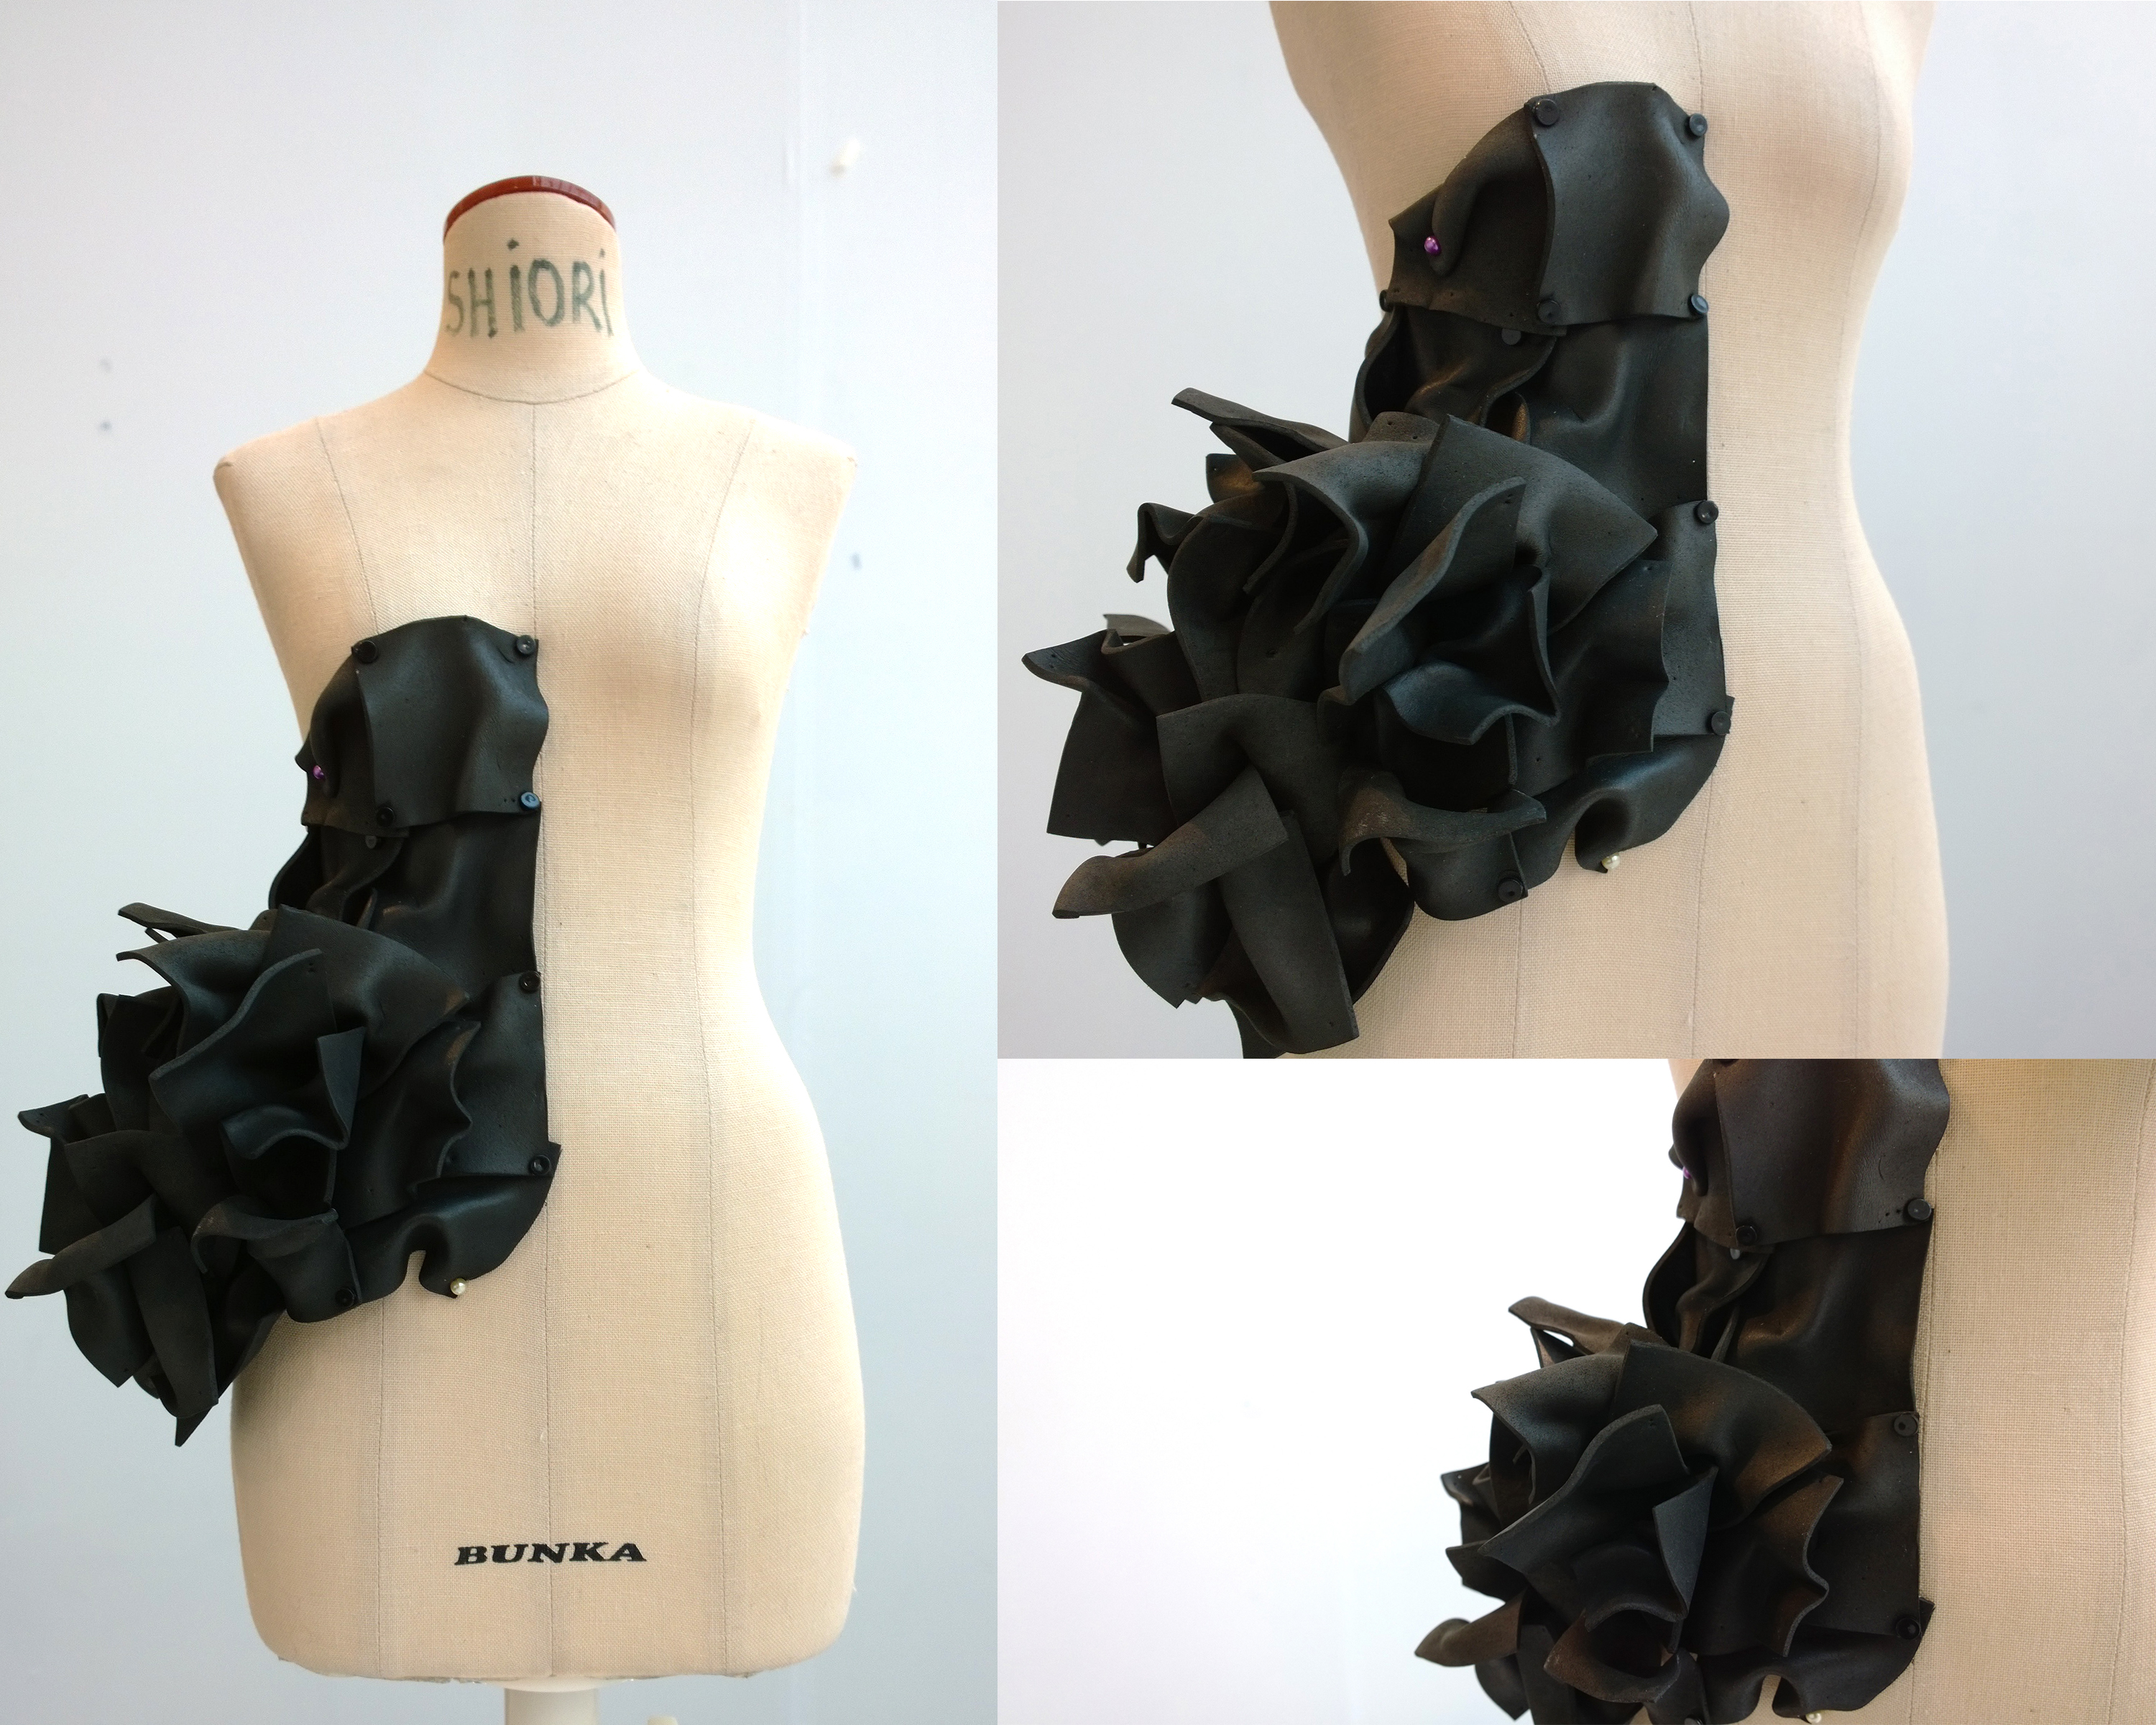
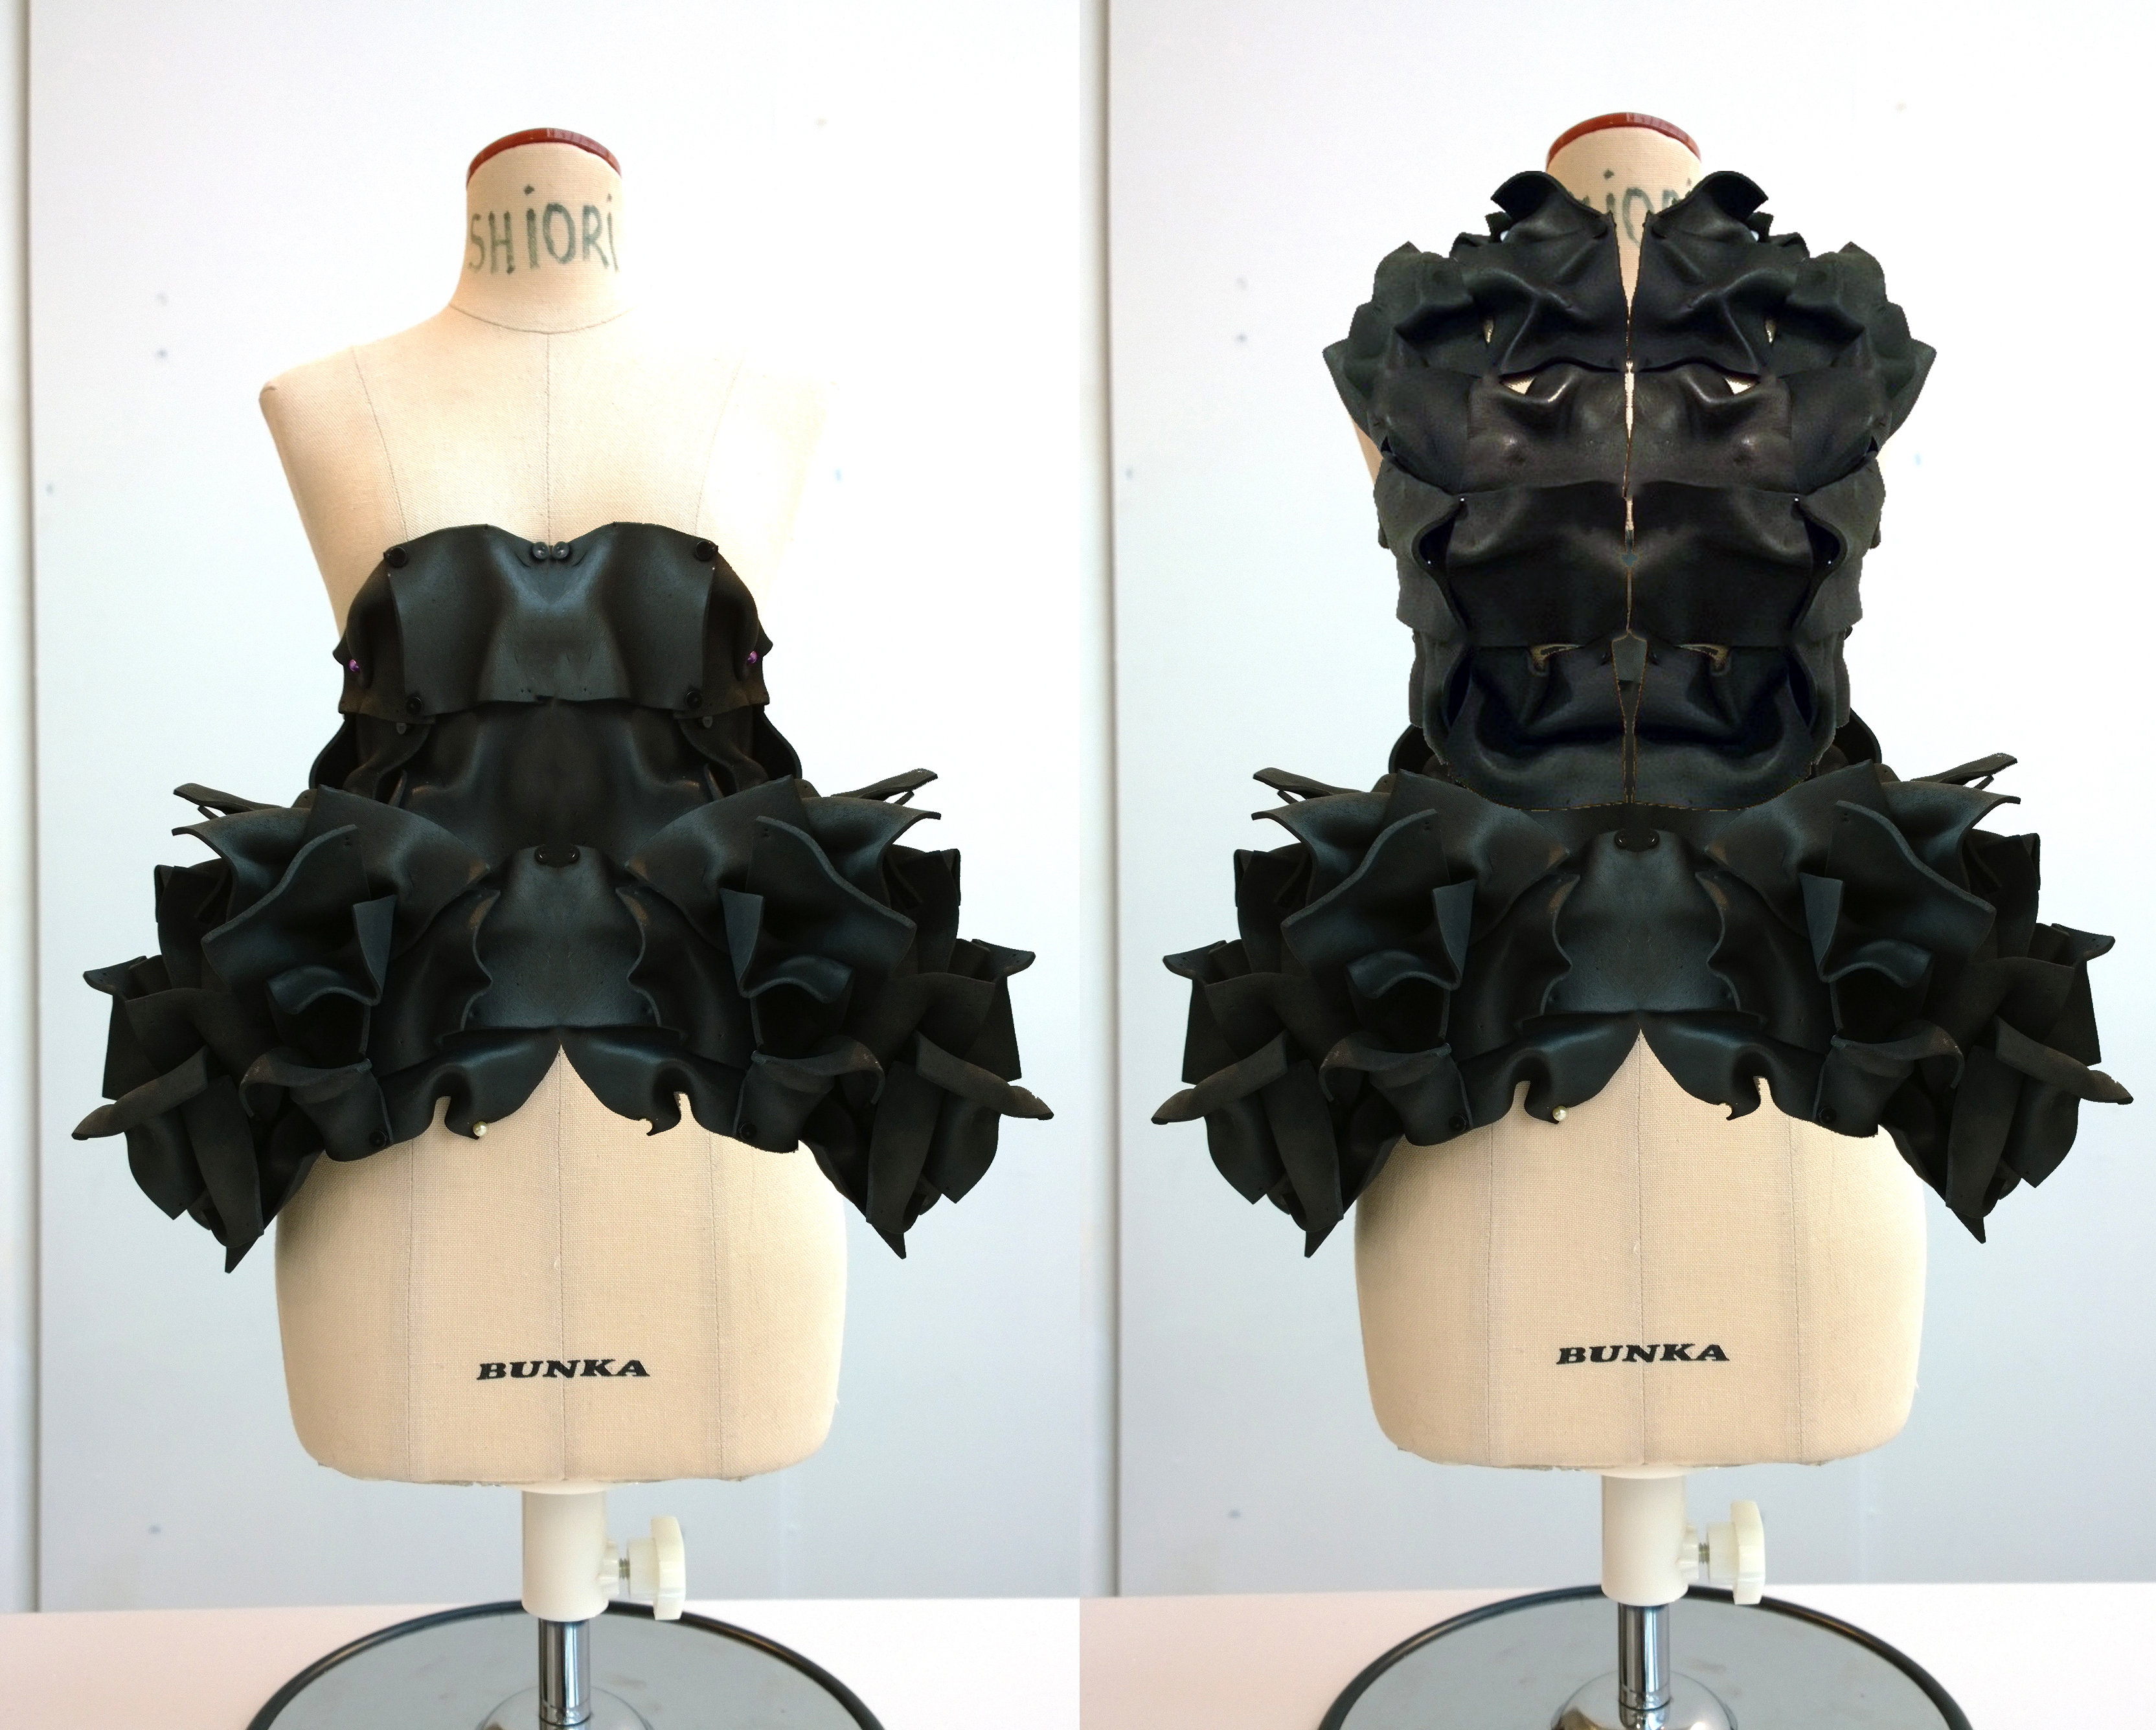
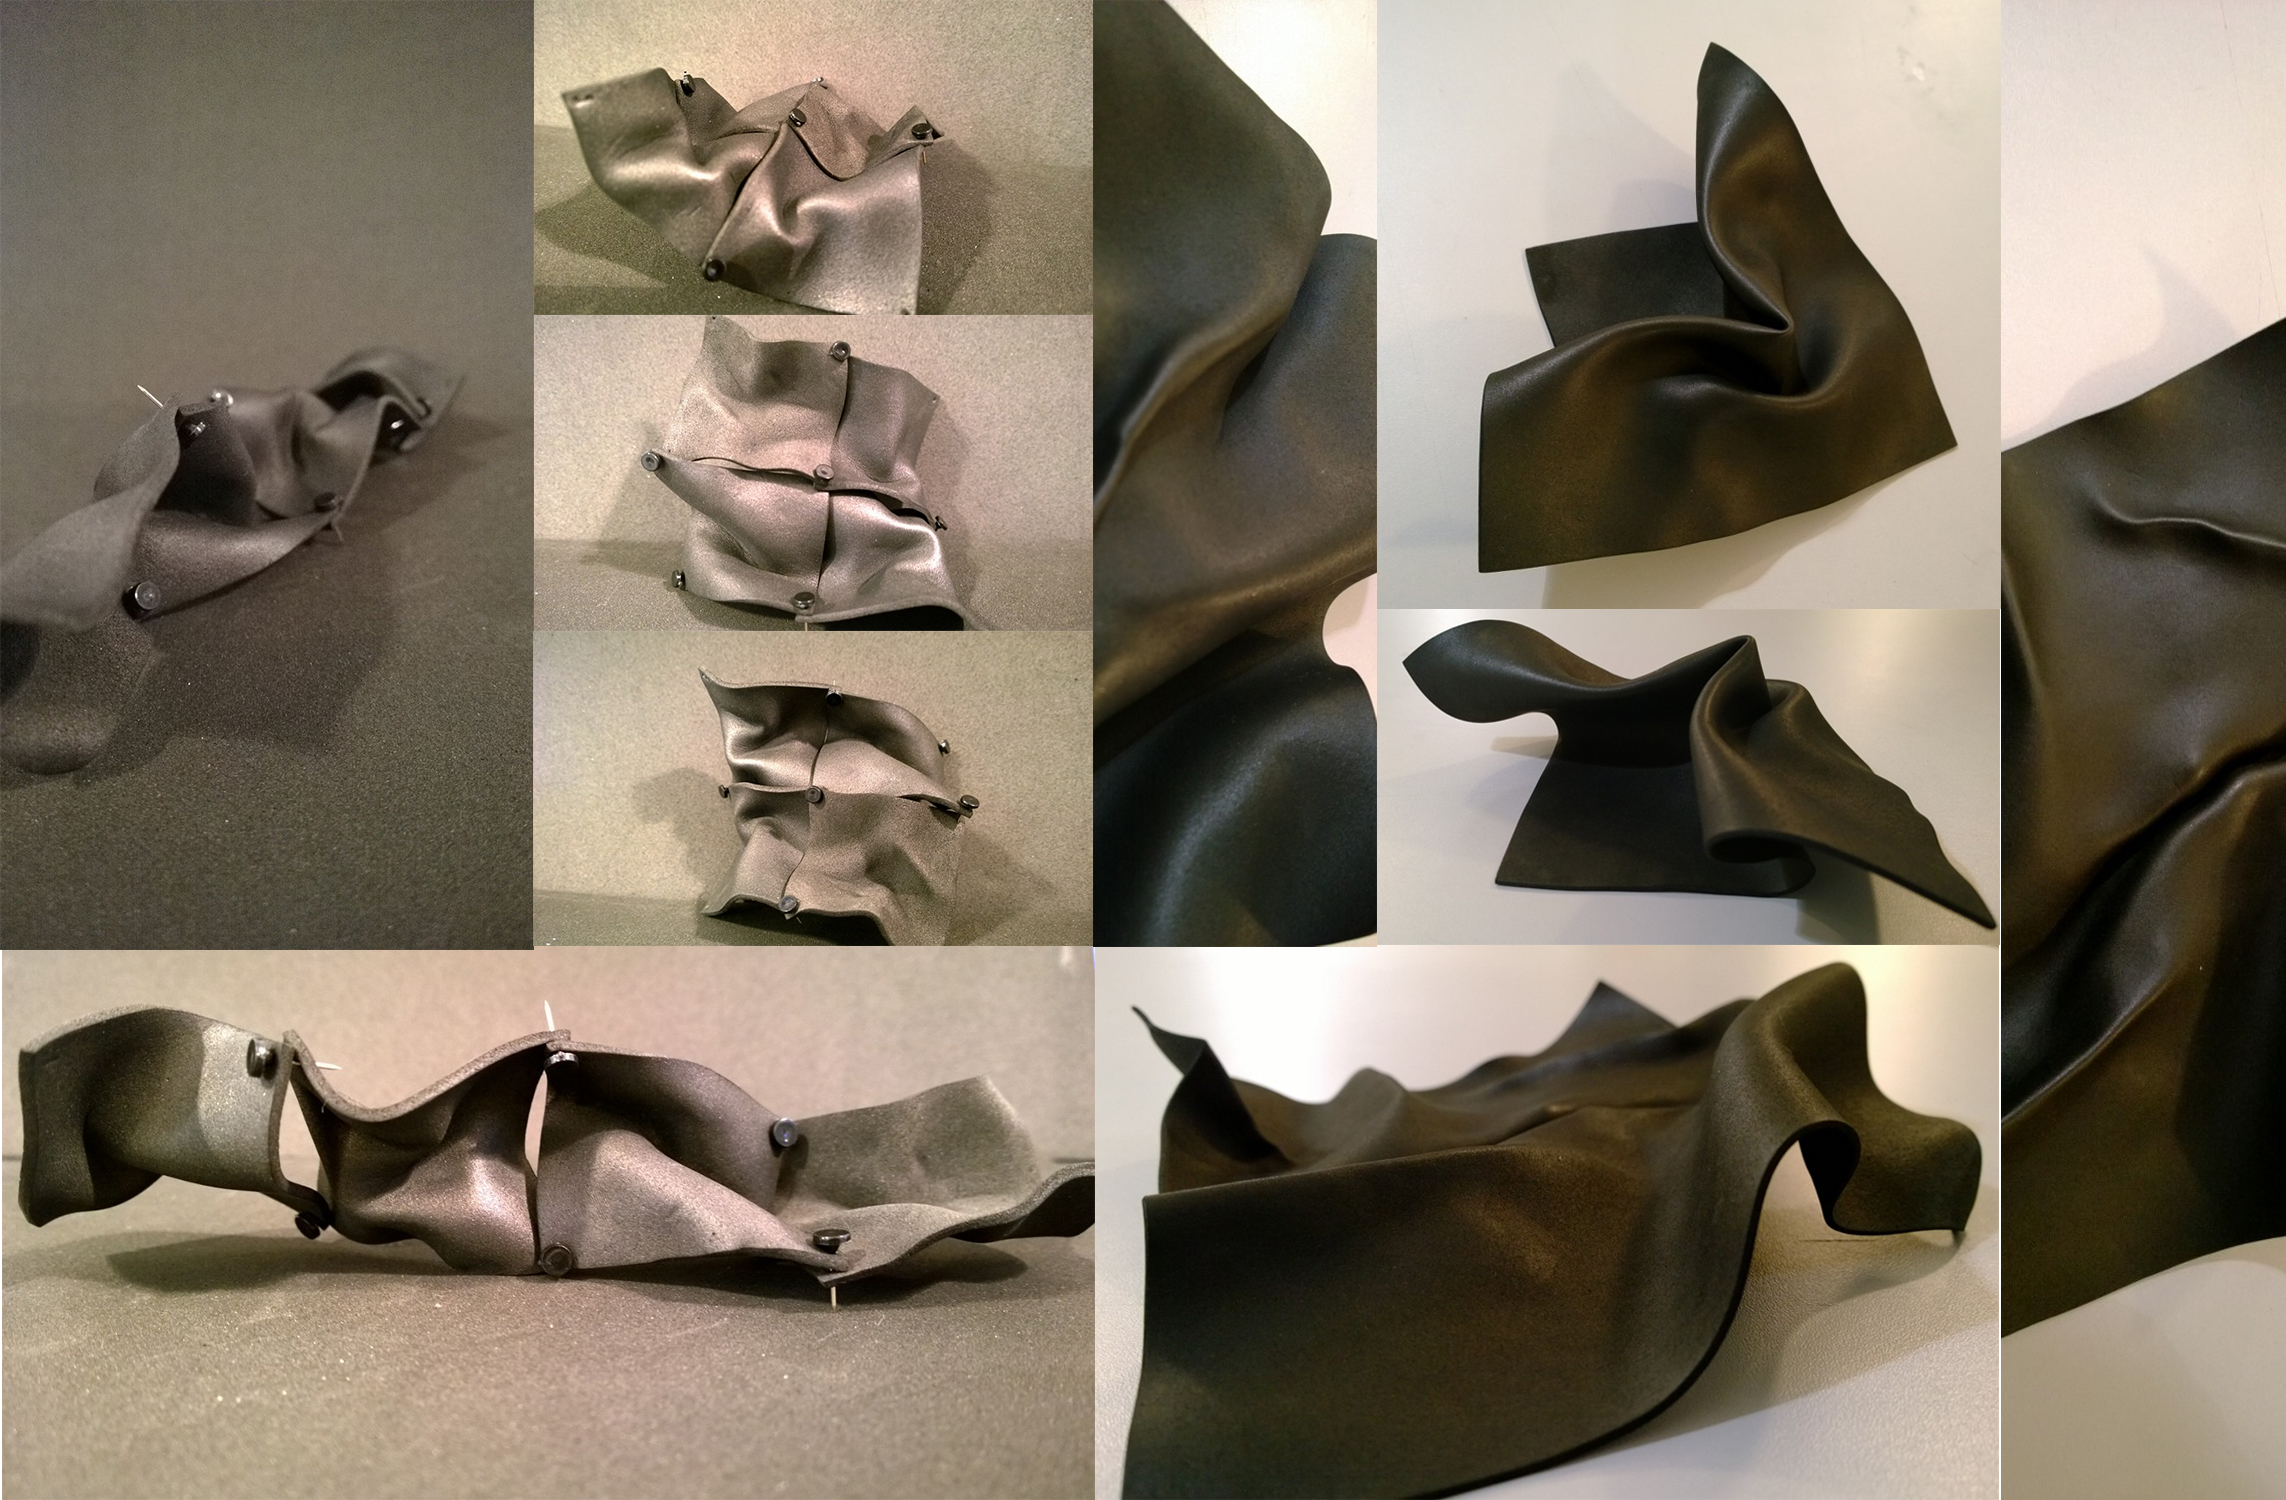
Escaping from everyday reality. Inspired by the exuberant baroque sculptures of the America artist Kris Kuksi. Rapid prototyping enable she can producing a lacelike structure without any need for needle and thread.
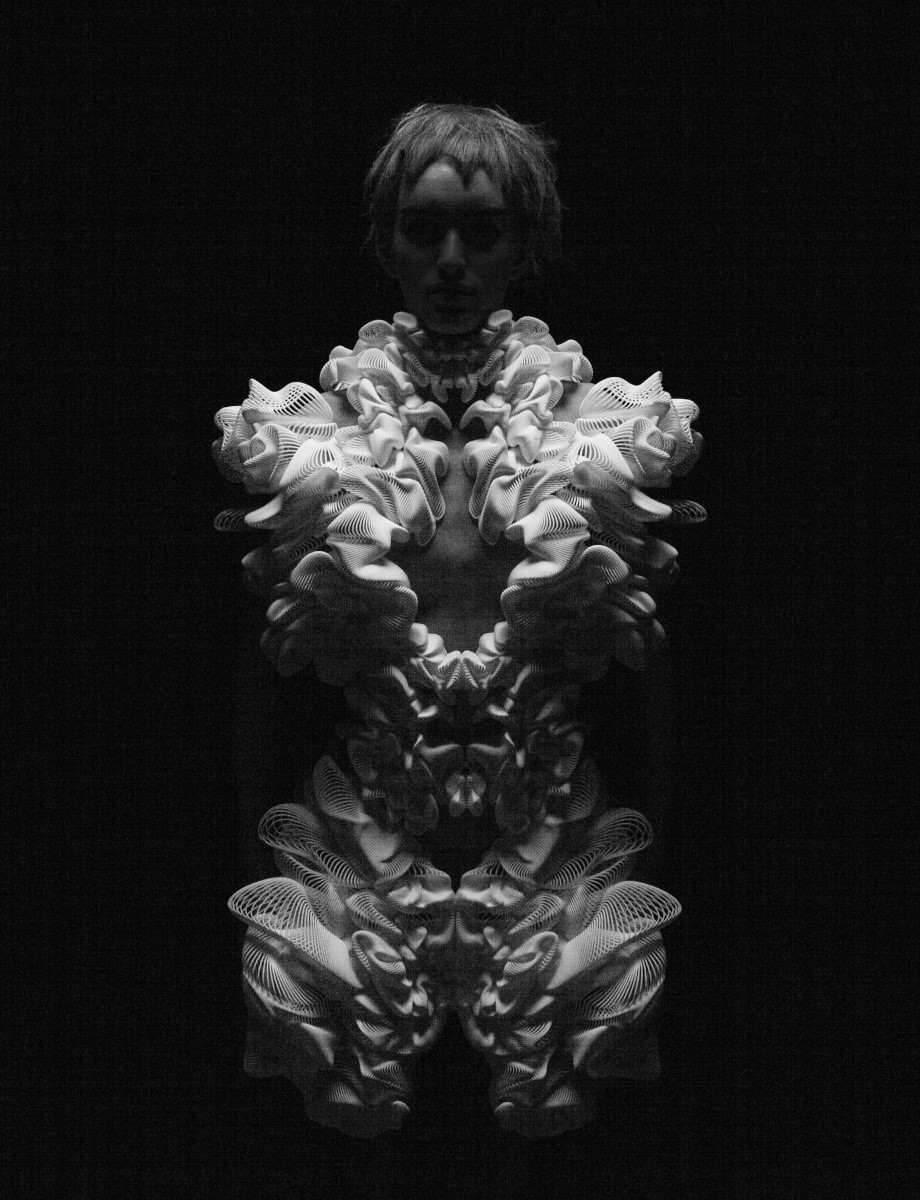
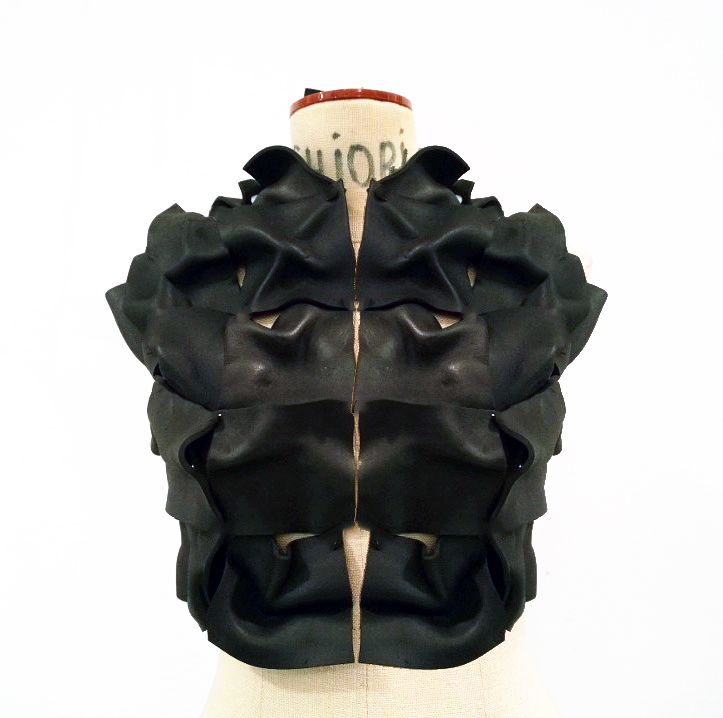
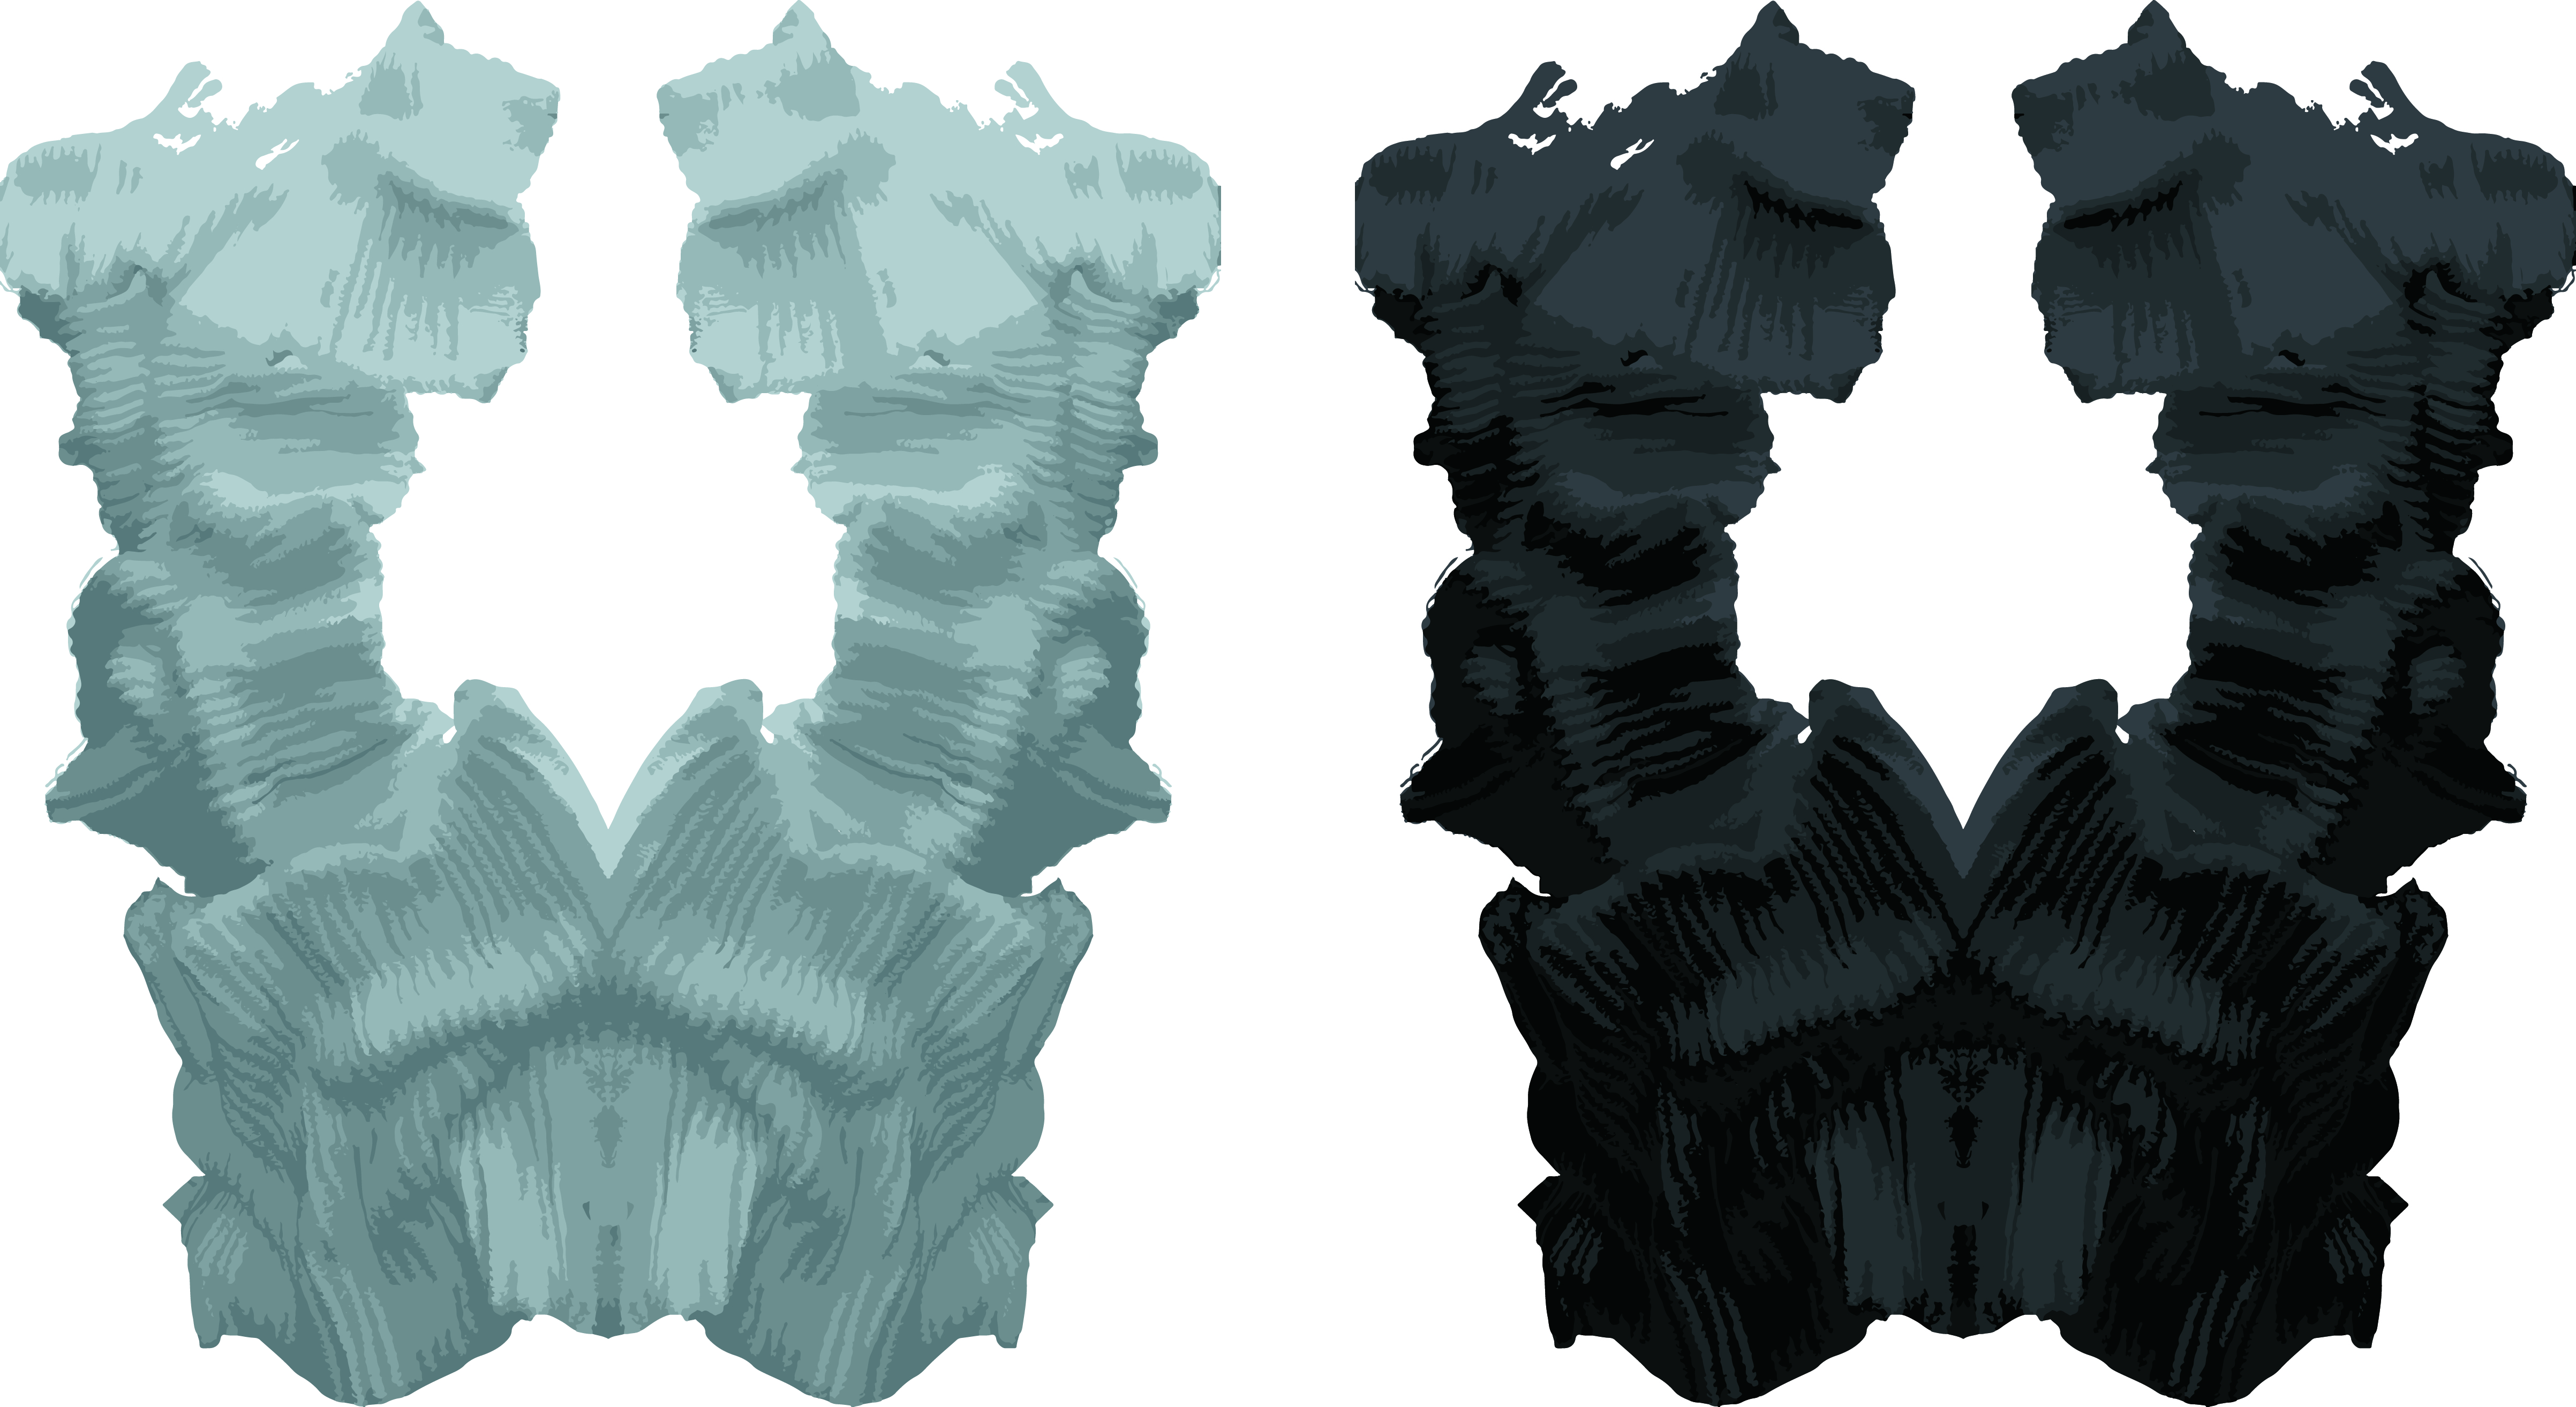
528bda92636c8a22060001d8_escapism.jpg

Capriole, 2011 July

Evokes the moments of free fall when every fibre of the body feels as though it is growing in all directions, and brings to mind an exoskeleton. 
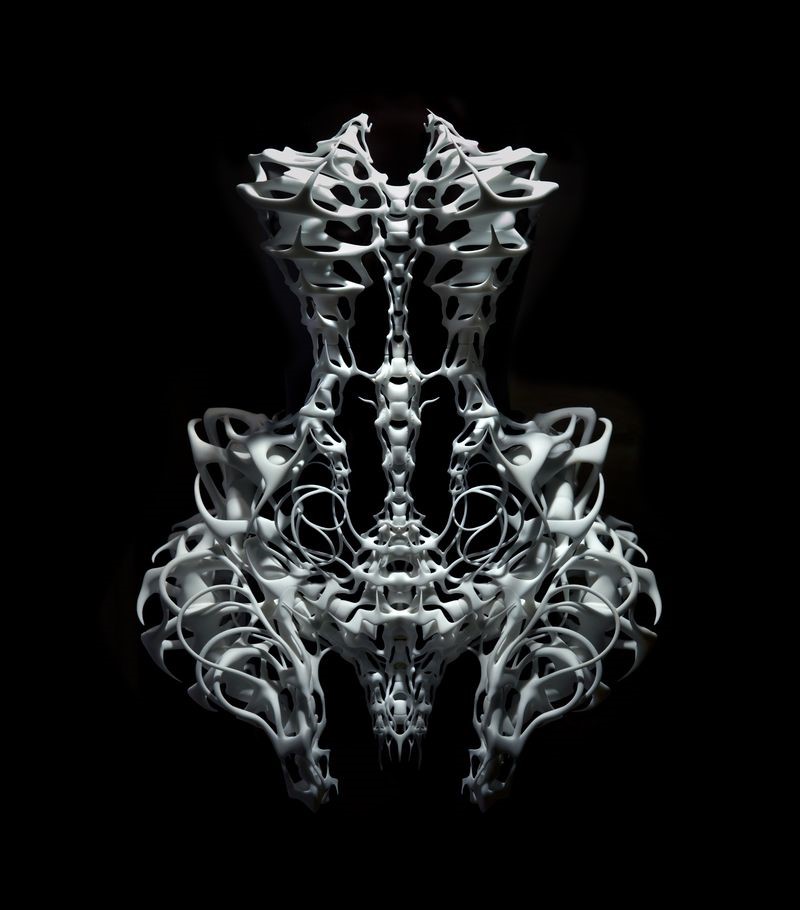
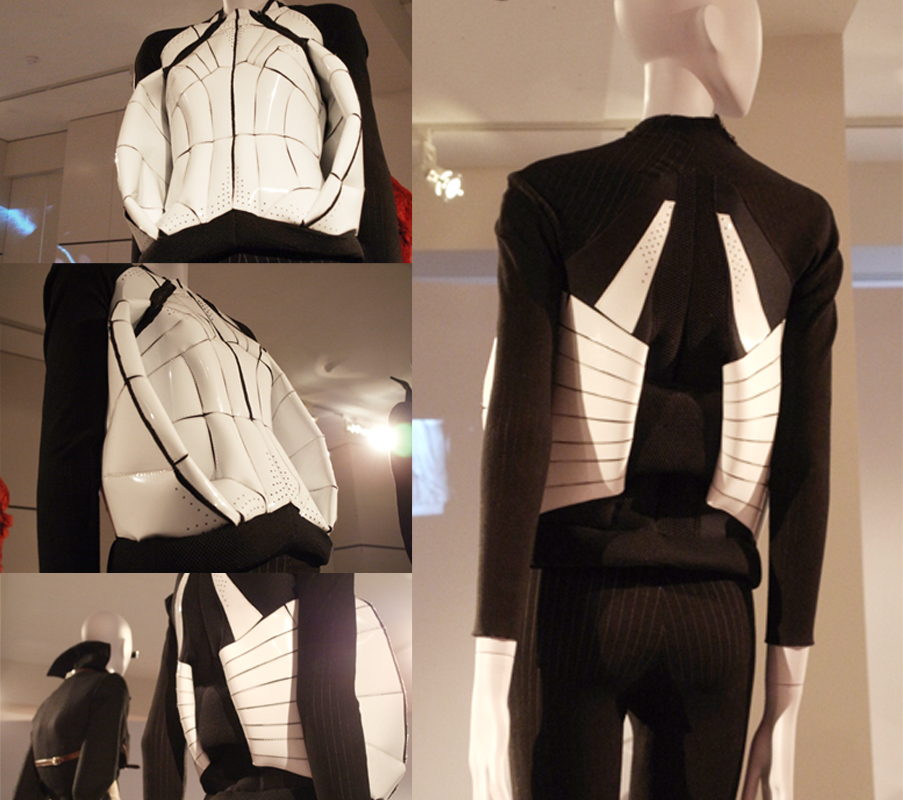
528bdb19636c8a22060001dd_capriole.jpg

Micro, 2012 Jan 

Making visible a reality that is usually completely hidden from sight. Leave the viewer guessing about what they are and where they come from, but also invite reflection on the passage from dead matter to living organism.

528bdbac636c8a22060001e3_kutgif.jpg

Hybrid Holism, 2012 July

Inspired by the project lead by architect Philip Beesley called Holozolic Ground which indicated that a future city could operate as a living being in which this project offers a vision for a new generation of responsive architecture.

528bdc19636c8a22060001e6_hybrid.jpg

Voltage,  2013 Jan

Inspired by a childhood dream, a desire to understand, control and recreate lightning. Pairing up with Neri Oxman created the first 3D print flexible dresses which was multi-material and designed as a second skin.

528bde0c5612f6cc0c0001f9_voltage.jpg

Eco Fashion Event

31.Oct.2013

Alison Gwit

Considering whole process from designer and outcome to how we dispose the product. And Designer as the central role of all process happened surrounding by 5 main ideas; design, production, distribution, use and end-of-life.

- pattern making & toiling: zero waste;
- design for durability; 
- engaging with local supplier and producer. 
- looking into what happen new;
- thinking about input and output before start;
- mono-material makes product easier to recycle and reuse;
- broaden your knowledge of sustainability.

She thinks about the process of Fashion industry, and provides several methods to achieve the sustainability. Although it is hard to imagine that following her method step by step, I could think about what I can do in my MA project to make the world better such as using mono-material or how to provide a more convenient way for consumer to repair/ reuse. 

Sass Brown

She gave a bunch of great example of how sustainability works with real design physically, and called it RECONTEXTUALIZATION, following examples:

steinwidder/ remake fashion

she stitched socks together to create a new style of her design in several pattern, and the design is amazing! She called this REMADE FASHIONED

In this case, she combined recycled socks and other piece of fabric to reinvent  fashion, though it is not a entirely new idea to the world. But she arranged the sock perfect with elegance and peace.

5274e9073a62effb490002ef_steinwidder.jpg

Paulina Plizga

Main idea: How we turn something invaluable into something valuable?

We can easily tell that in some of her works reuse the recycling fabric including  lace, knitted fabric and also other accessories, combined all of them together with a graceful and elegant skills into garment/ cloth. In some points, it is similar to the previous one; Steinwidder, but I think they aim for different market, and use the distinguish design language of recontextualization.

she started her brand in 1991's which is so early that before everyone really notice the issue of sustainability. Observing her designs from 1991's to 2013's, it is hard to believed that she insist more than 20 years ( and still continuing) on designing in this area.

5274f130ec1c7be24800029c_paulingPliaga.jpg

The New Textiles( one i appreciate )

28.Oct.2013

Philip Treacy/ Hat designer

His hat designed with dynamic energy reflects to his design style with various subject around our daily life, sometimes mysterious and sometimes plain but rich, not in a specific area hi aimed. 

But all of them usually is designed in a 3-dimensional form, even for hat is a usual way to design, but he utilized a wide range kinds of the material which is depends on the subject to design is products. That is amazing for me to consider why garment/ cloth are designed limited the material, such as cotton, polyester,  and nylon etc. which are familiar  to our knowledge. But if we consider its functional and wearable condition, all make sense. 

It still broadered my knowledge of how hat designed.

527287677c55c42f2400059a_Philip%2BTreacy%2BSpring%2B2013%2BDetails%2BkK7Day2KlaQx.jpg
52728477a8dbd5ca25000528_heady-notions-nadja-auermann-in-philip-treacyc2b4s-hats-for-vogue-1996.jpg527287091038902d24000502_PhilipTreacy3.jpg

Maria Blaisse/ Performance Artist

22.Oct.2013

Moving Meshes

This project presents a abstracted format of possibility of recording the movement of garment. Maris Blaisse use the property of bamboo to create 5 structures presenting different properties; costume and sculpture, expanding, contracting, bouncing and shifting. 

In this project, I thought "the bamboo" has became the main idea of whole project, all of the performers try to perform the possibility of the meshes and to integrate themselves. This form of performance connects to my current research, the only different part is that my material is sort of a textile, not a natural type. 

And she did a further design based on this structure with irregular line(lower part of the image), that means it provide a unpredictability of her project.

528b71f5a293e44b6e000ab0_movingmeshes.jpg

Kuma Guna

Except circle form, she began to look into tube-like shape and other possibilities in her exploration with forms, sometimes in irregular form or in a line shape. Foam costumes for performance or exihibition. It gives me a very strong impression at the first sight, more pure and clean. 

Is it an another way of  presenting textile?

526707d0dcde34fc2e0000cb_kumaguna.jpg

Besides, there is another dance company called "Merce Cunningham", they also had a collaboration with a Japanese designer called Rei Kawakubo in 1997s and gave the same concept of performance to my research.

In this project, the combination of dancers and garments worked more balanced in compare to the Maria Blaisse one, both of them stood for main role of the performance, Moving Meshes more focus on the bamboo. 

5267028488fed05a260000b4_mercecunningham.jpg

2 Dance4 Visual art 

20.Oct.2013

Still moving: moving still

This performance installation invites spectators to bring their attention to stillness and the process of moving towards and away from it.

In this performance, the most interesting part is that when audiences stopped watching the performer, the audience seems becoming part of the performance with a still motion in Contemporary. I called this is a "Passive Interaction", as one of the audience, when I stopped watching the performance taking some photos, maybe I already became a performer in someone's view. 

Otherwise, the entire Contemporary played an important role as a stage for performers strolling around, and at the end they left the building as a ending.

52647339635b673e4c00025b_stillmoving.jpg

What remains and is to come

526479d5635b673e4c000284_Whatremains.jpg

This performance inspired by the question of how to treat materials as equals and not as tools for our desires, the performers' bodies exist as both human and material presences.

This is really interesting!At the beginning, all the audience stay at the edges of the space watching the performers performed with a lot of weird motion. Suddenly, when the performers  began to use their body as a tool printing their figure on the charcoal and paper, audience started walking around. The shift happened.

Besides, one of the most inspiring part is that paper and charcoal can be erased and created repeatedly. Though there are only 5 paper and charcoal in the space, but the performers created more than 10 prints during the performance.

First image about 3D textile

19.Oct.2013

526310e74418d4b53c000287_3Dtextile.png

This mindmap represents the first image when I think about 3-Dimensional textile, and there are several possibilities in this area. What I most want to create is totally 3-D printing textile, but relatively it is the most difficult one that I can achieve. Because I don't have any relative background and skills in designing 3D model which is entirely new to me. 

Otherwise, knitting plus 3D printing maybe is a proper option for me to works in this MA degree, I could not only combine what I already learnt in my collage and also I could do some research in 3D printing textile which I really love to do it. 

Well, It is hard to give a decision now.